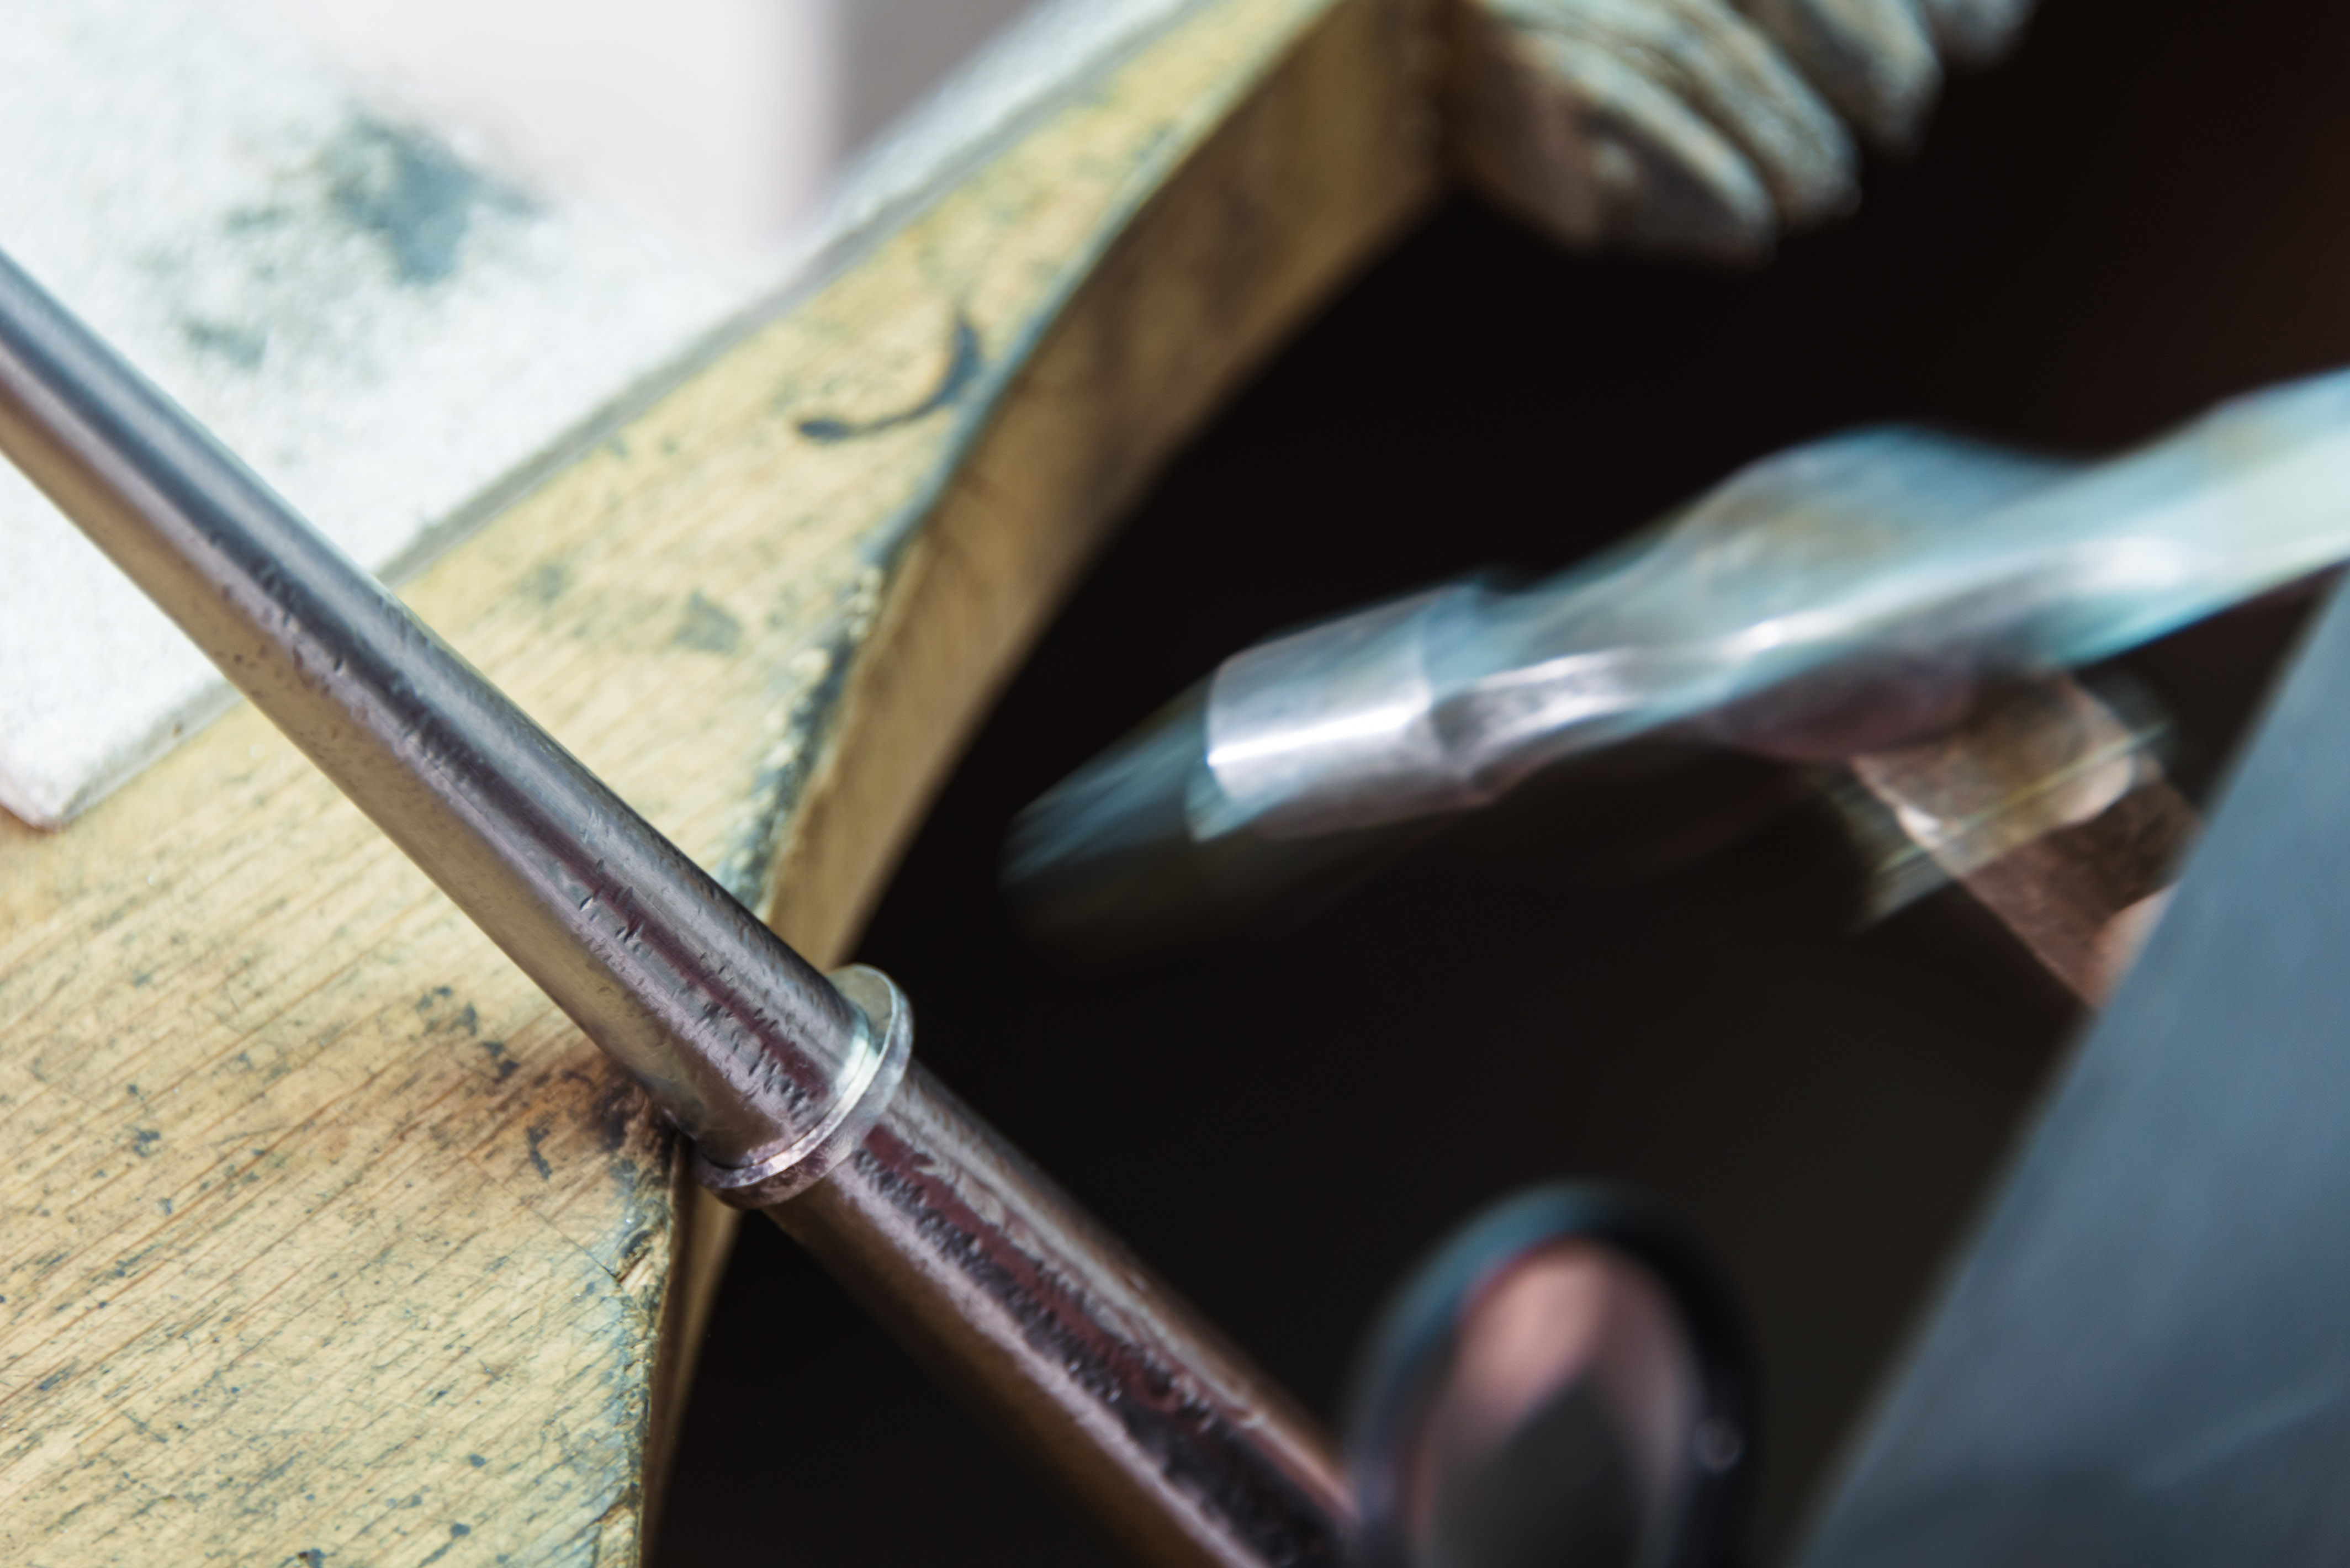
Process
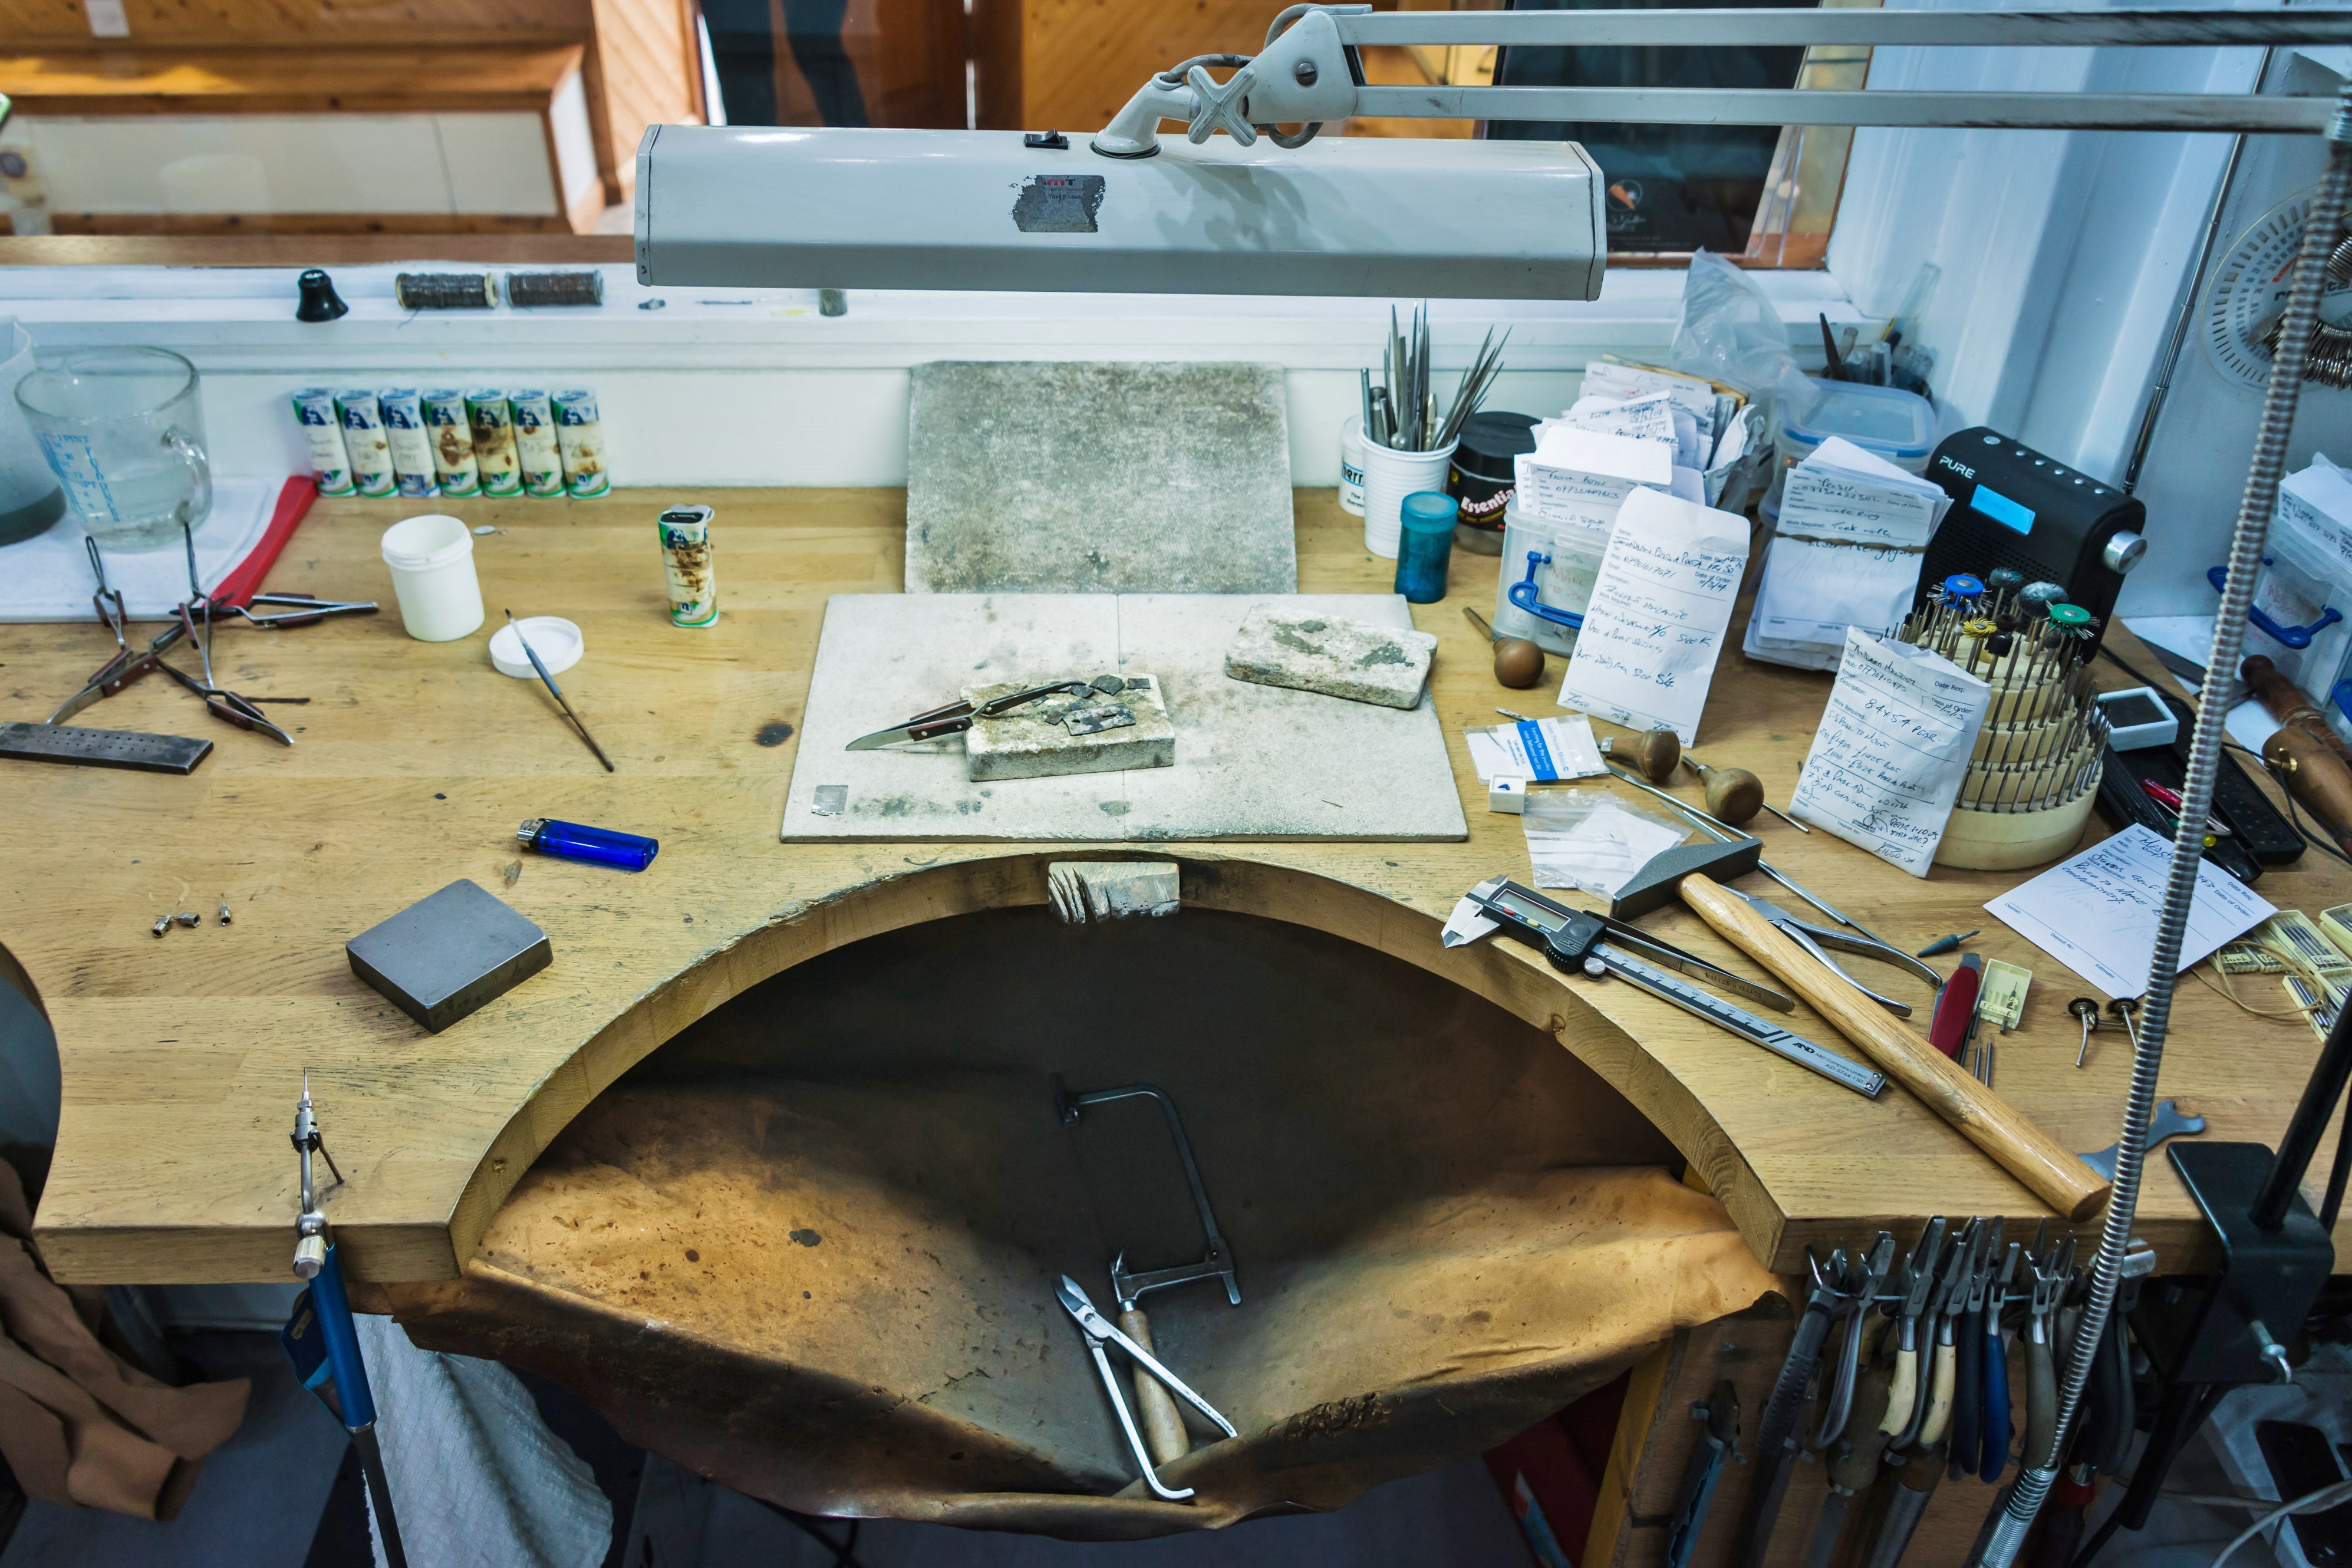
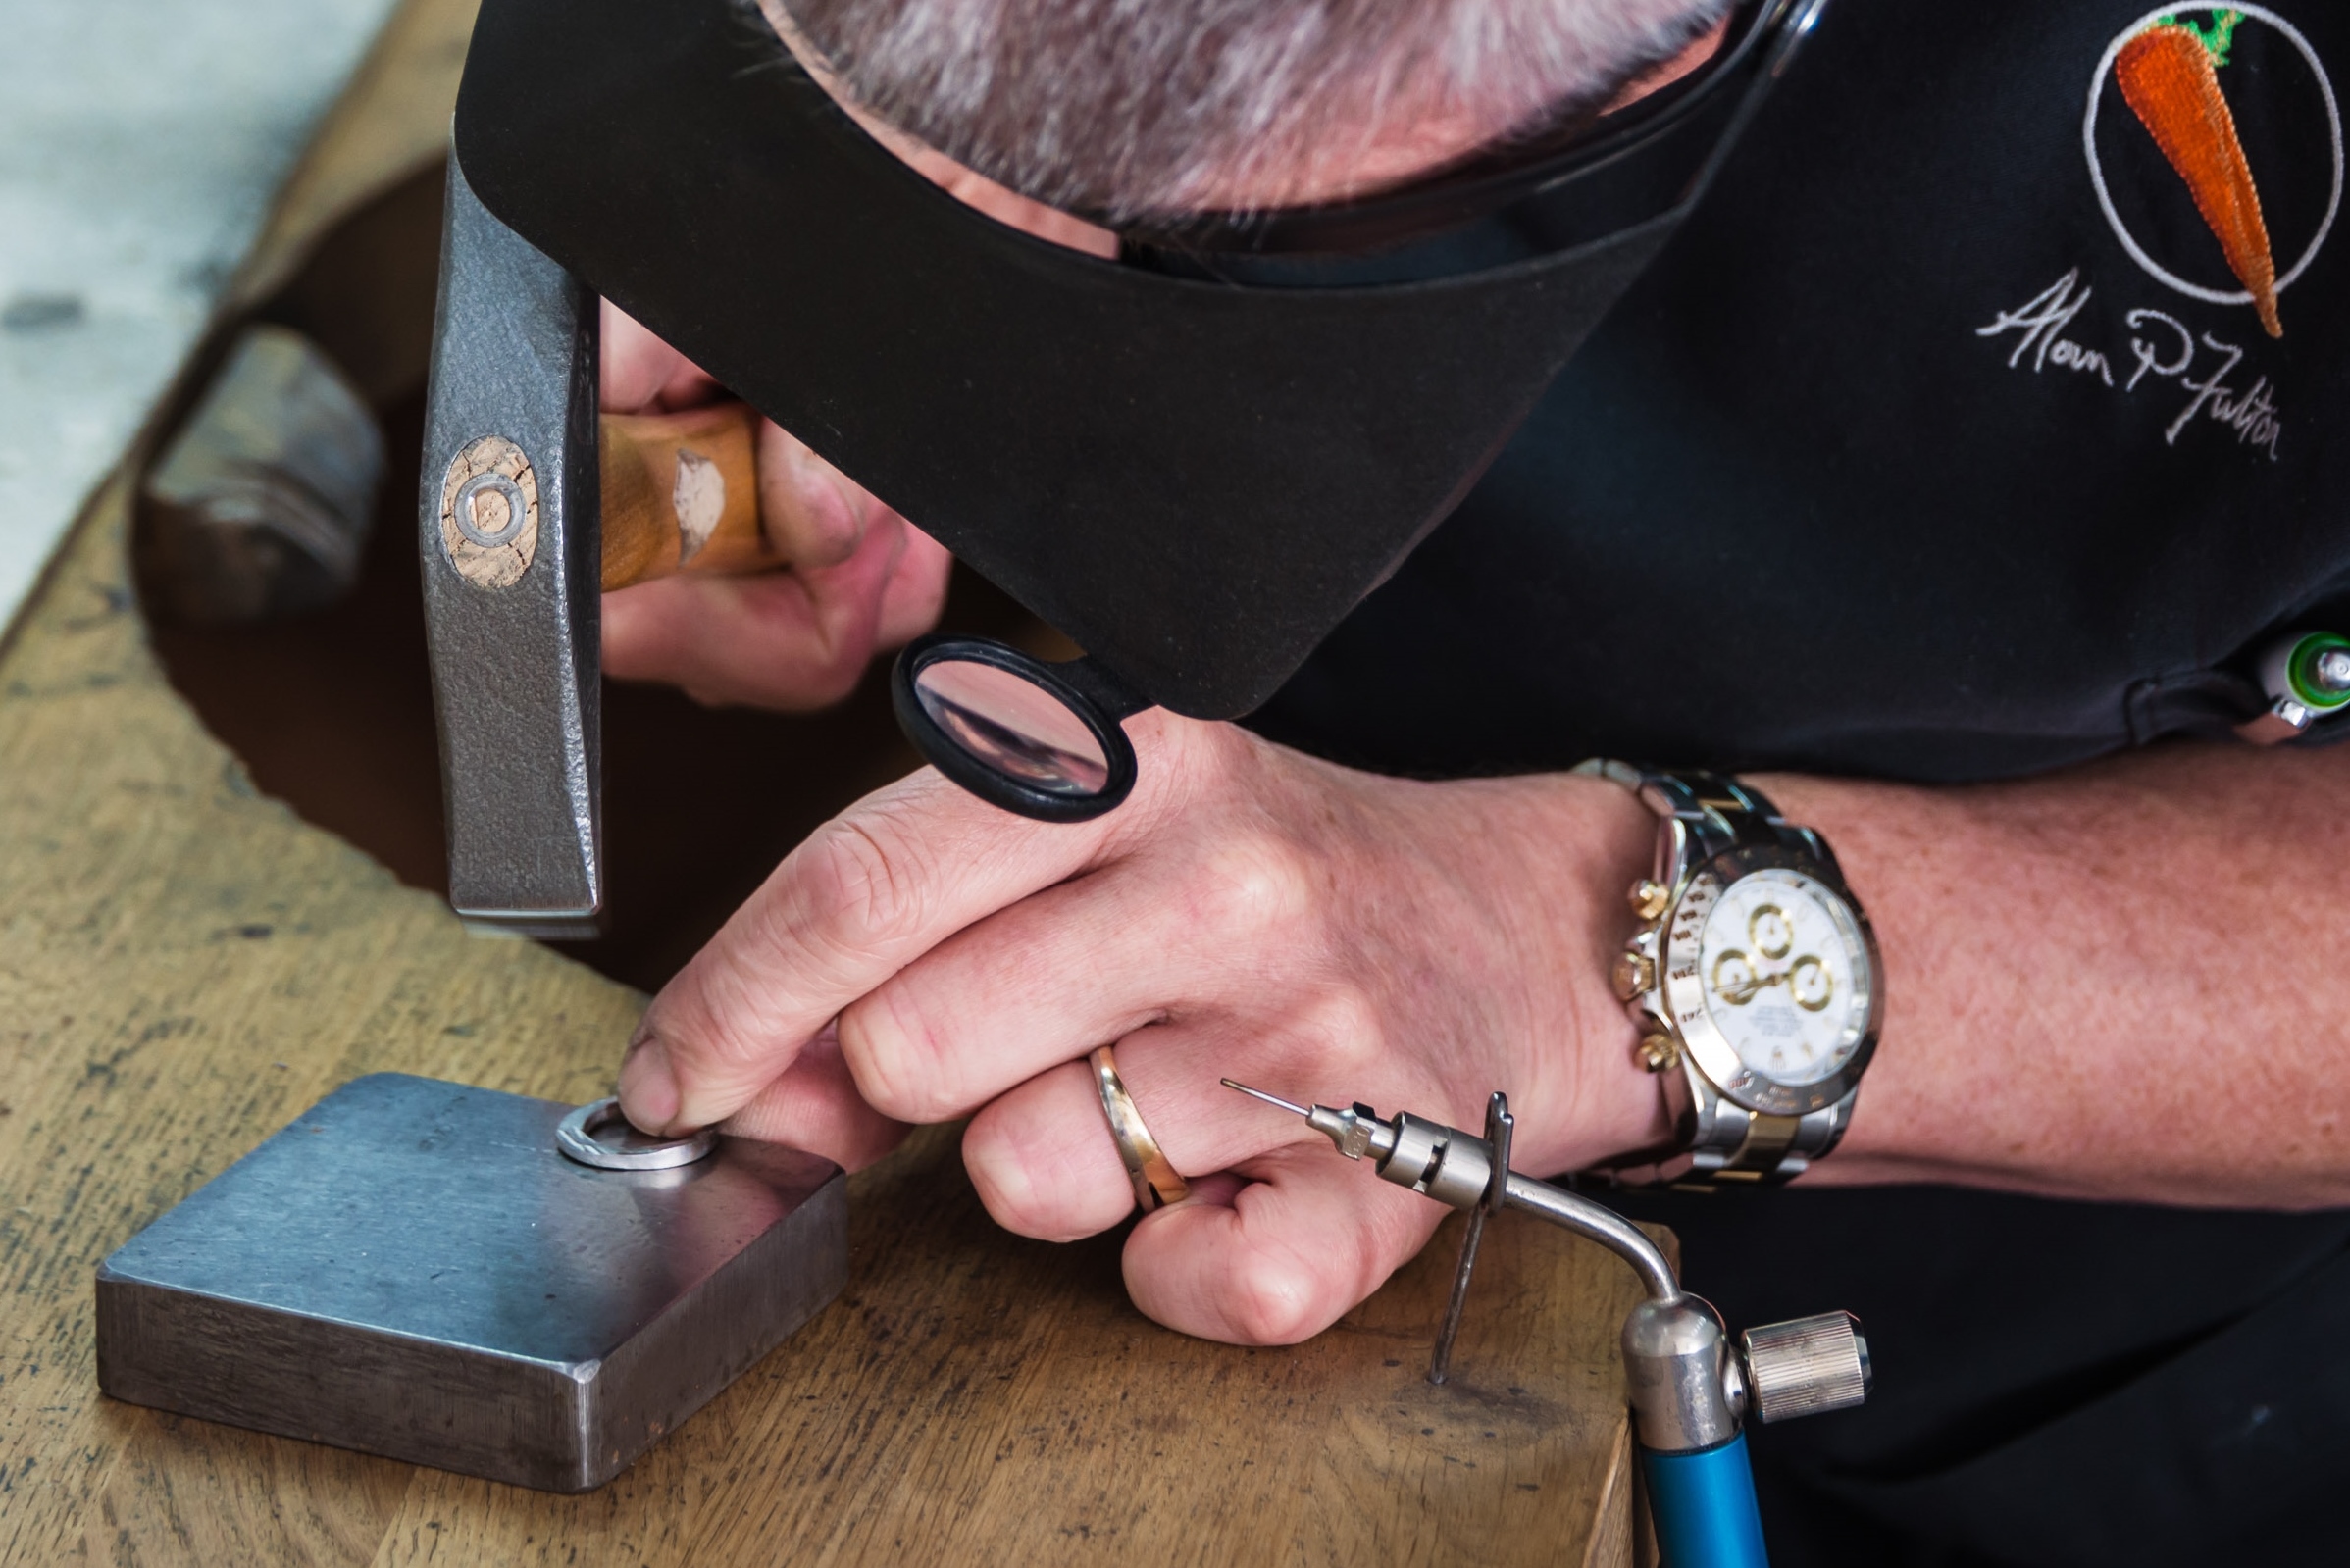
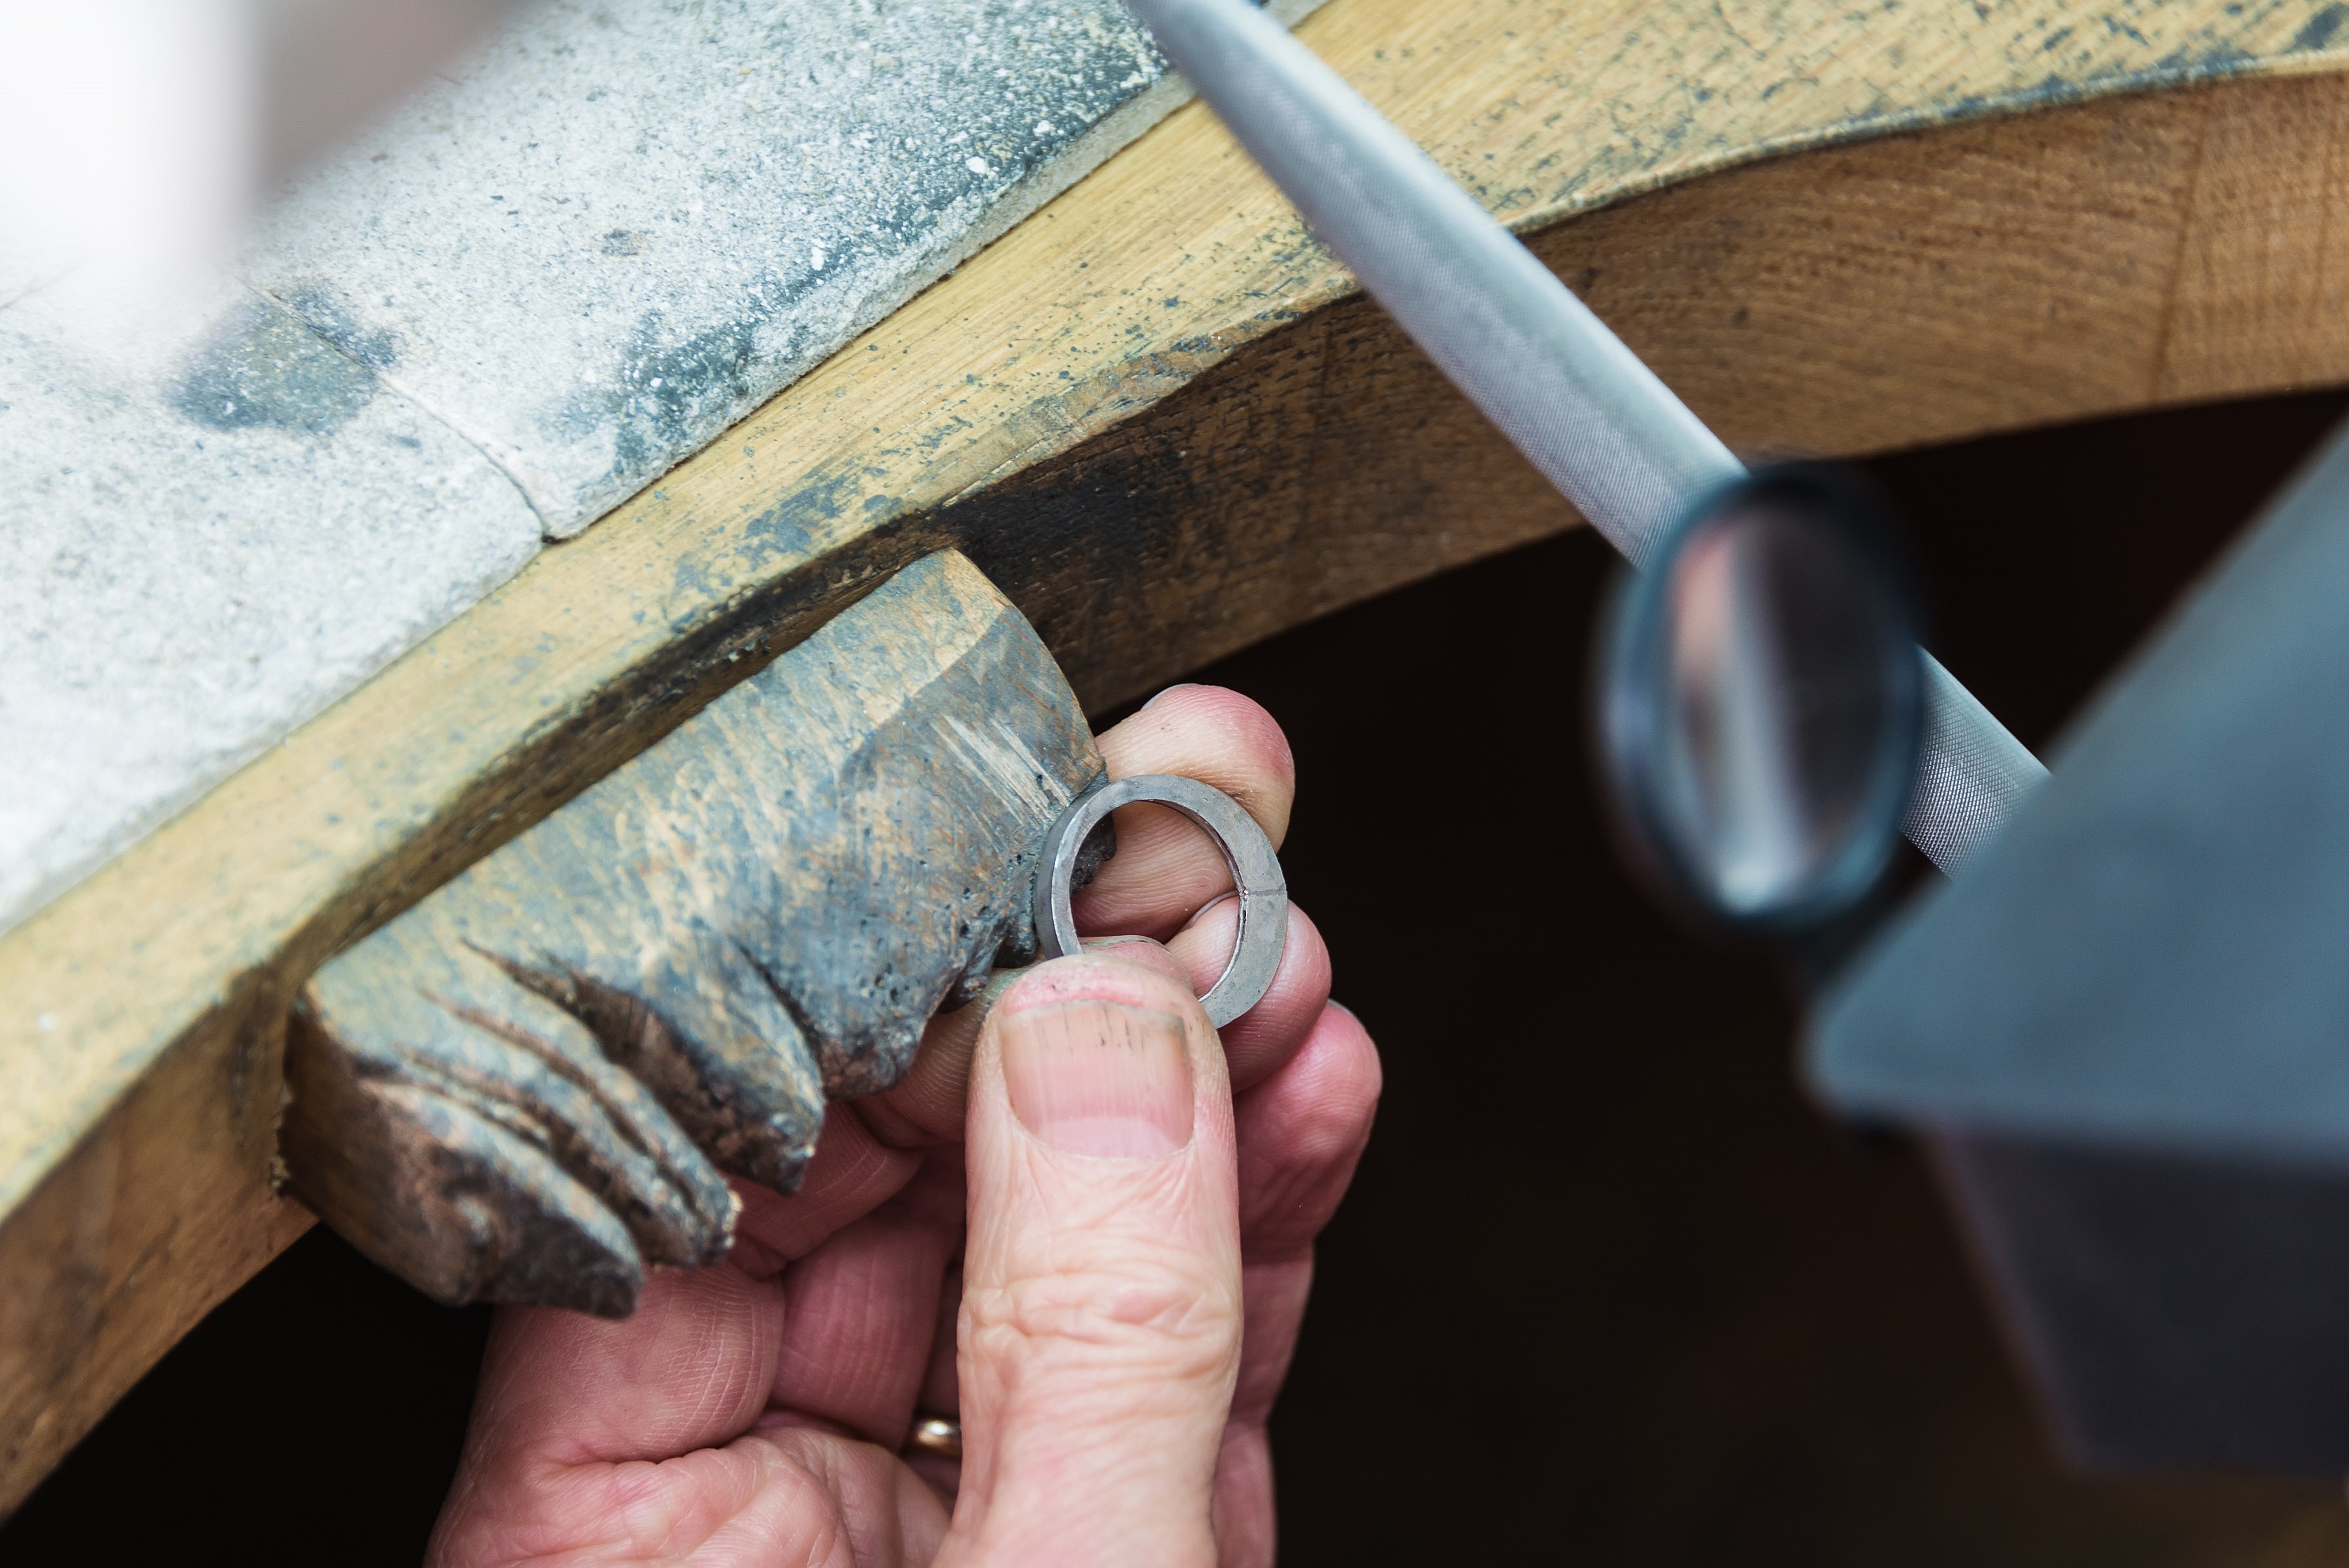
A traditional jeweller's bench showing a half moon cut out with a central bench peg inserted and an animal hide, similar to a thick chamois, attached below. The cut out allows the jeweller to sit 'into' the bench and the skin is there to catch precious metal cuttings and filings also any diamonds and precious stones that may be dropped while setting. Above is the daylight diamond lamp, to the right the flexi-drive pendant drill and on the left the torch known as a micro flame.
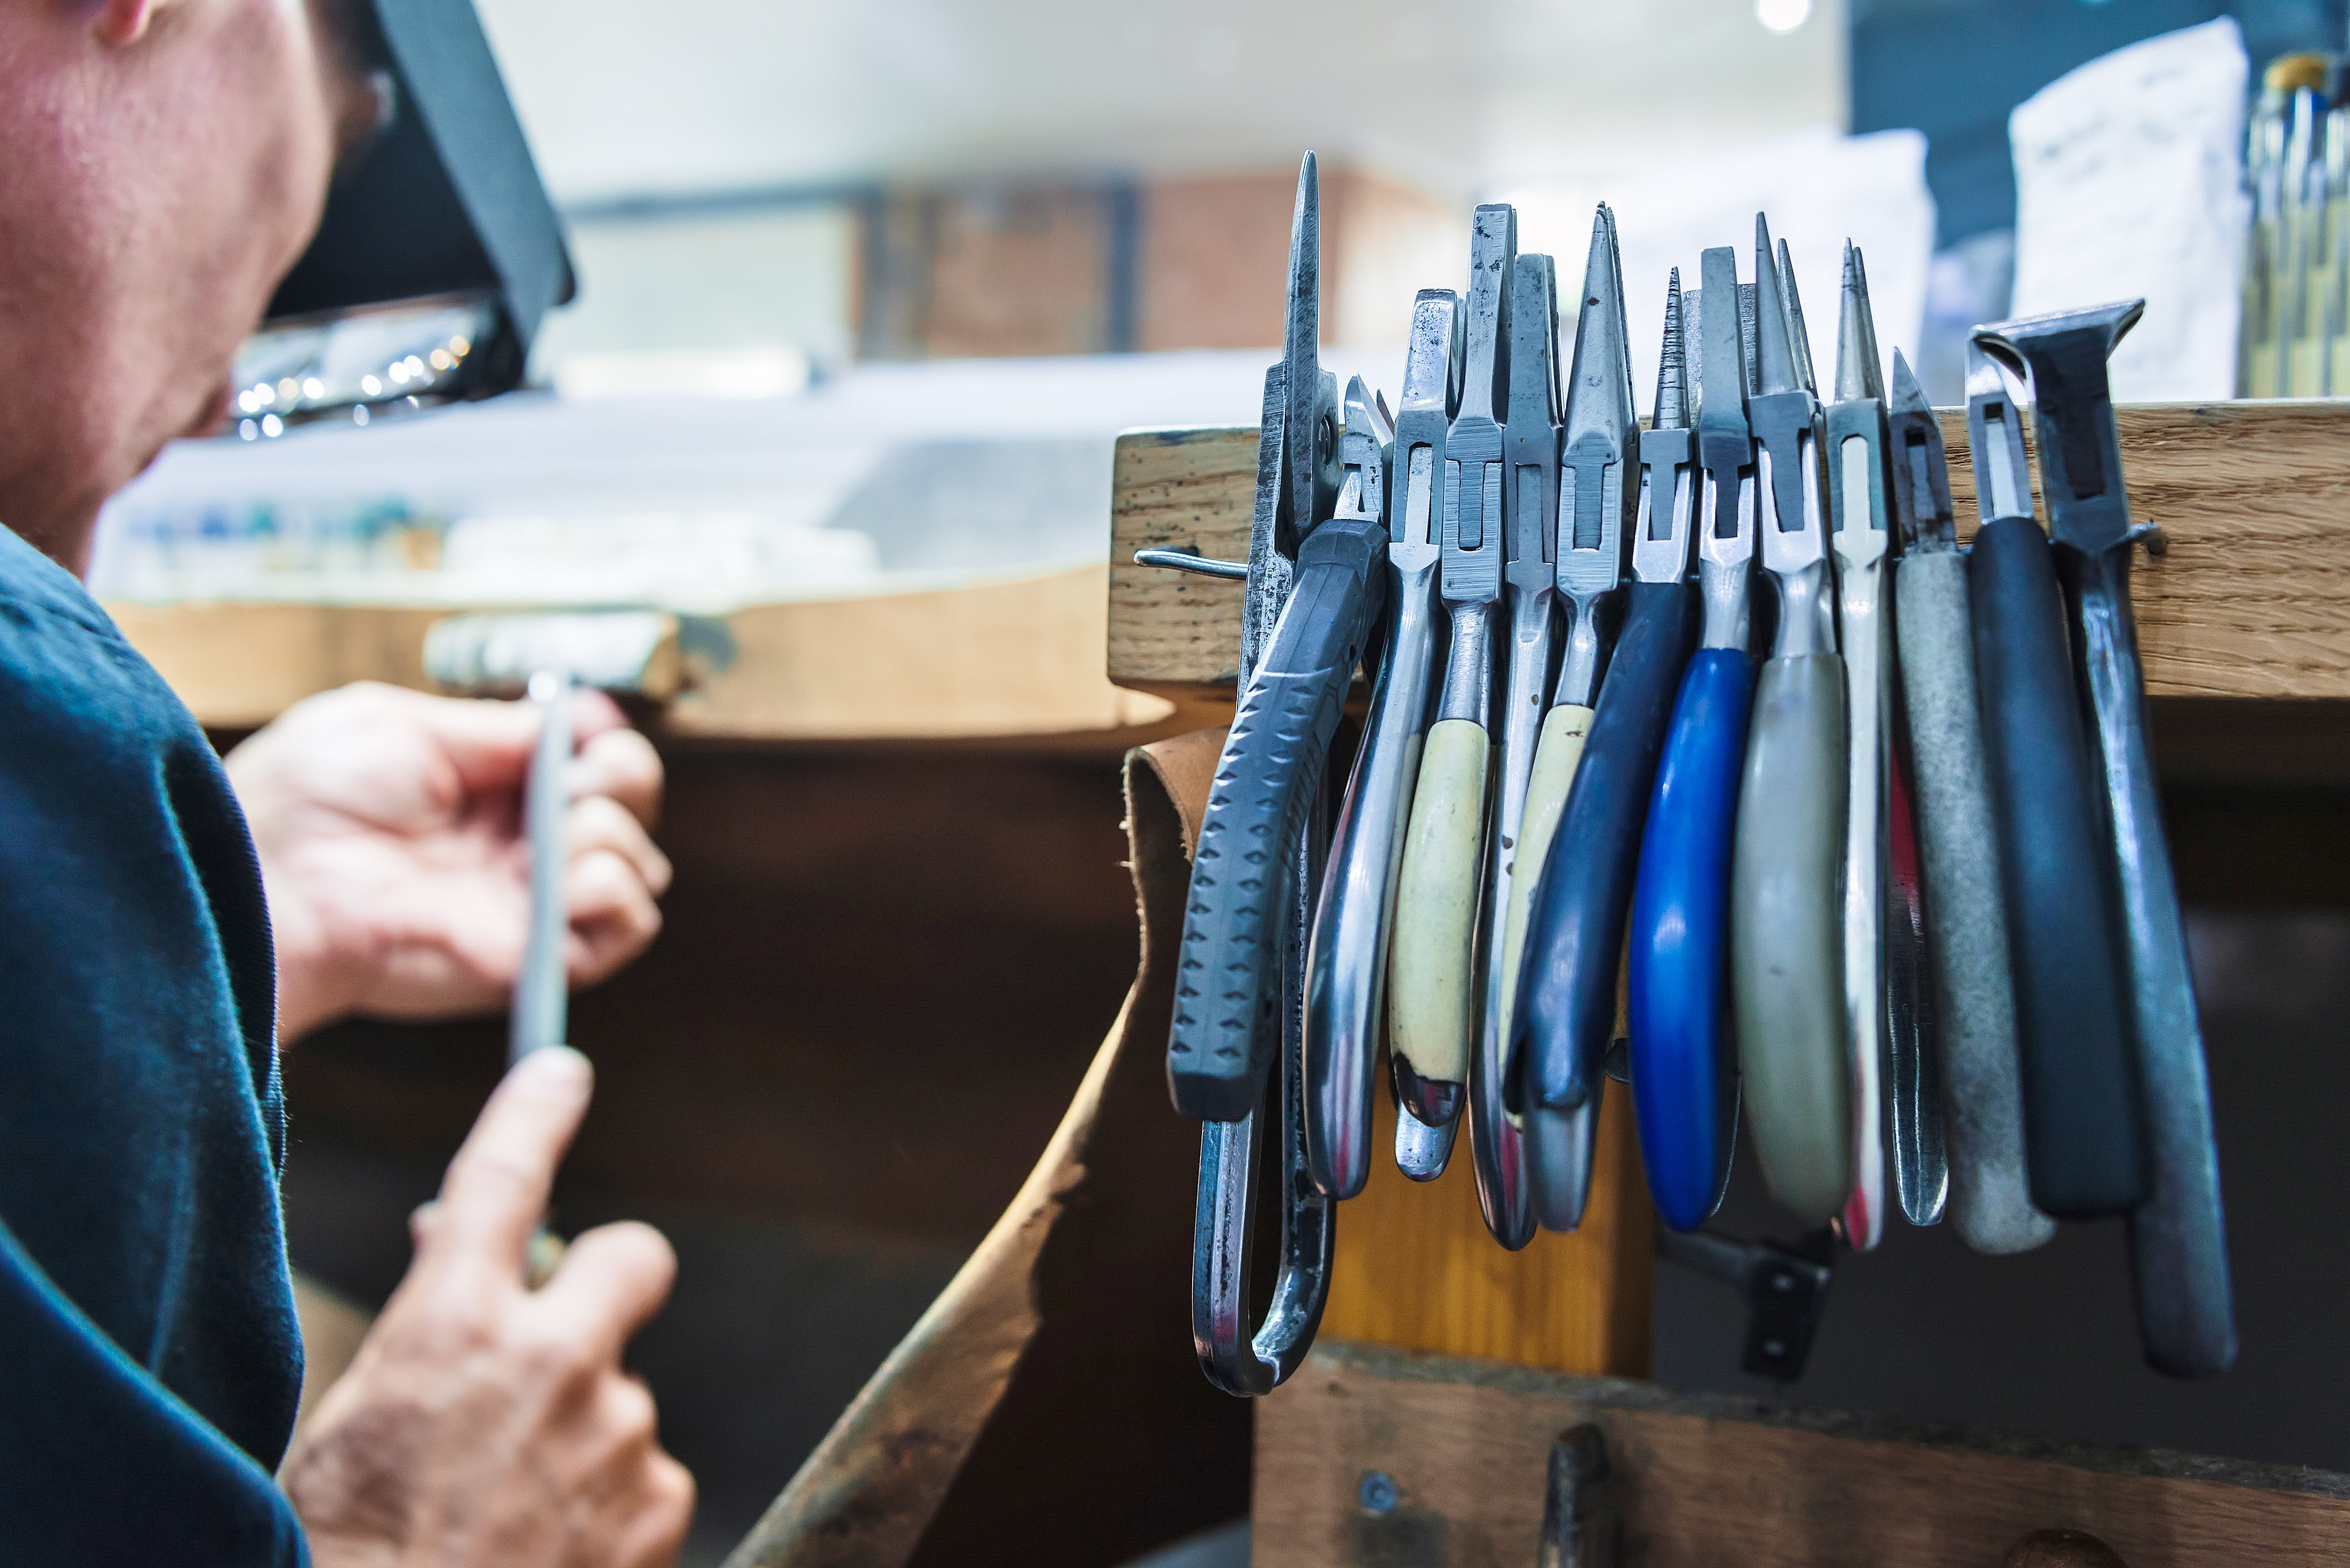
Some of the tools Alan uses showing various styles, shaped and sizes of pliers and cutting snips.
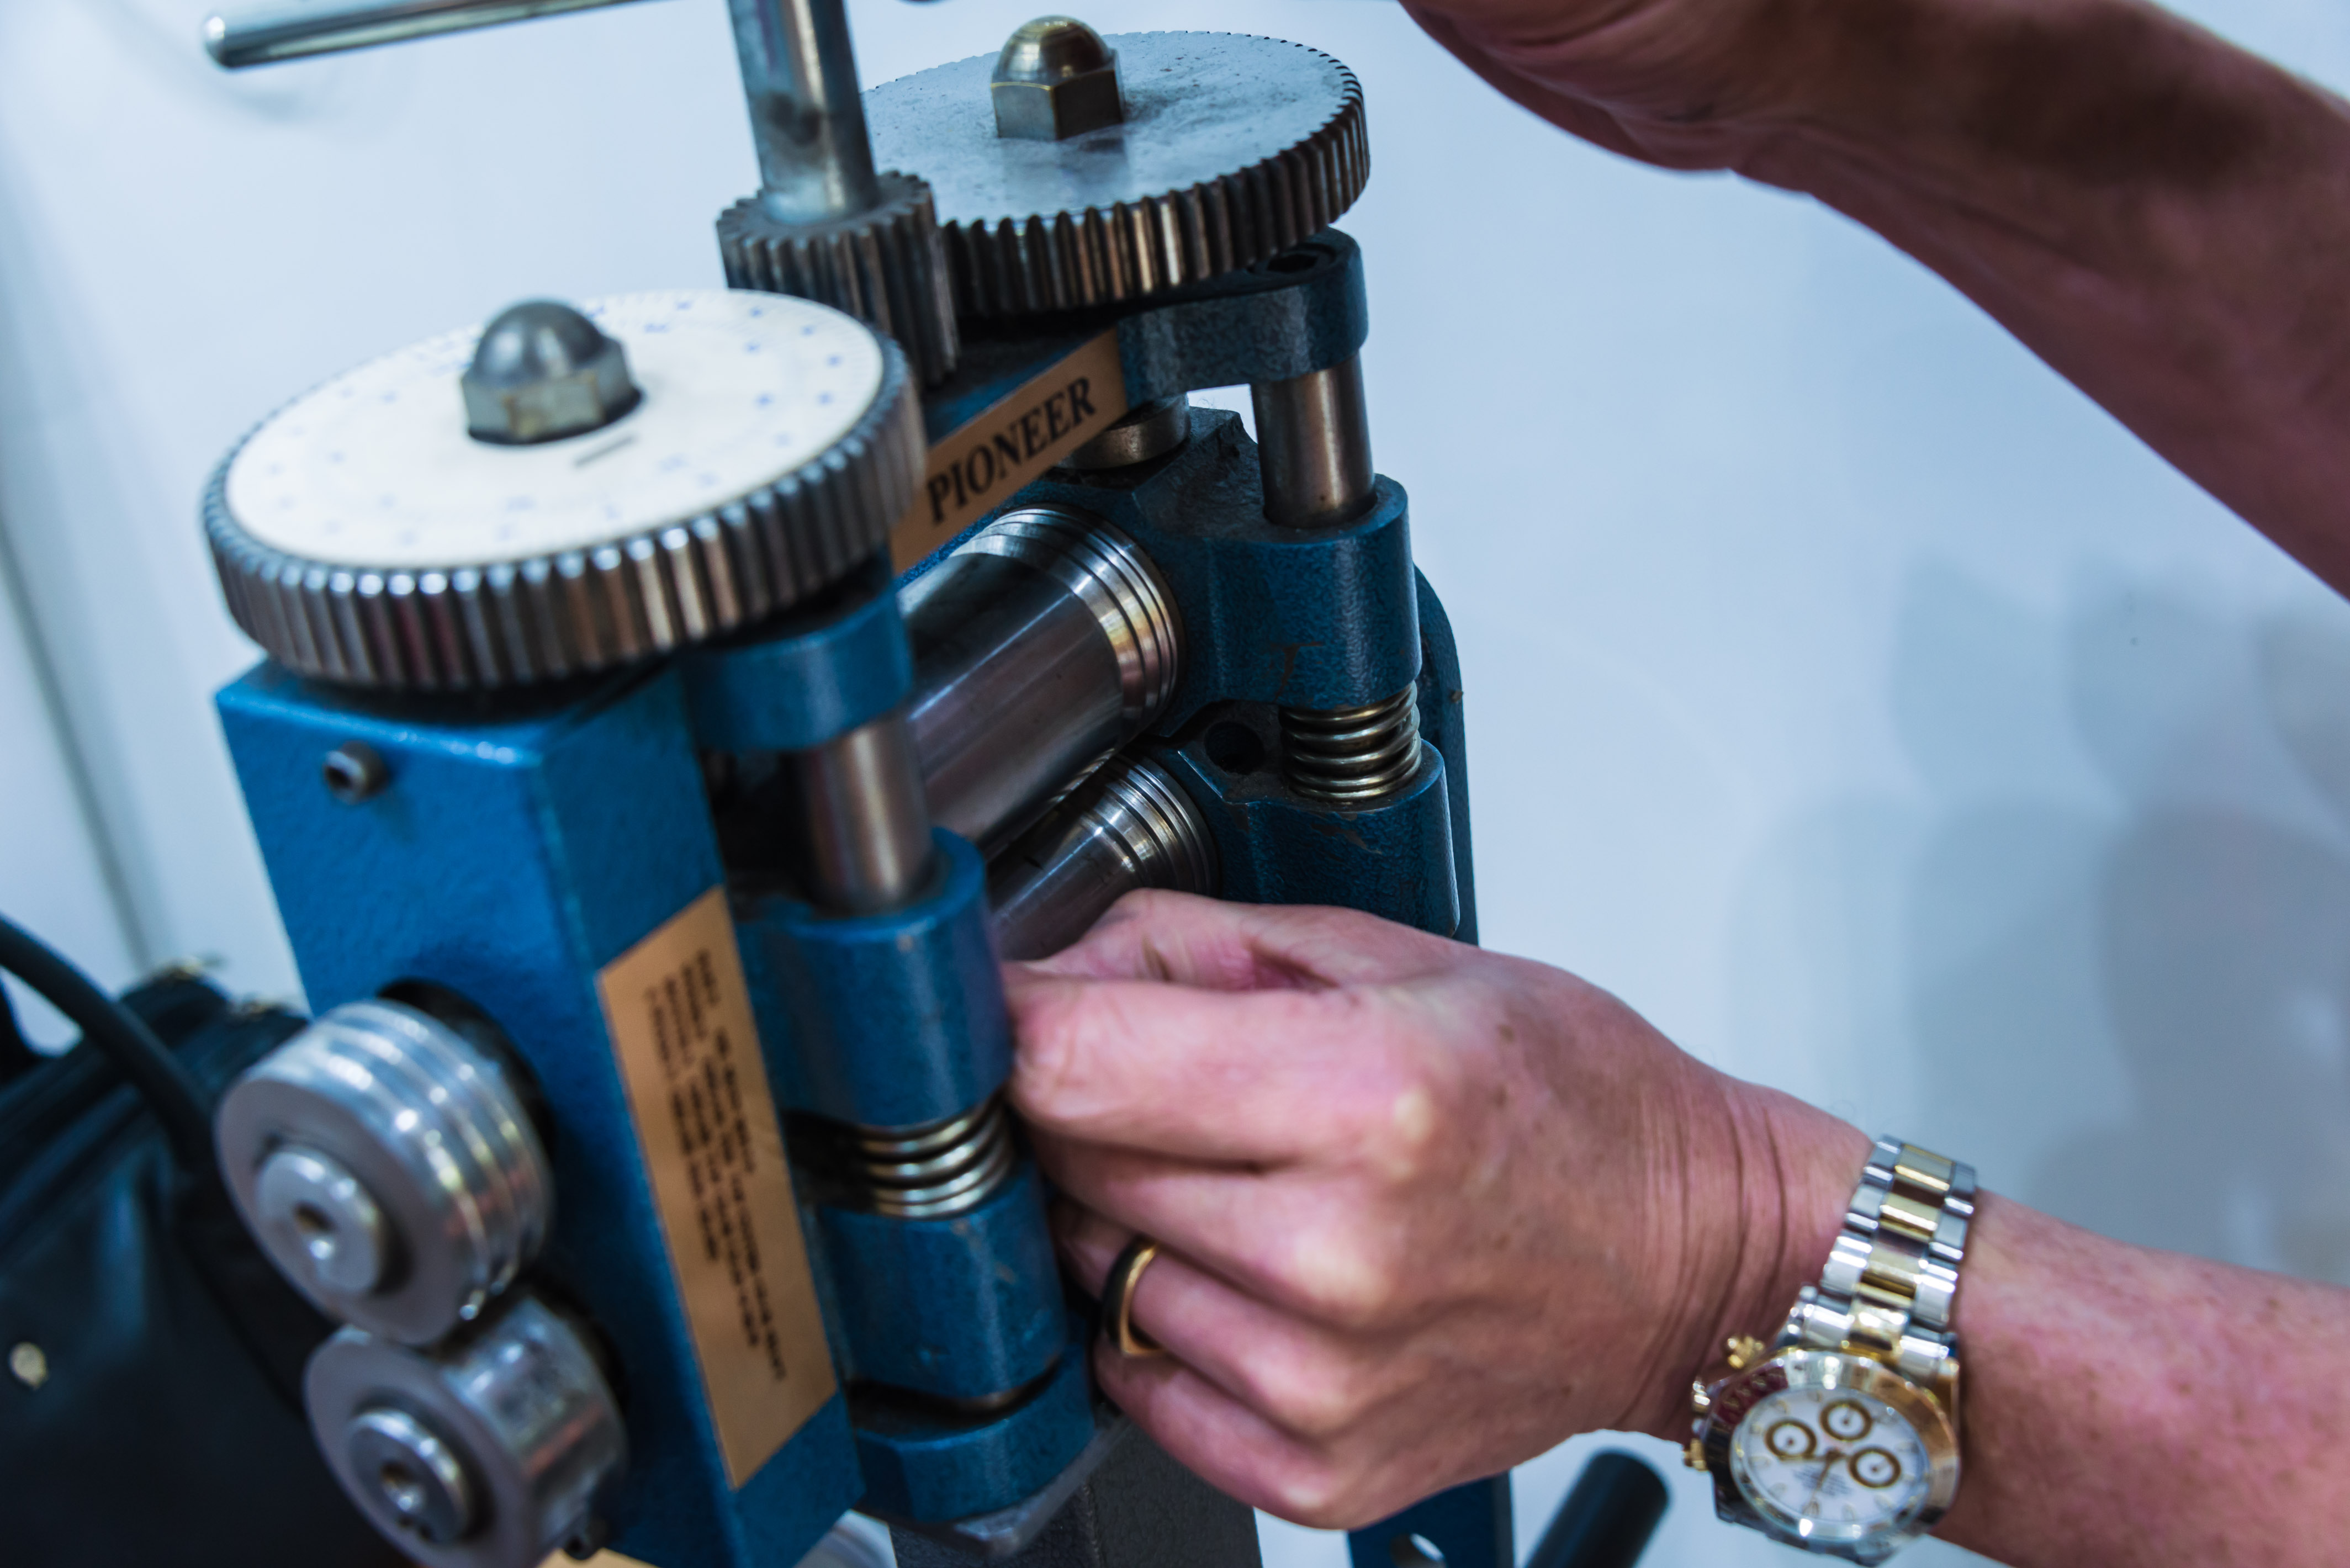
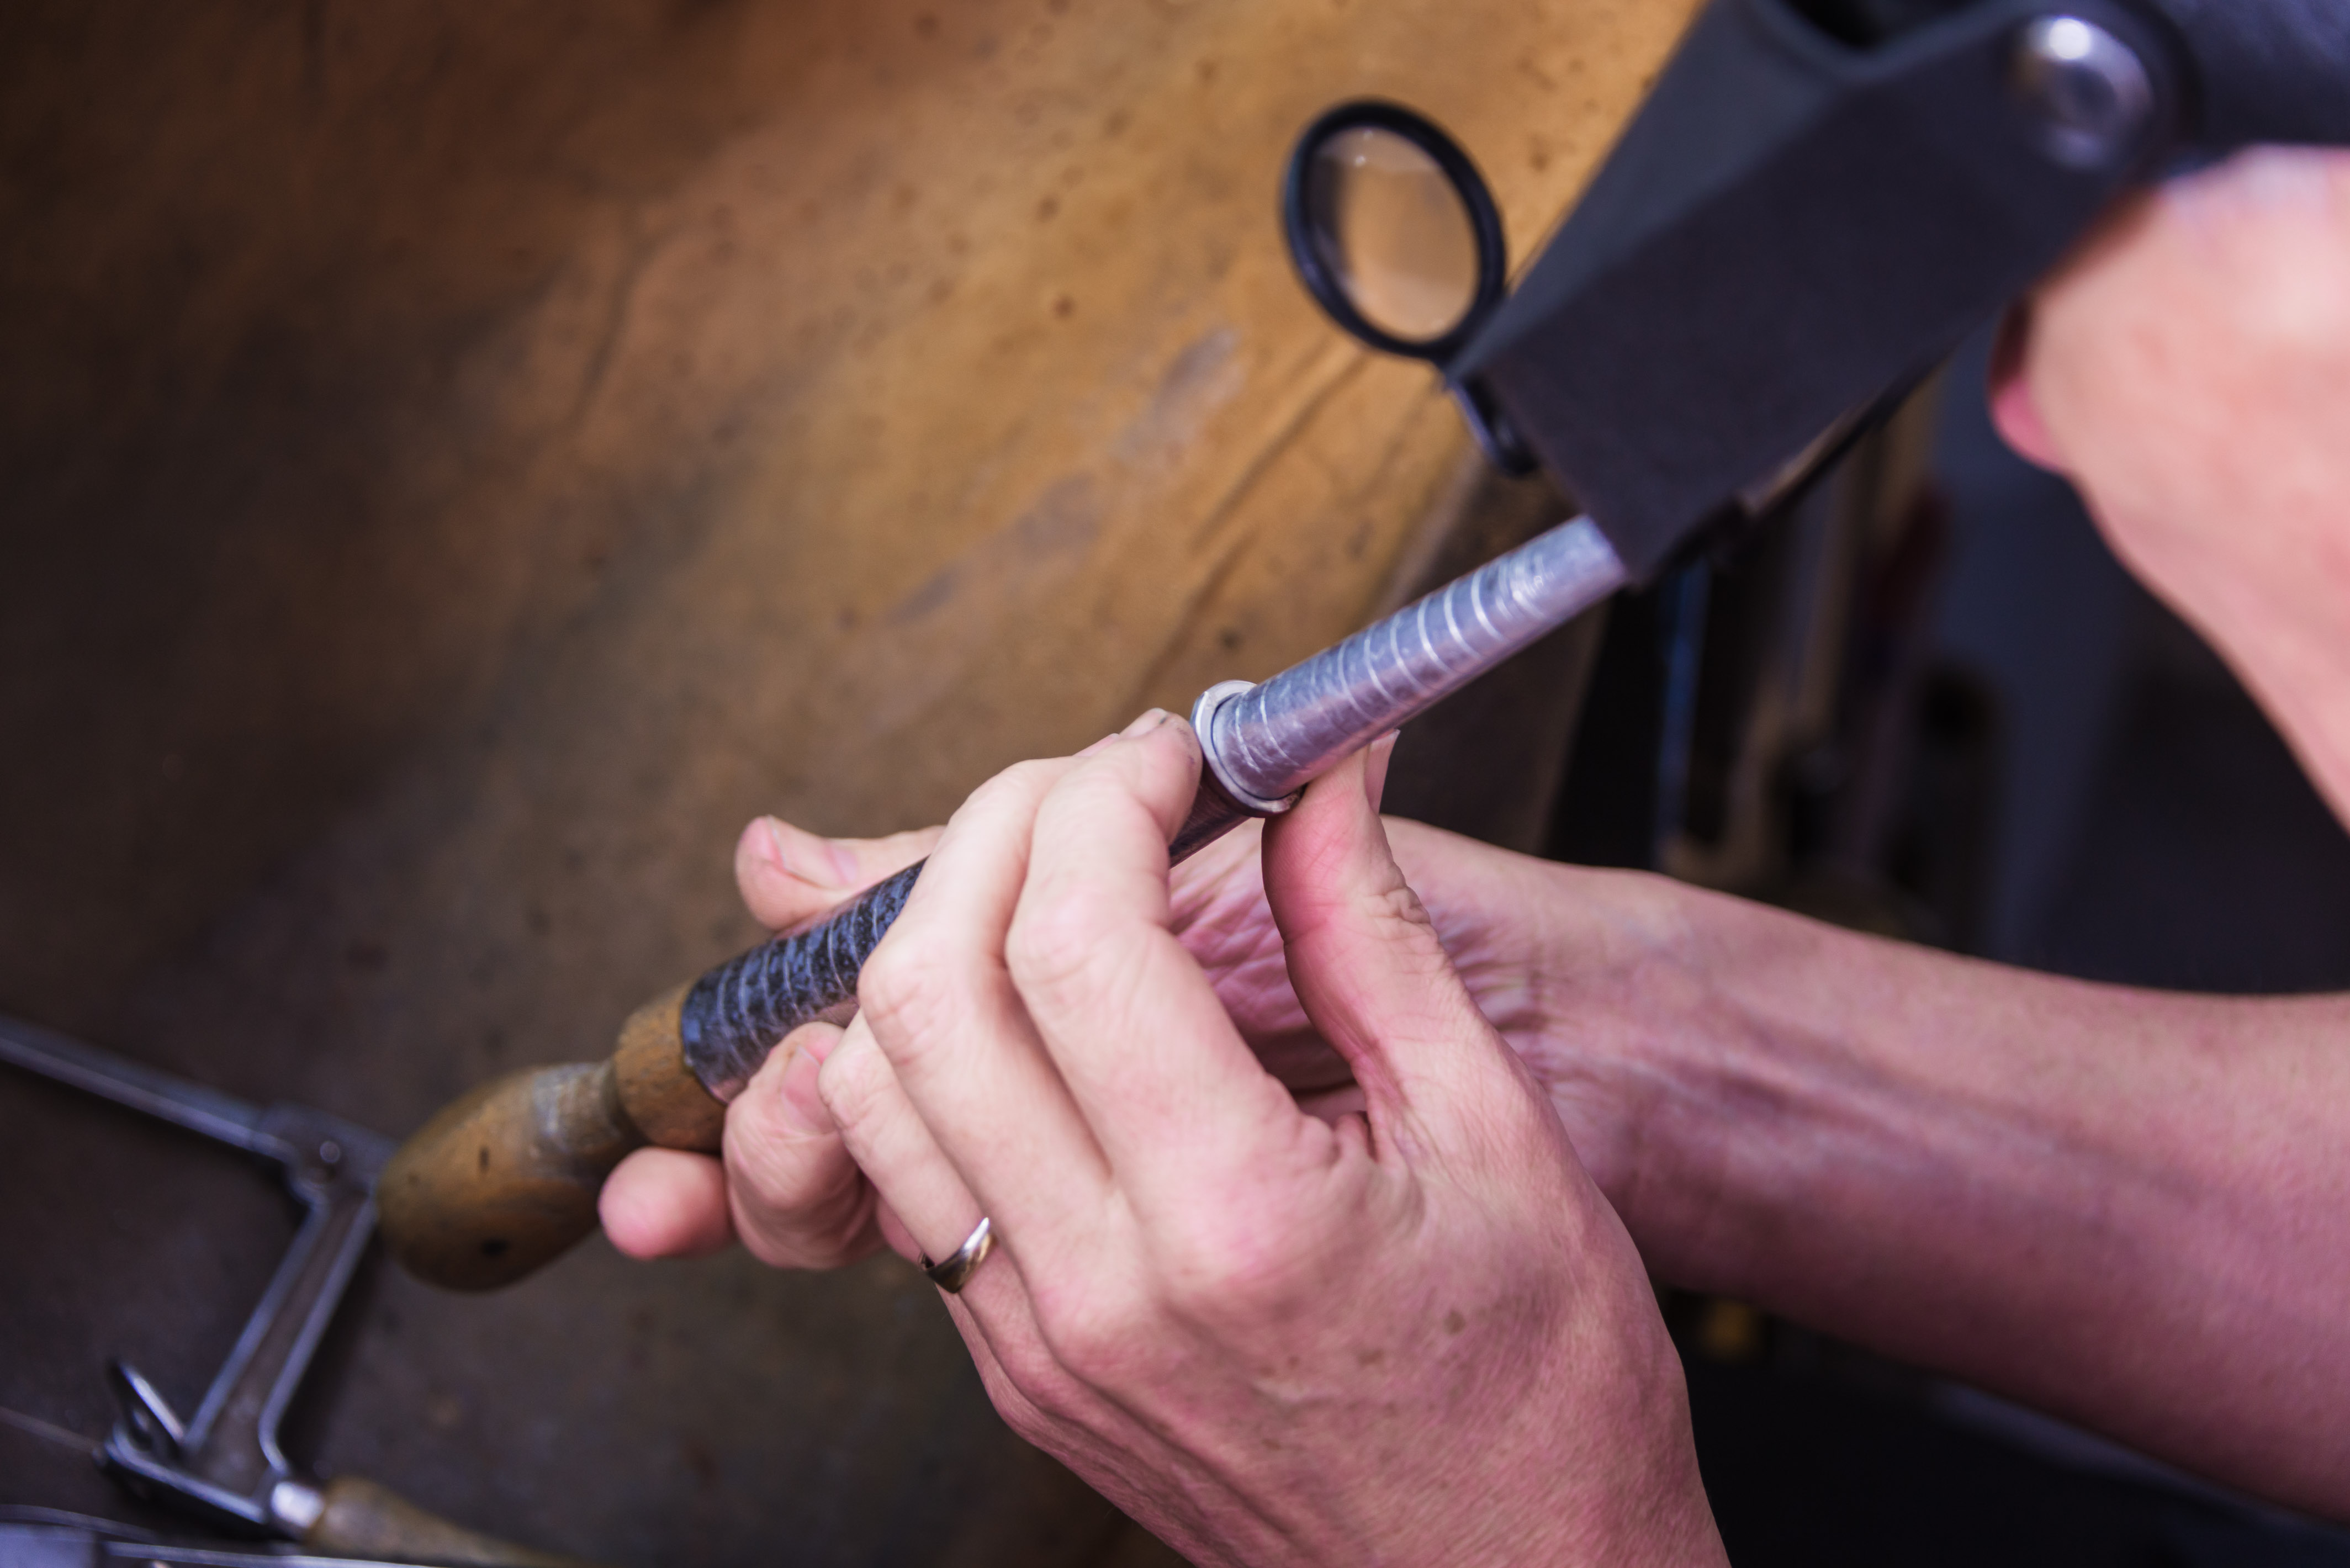
Alan start creating a ring by rolling down a predetermined length of wrought precious metal (platinum in this example) in square rod form to the desired cross-section, width and depth of wire required, to create the shank of the ring for the specific design and allowing for the future forging process.
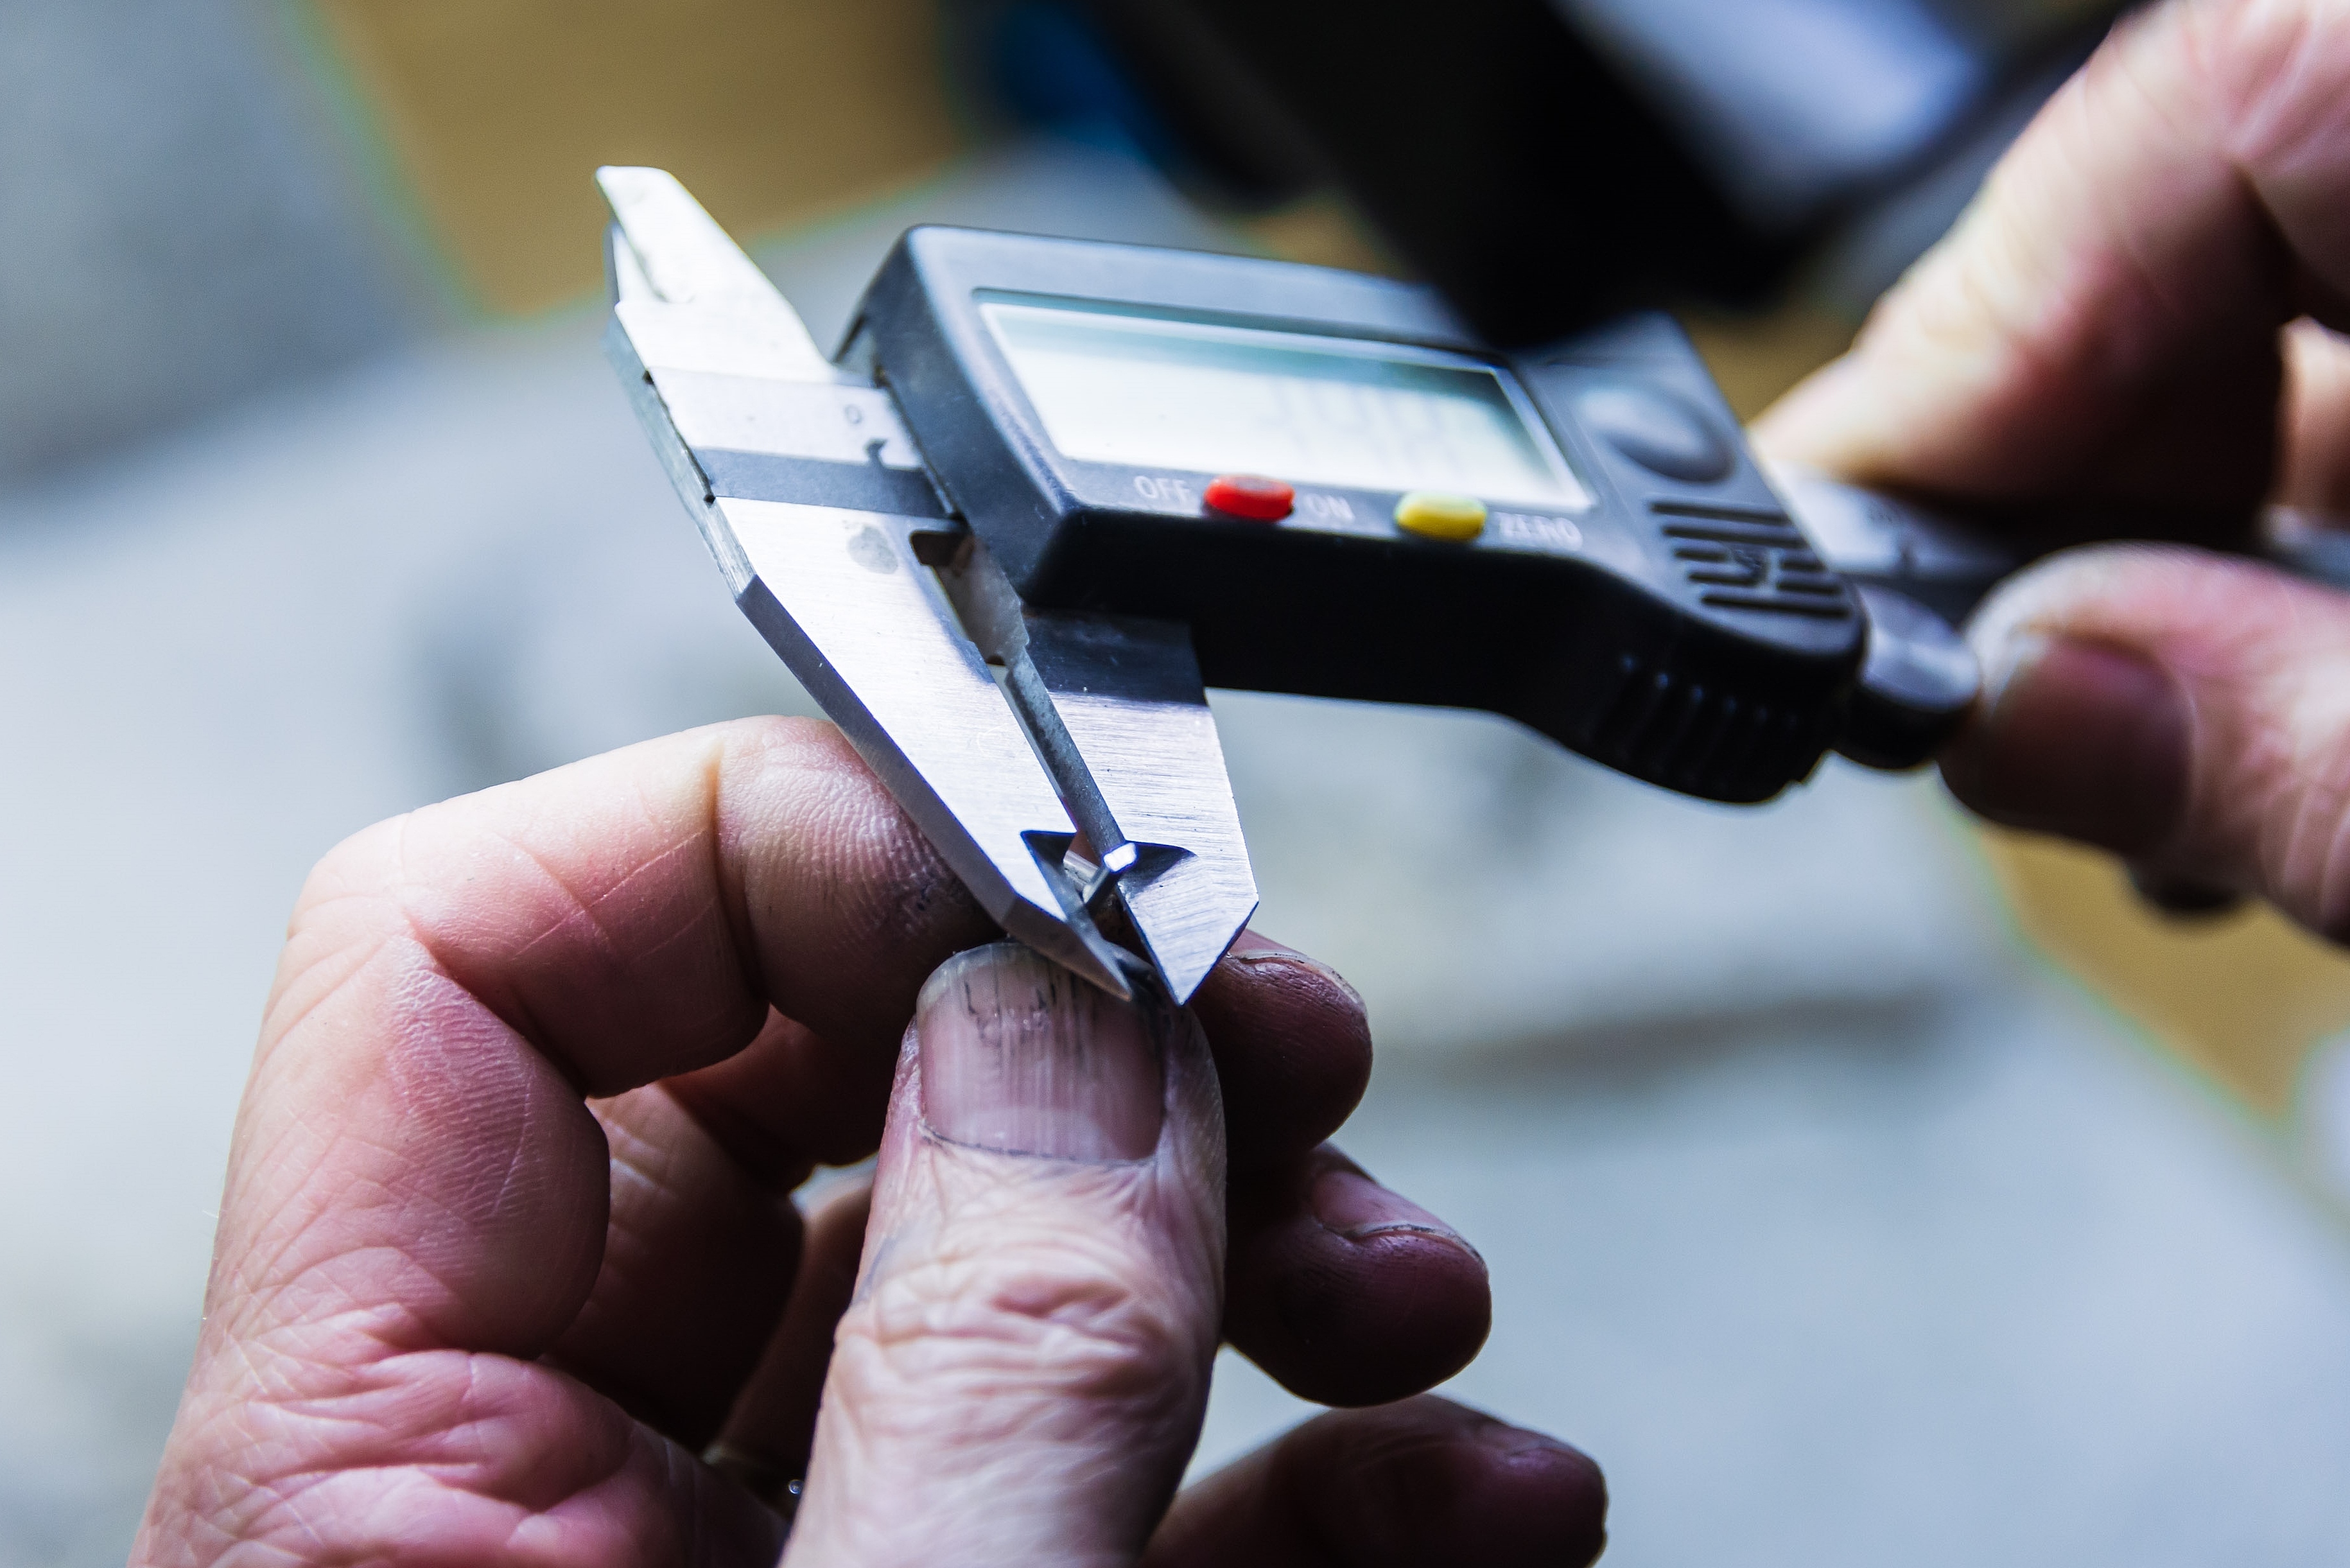
Checking the width and depth of the rod during the rolling process with this vernier gauge which has an accuracy to 1/100th of 1 millimetre. At this stage an acute accuracy such as this is not required, however, later in the process, while stone setting, Alan often has to work to tolerances of around 3/100ths of a millimetre.
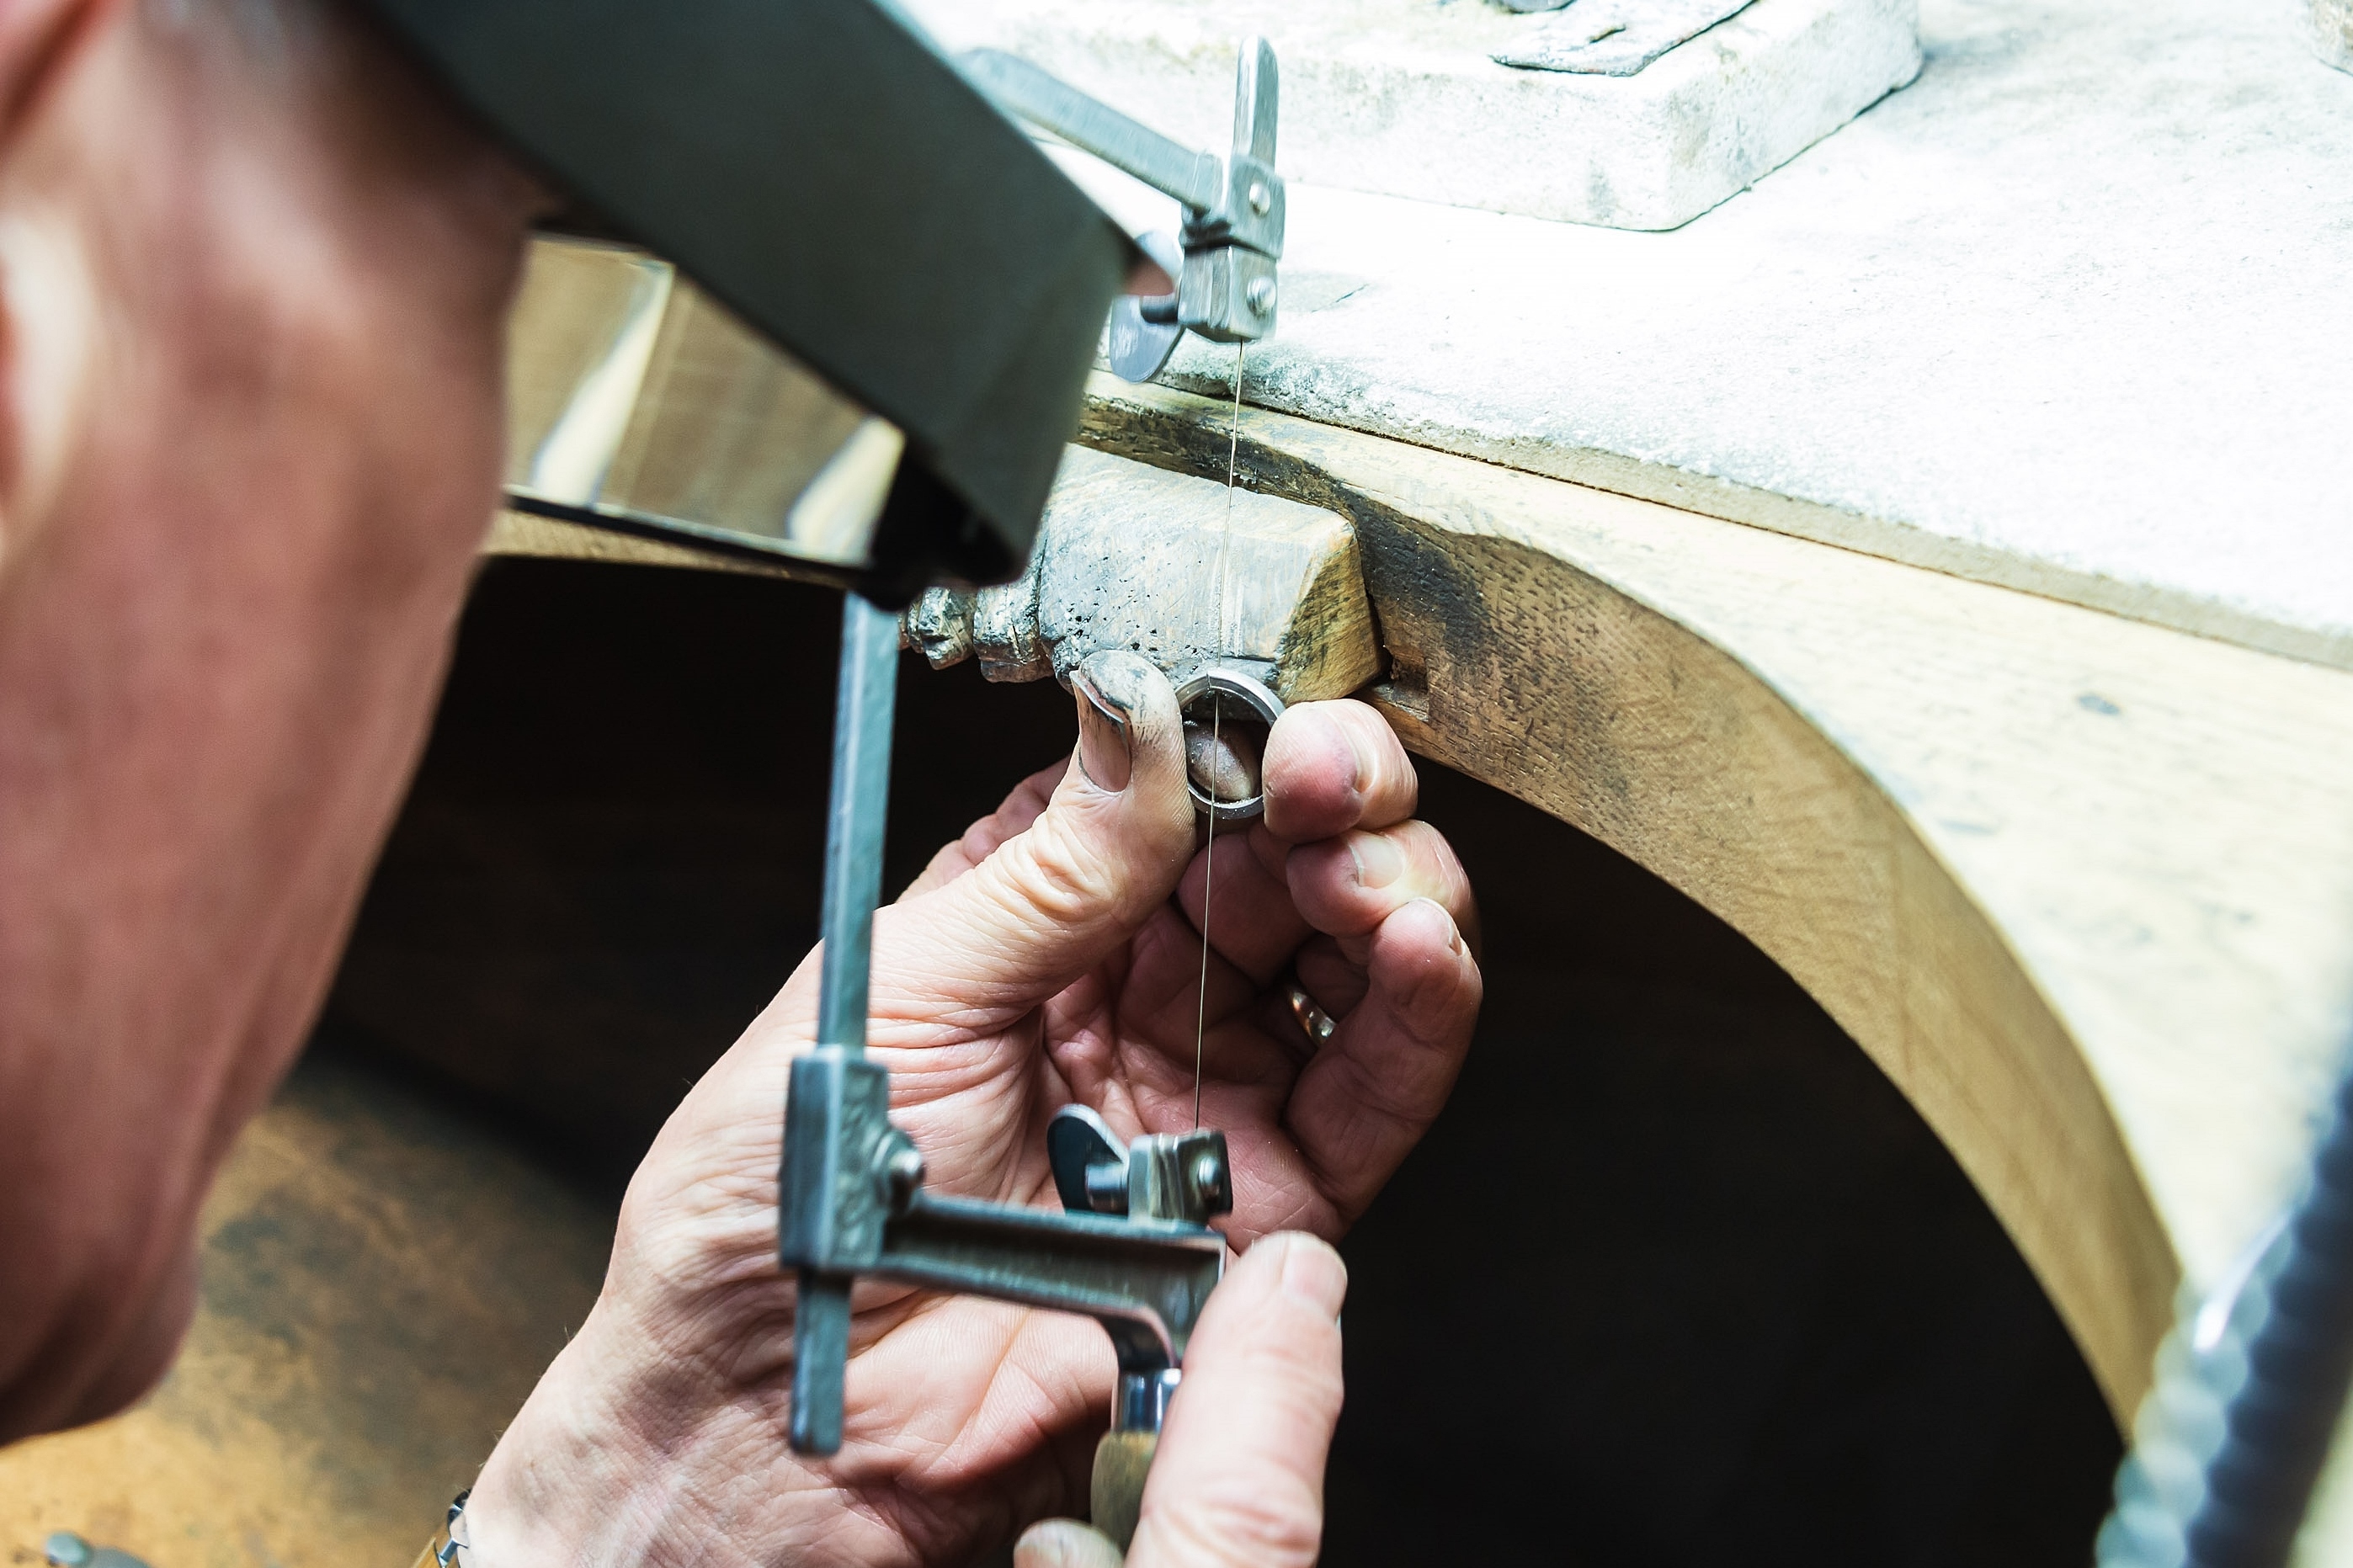
Once the desired cross-section is attained the rod is bent round. The join requires to be neat and precise and the best way is to use a piercing saw with the finest 0.15mm width blade.
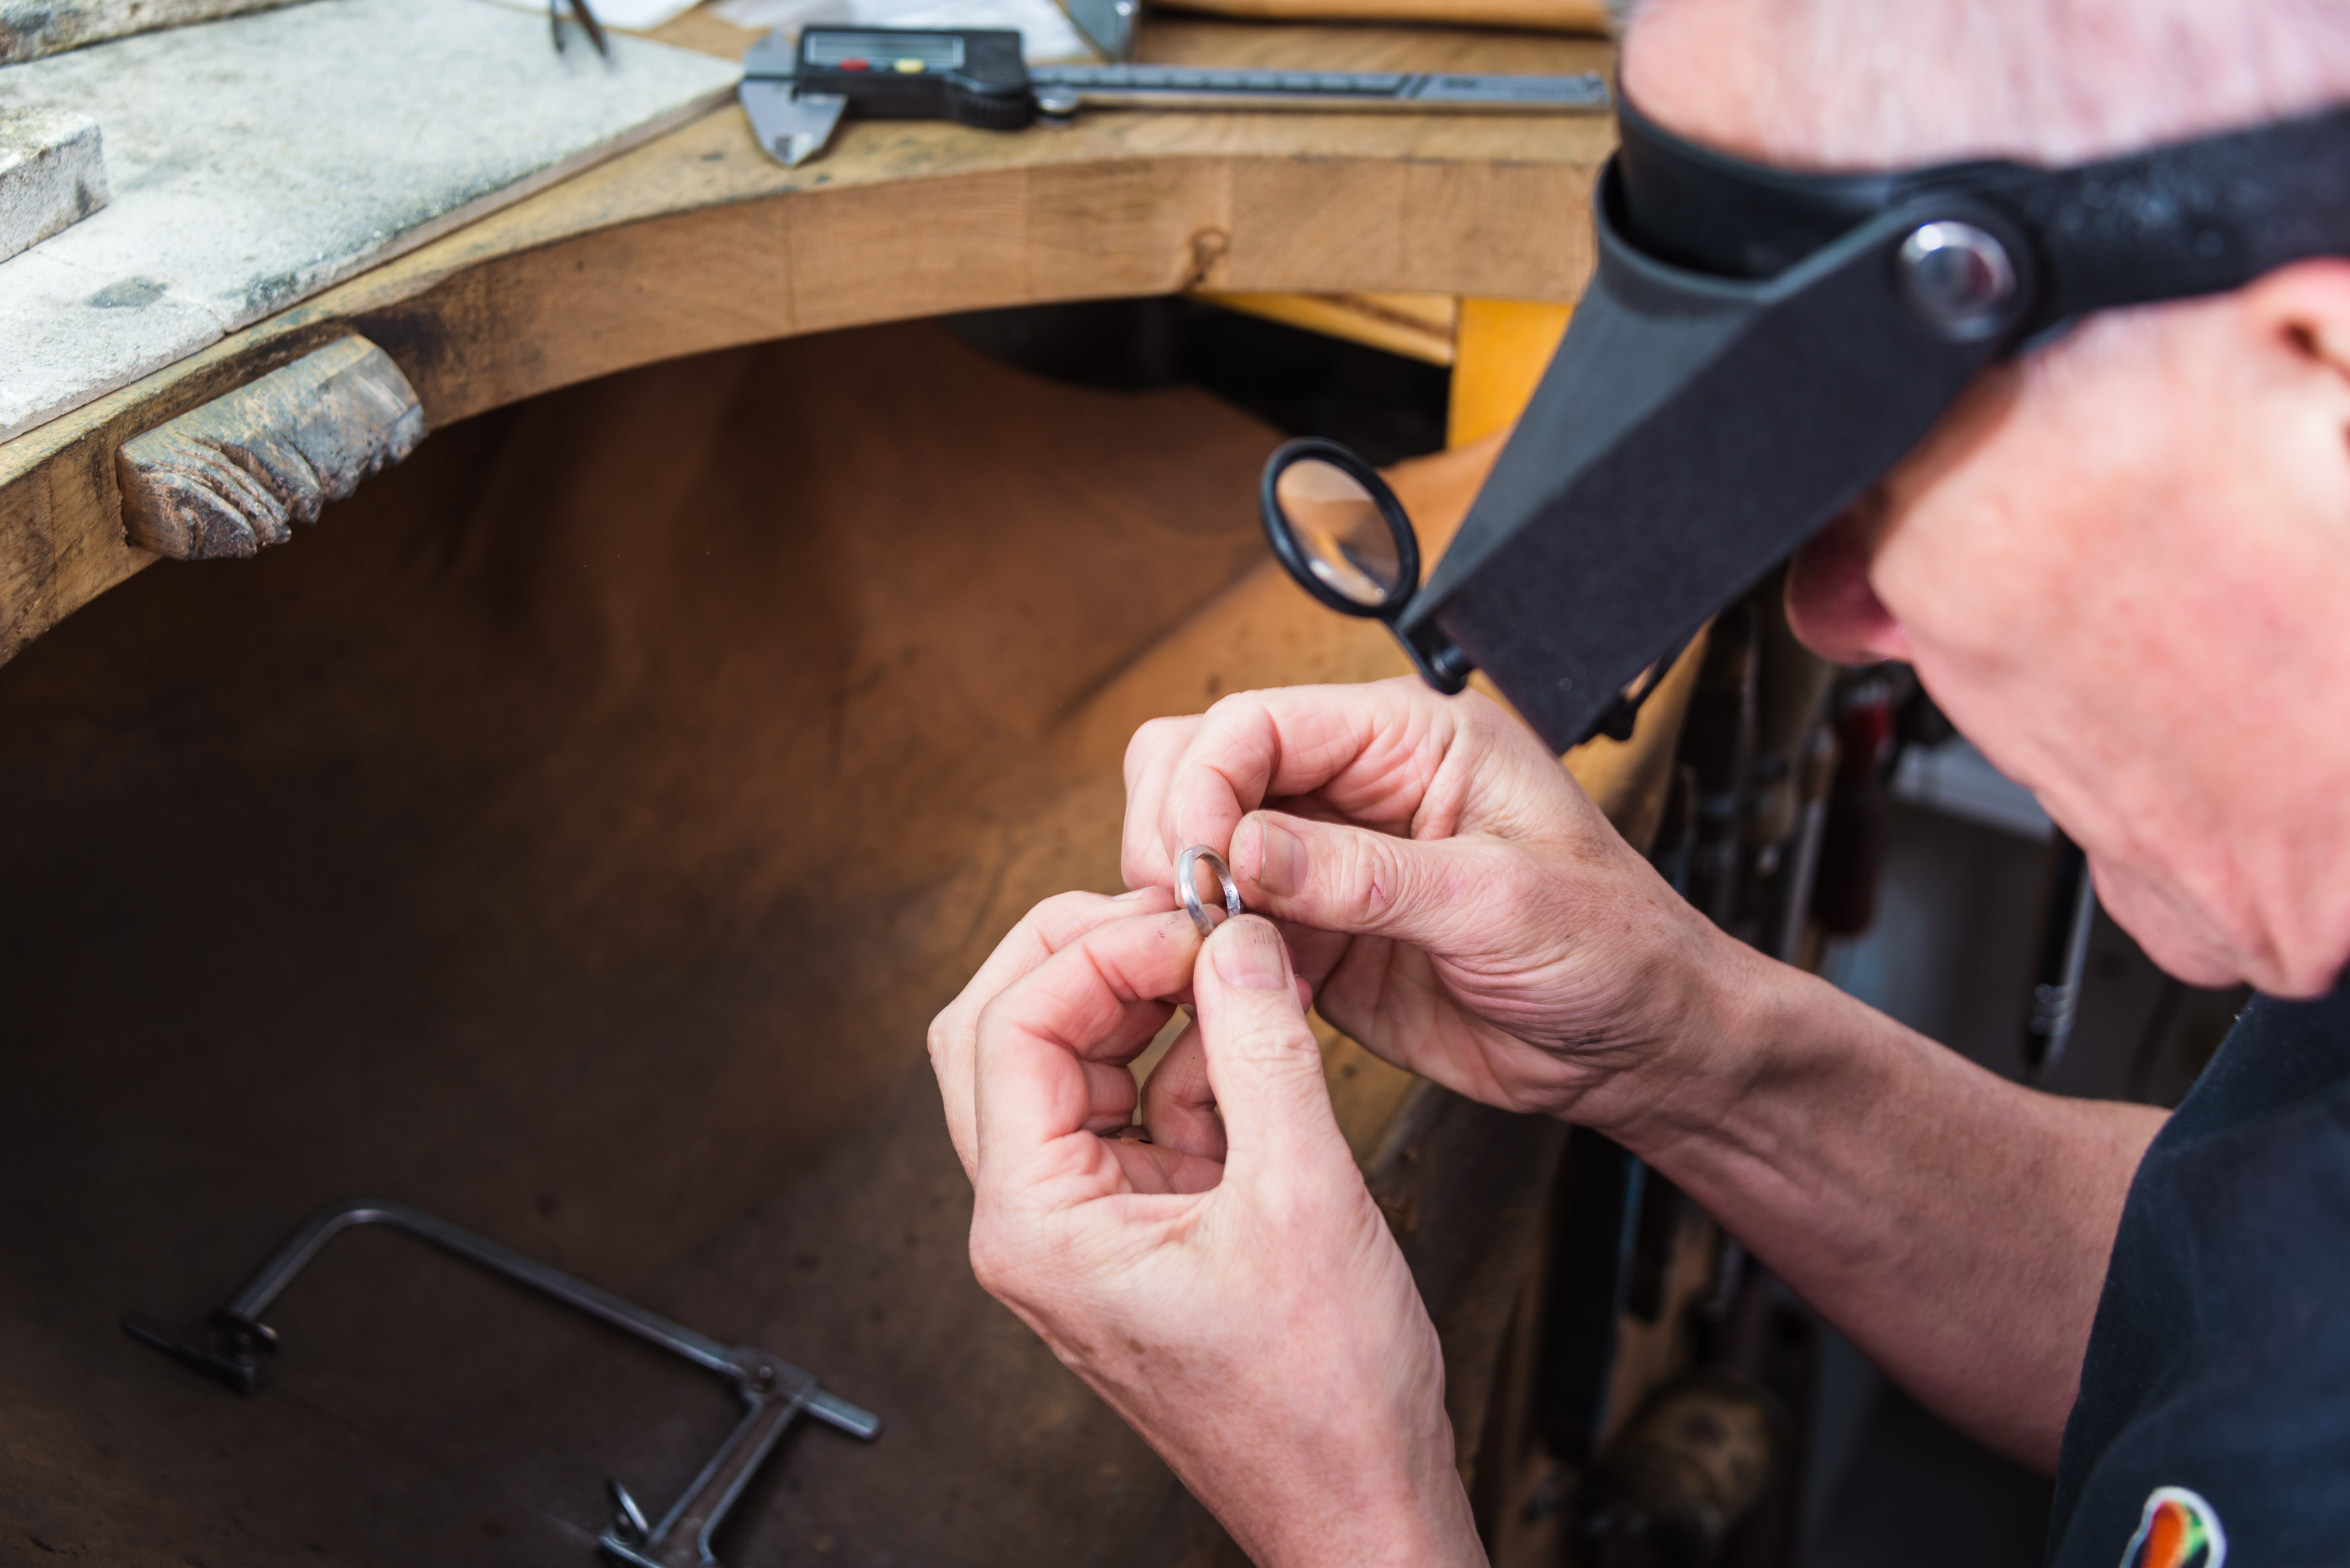
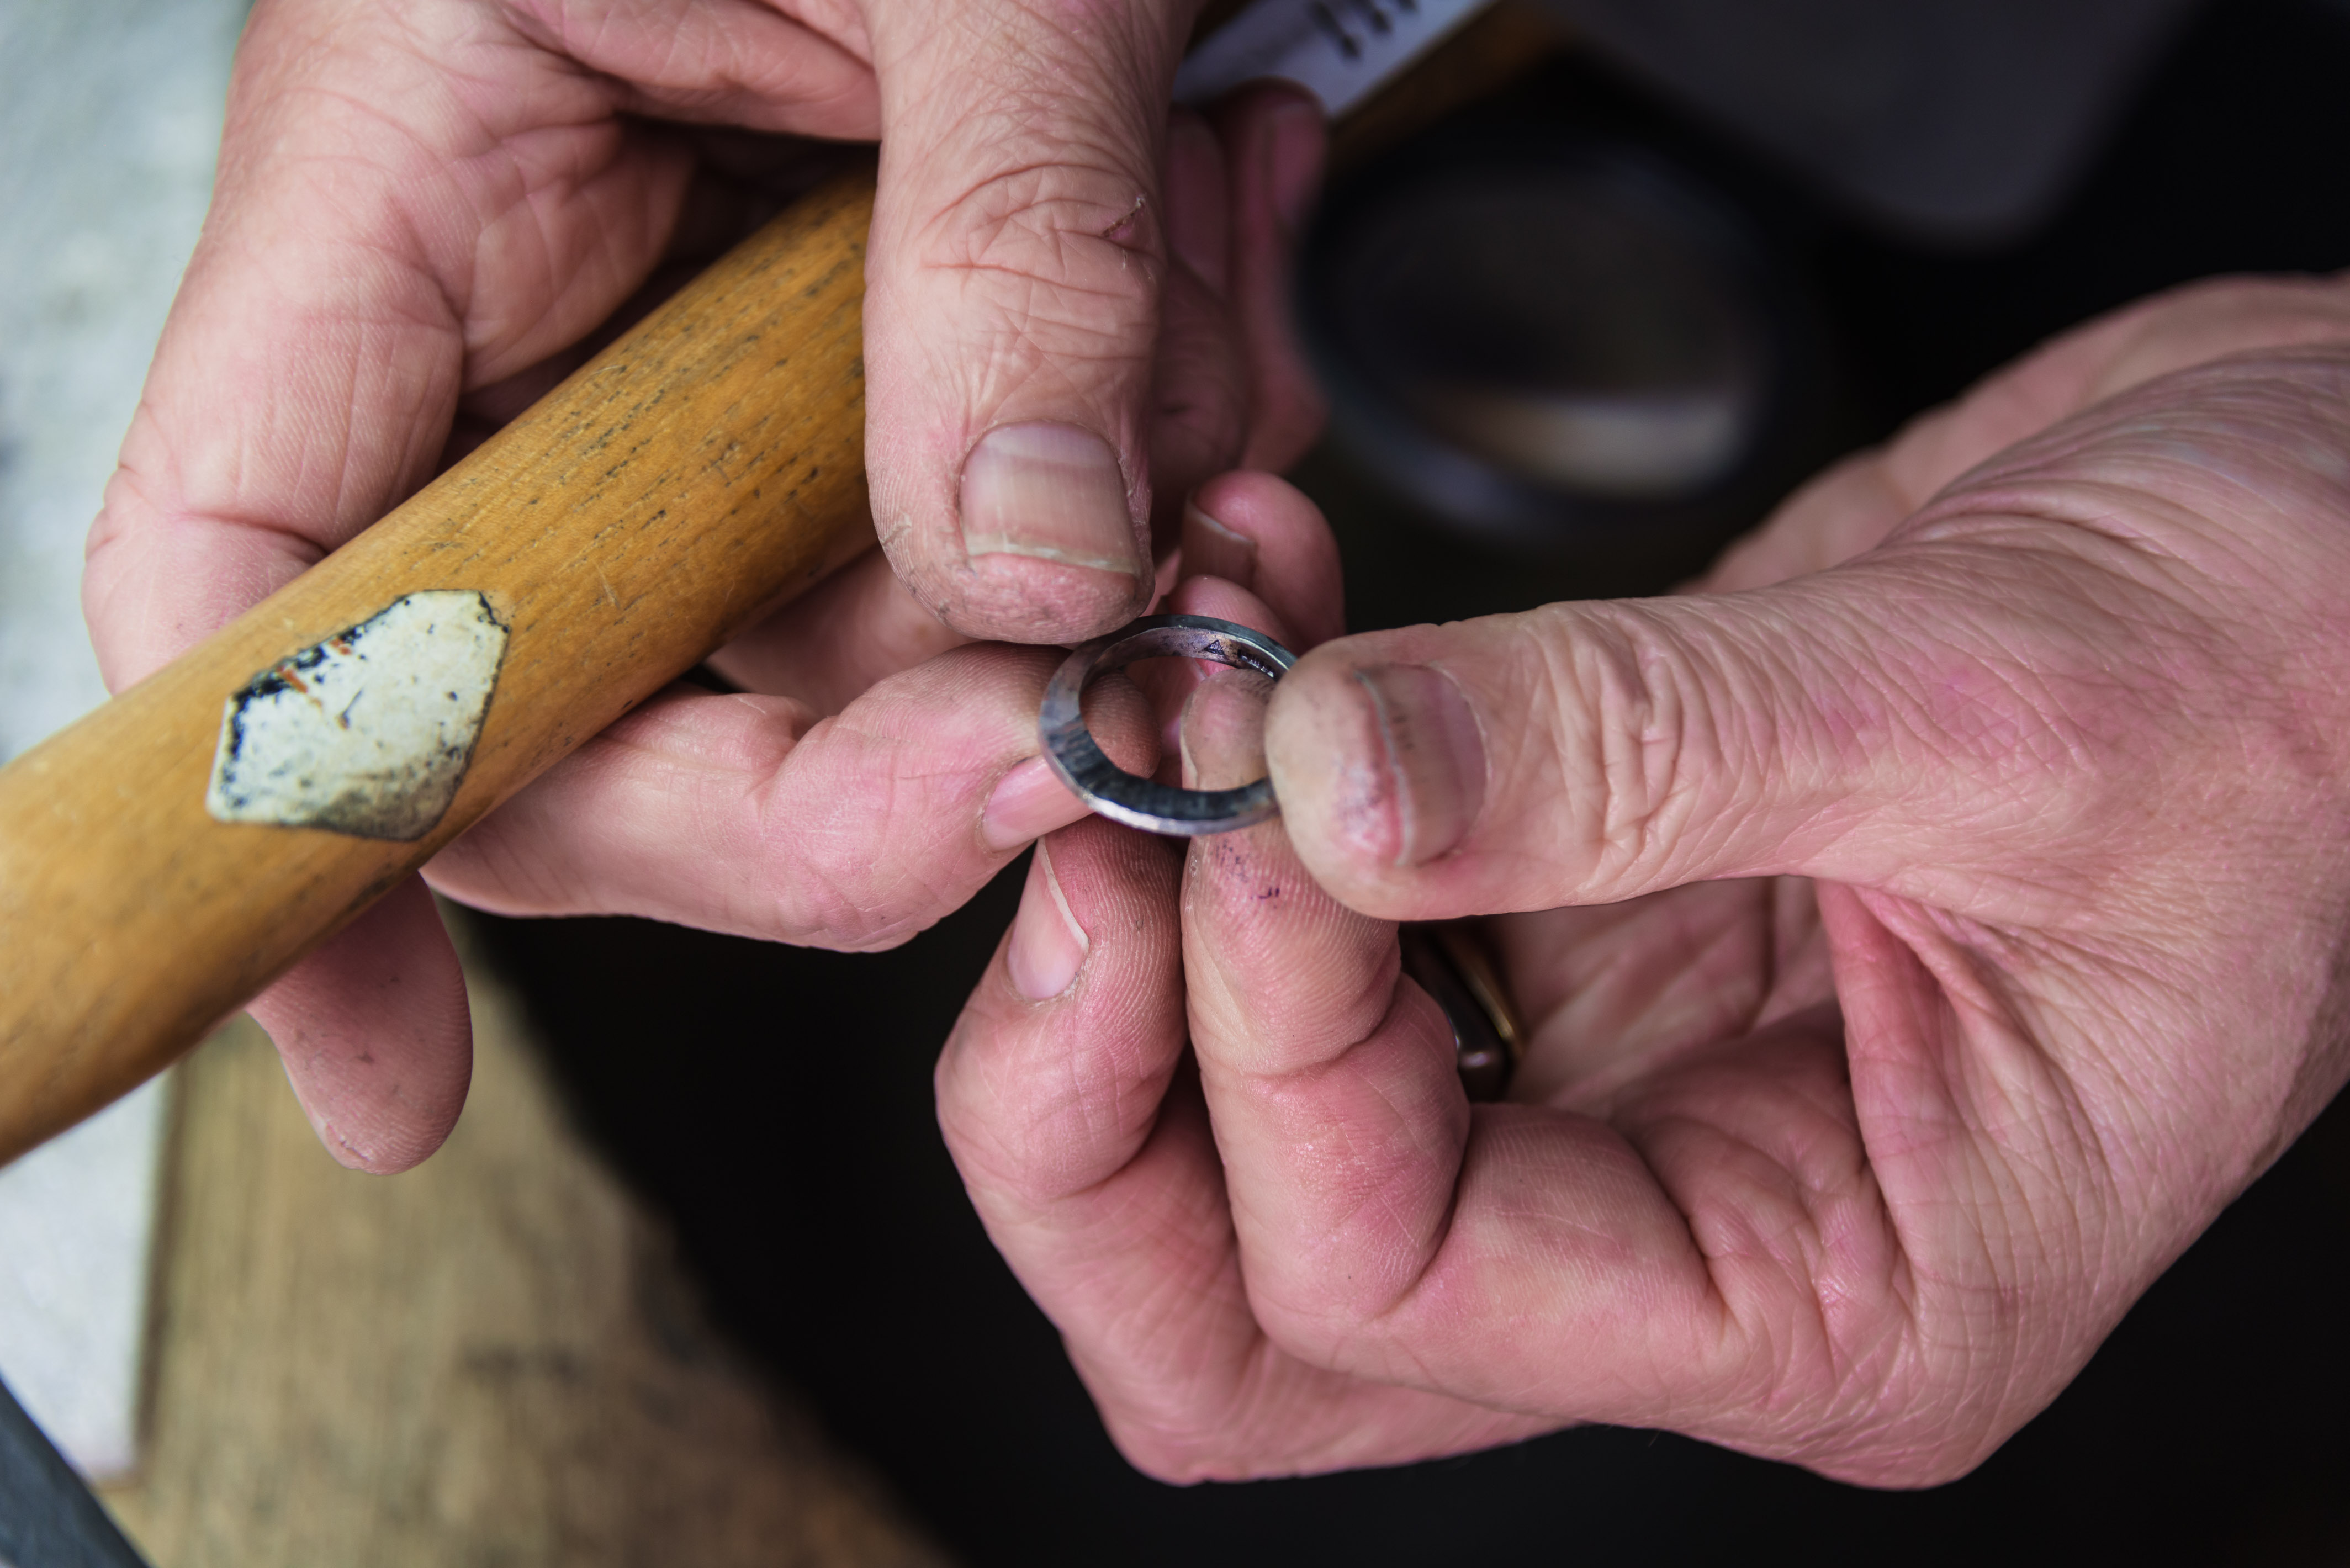
Checking the joint is perfect before soldering.
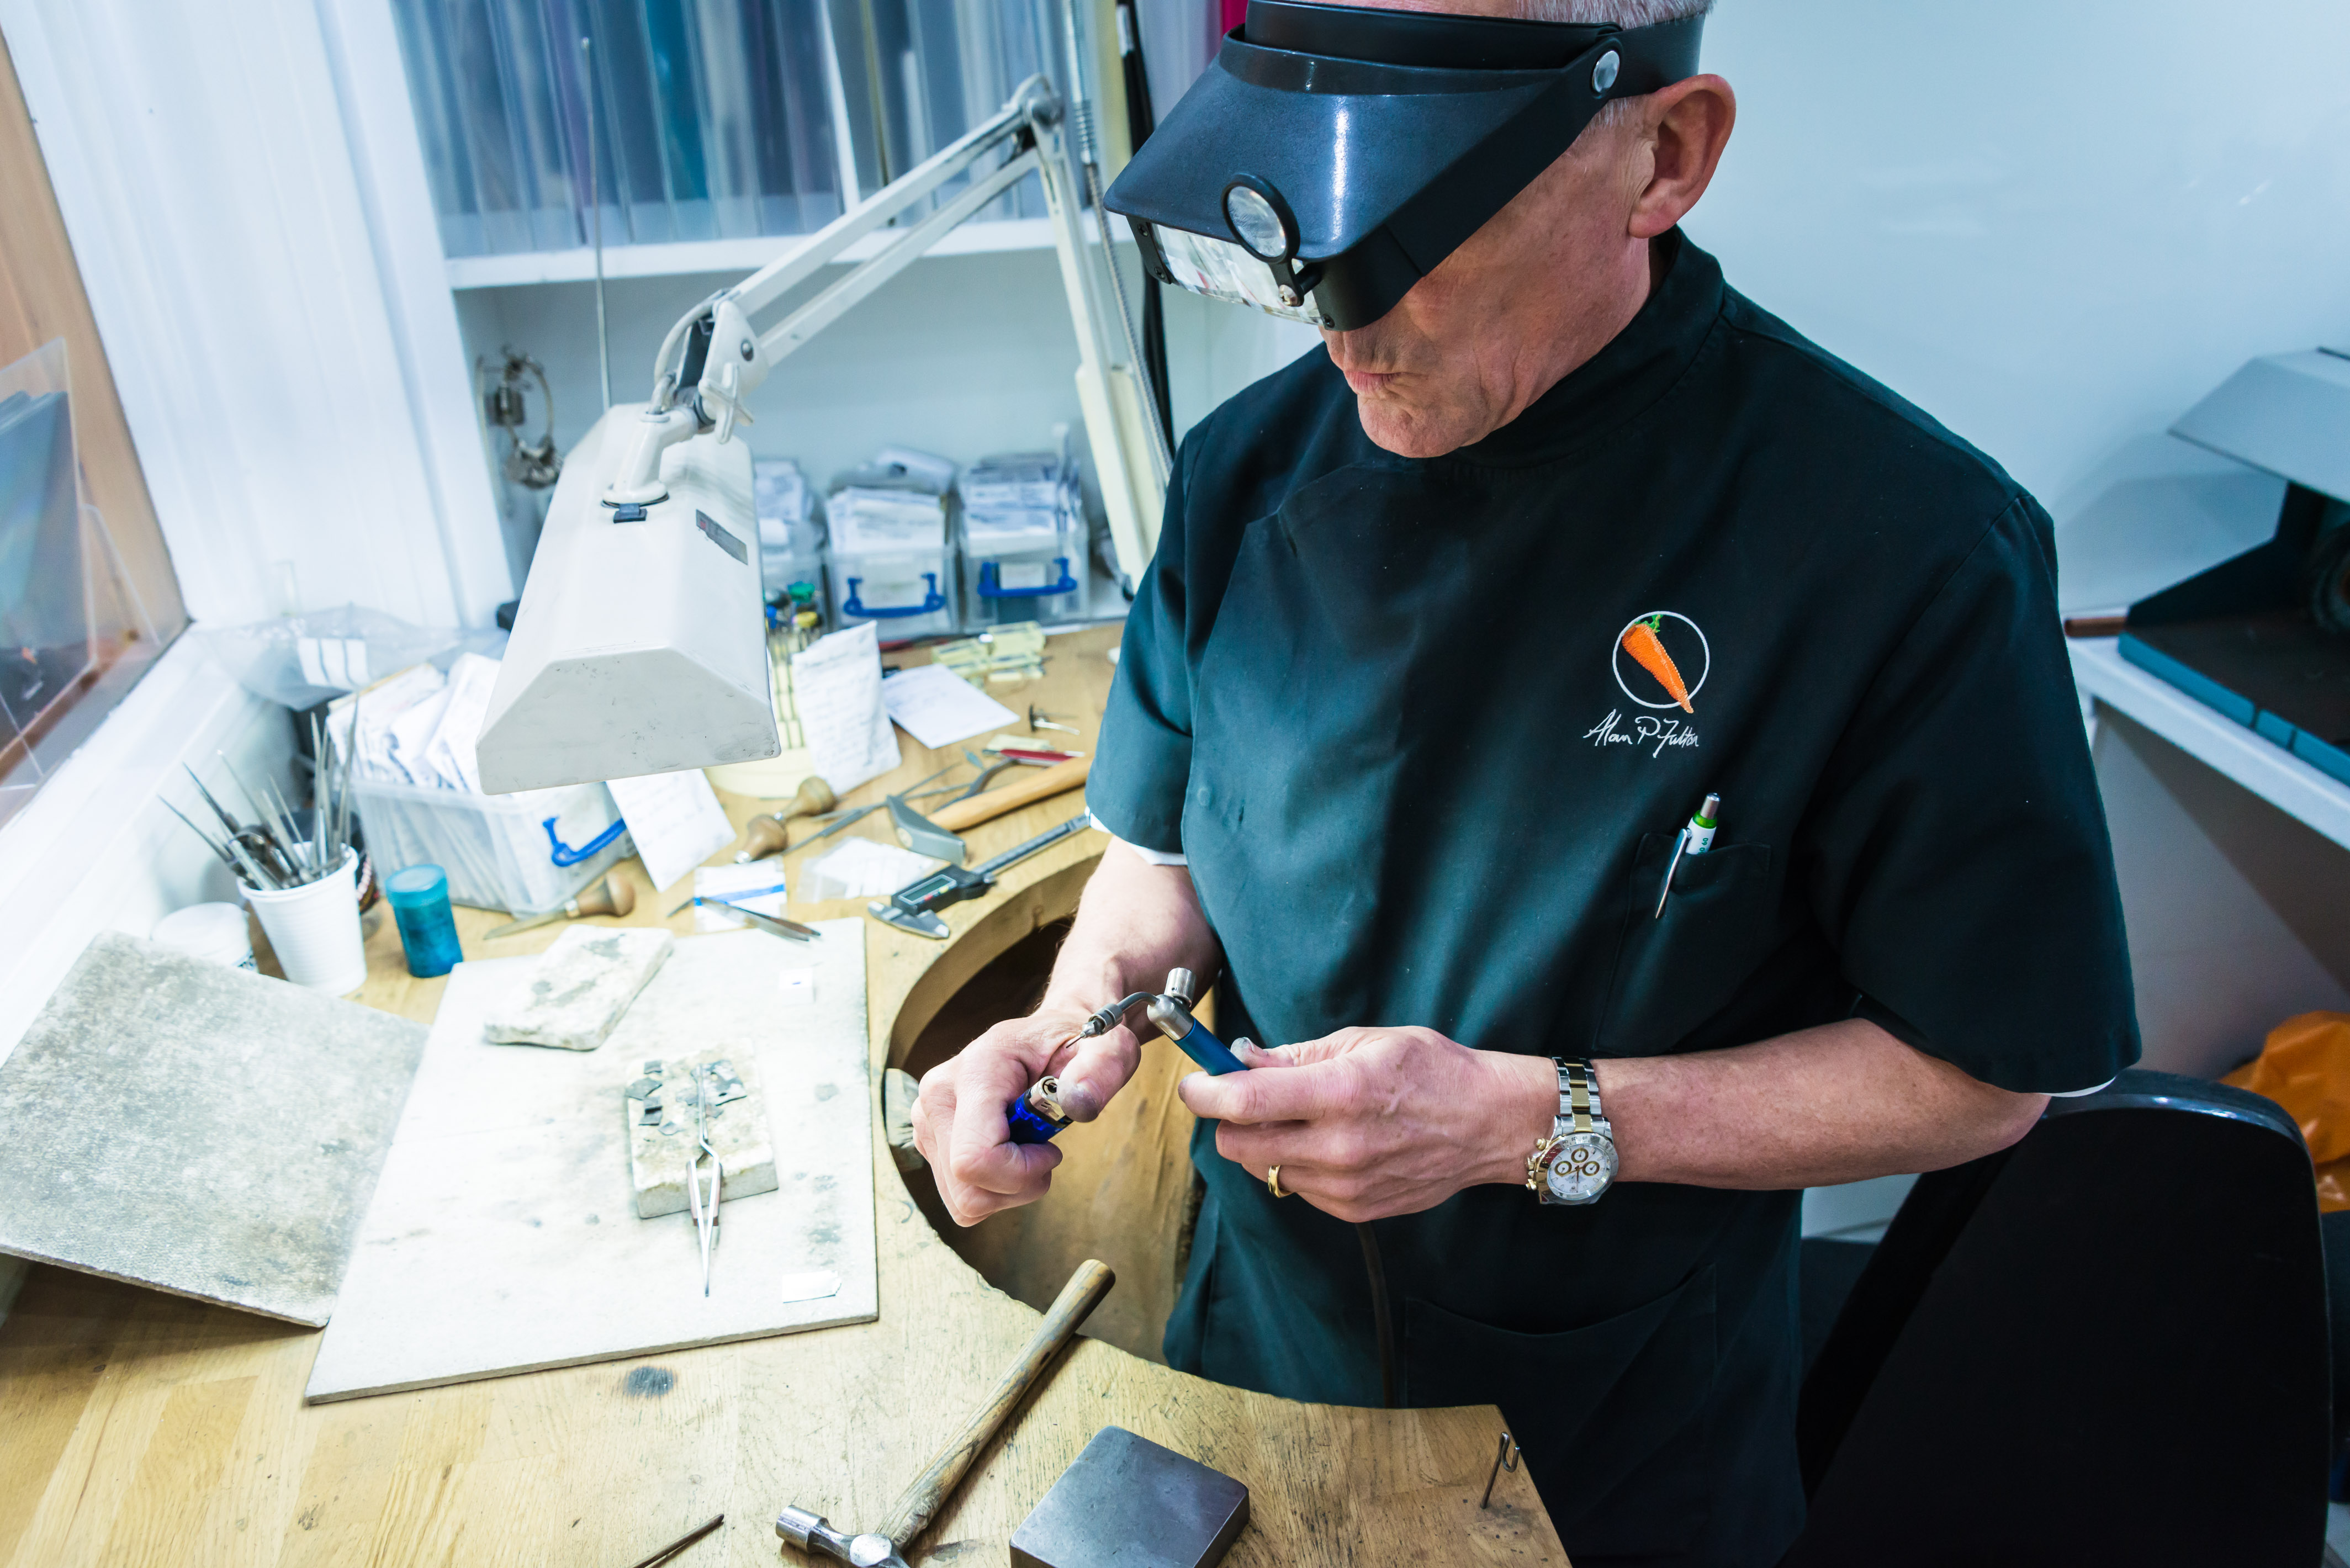
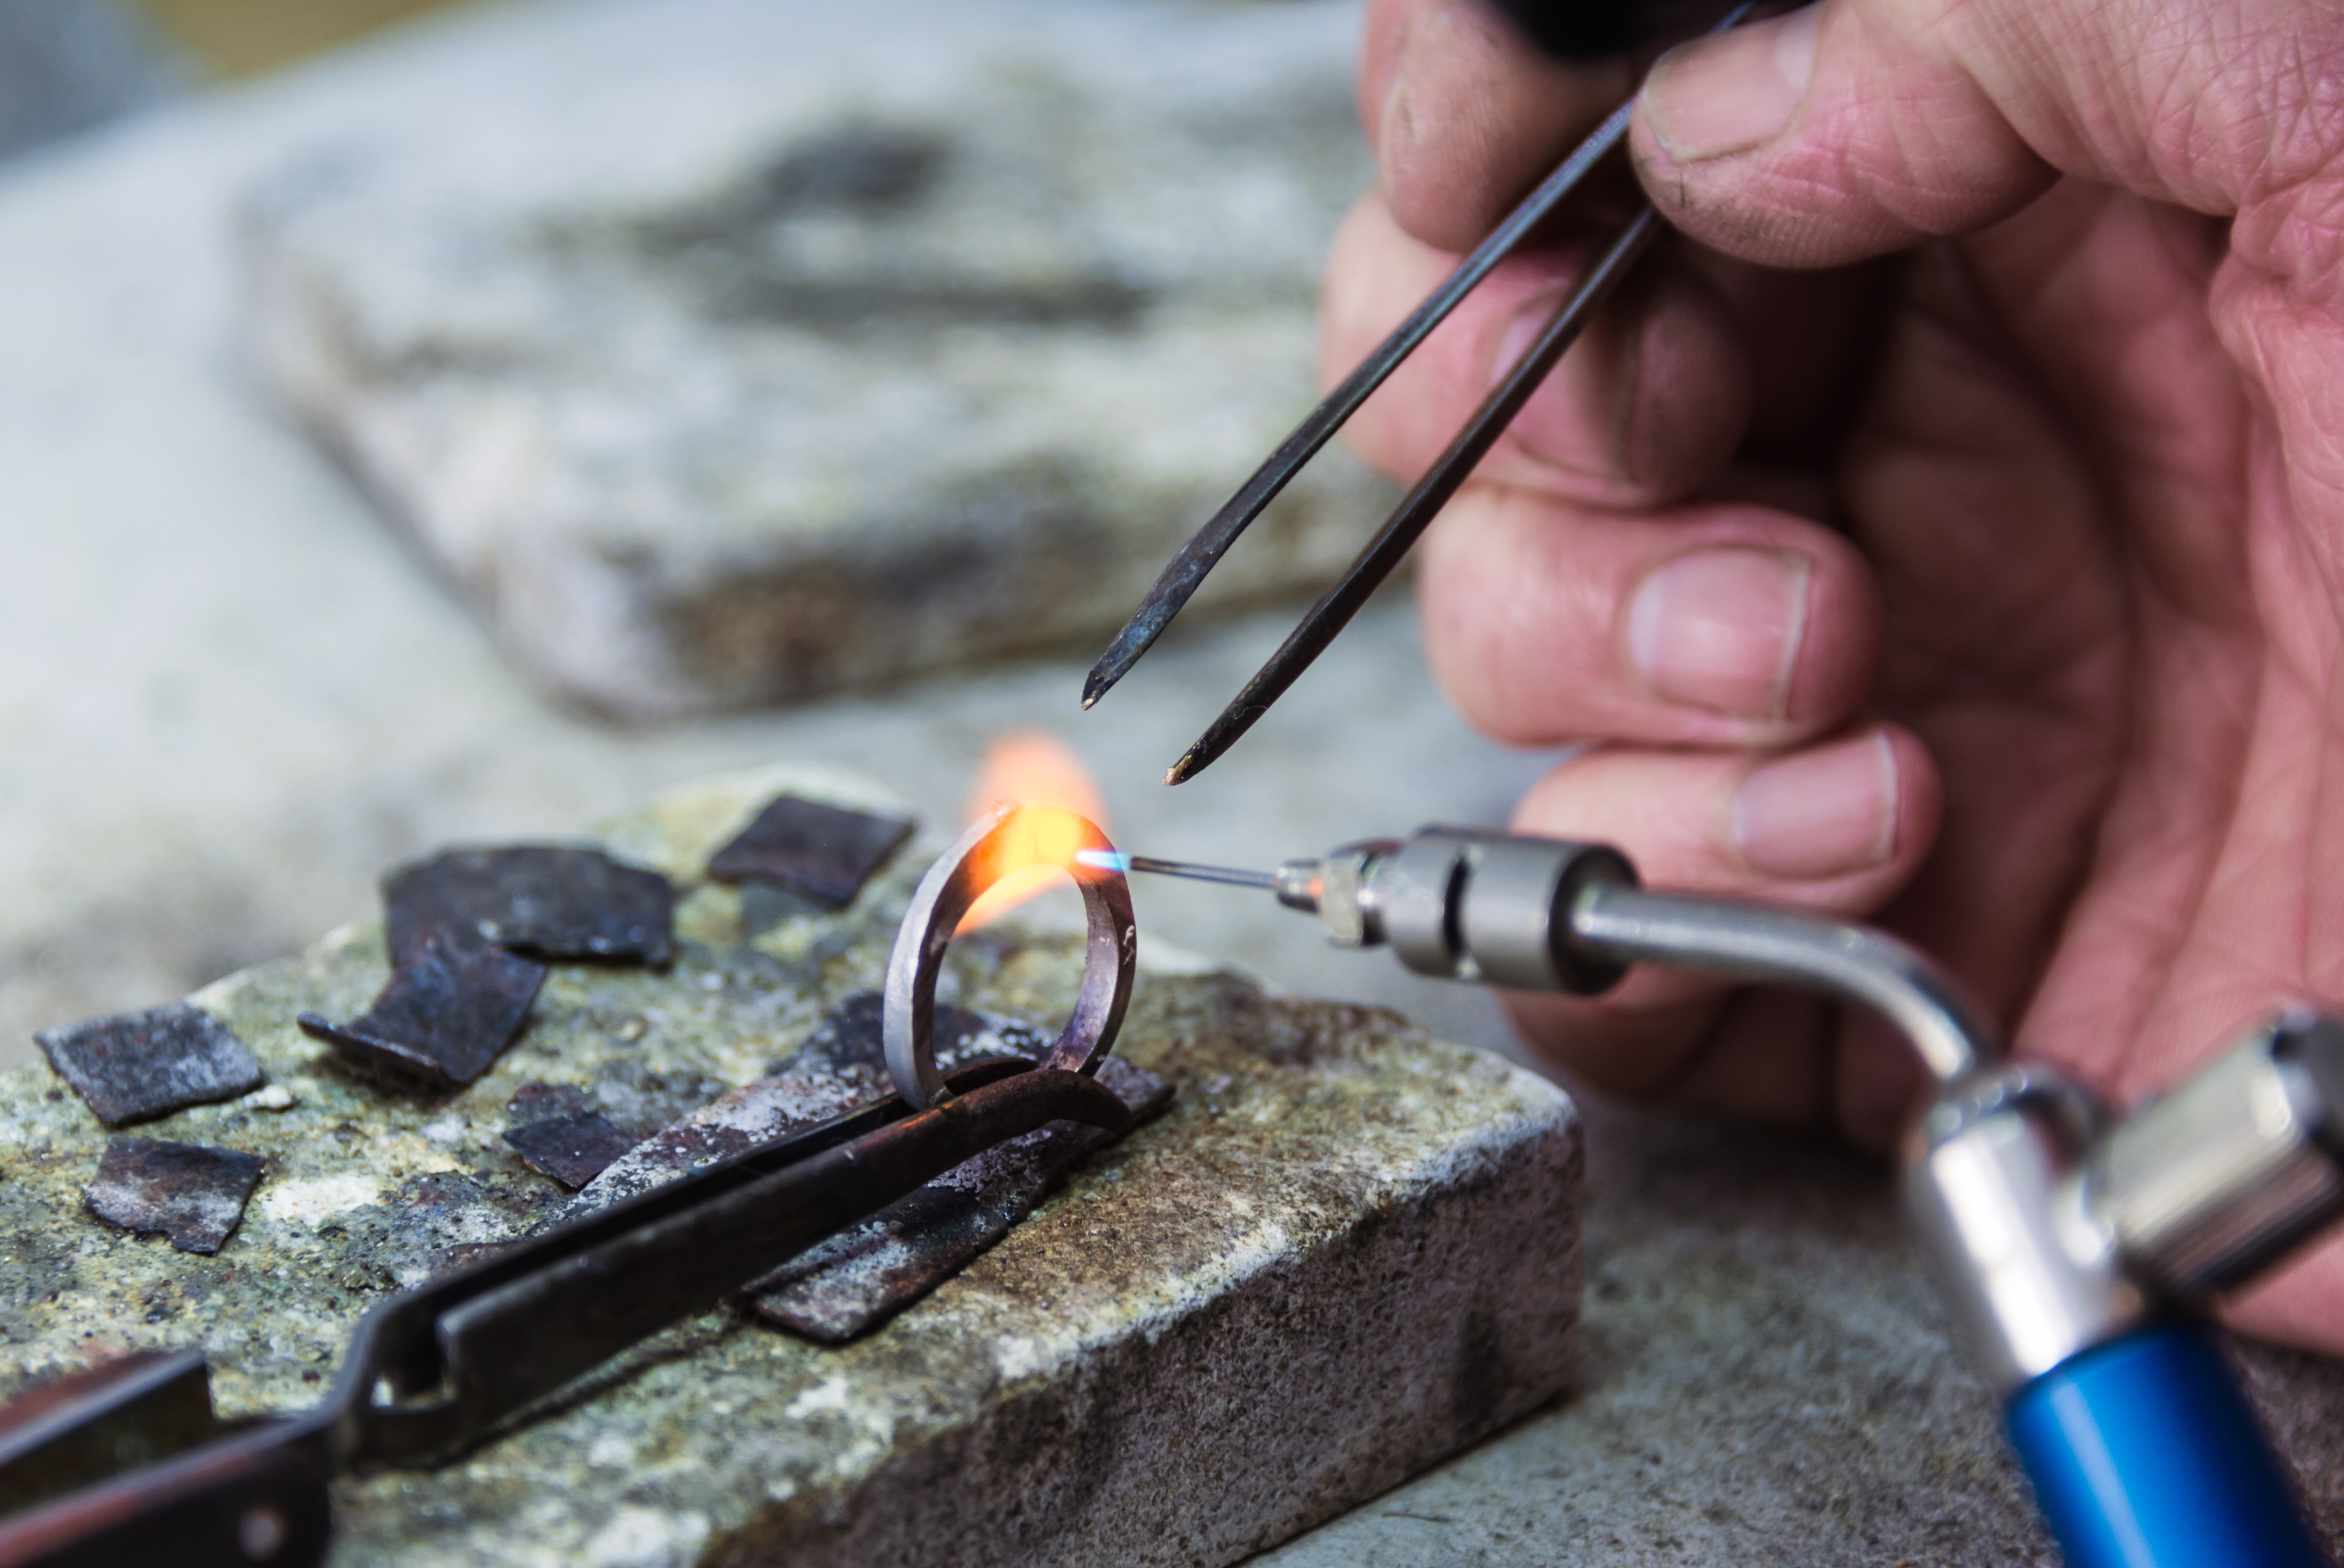
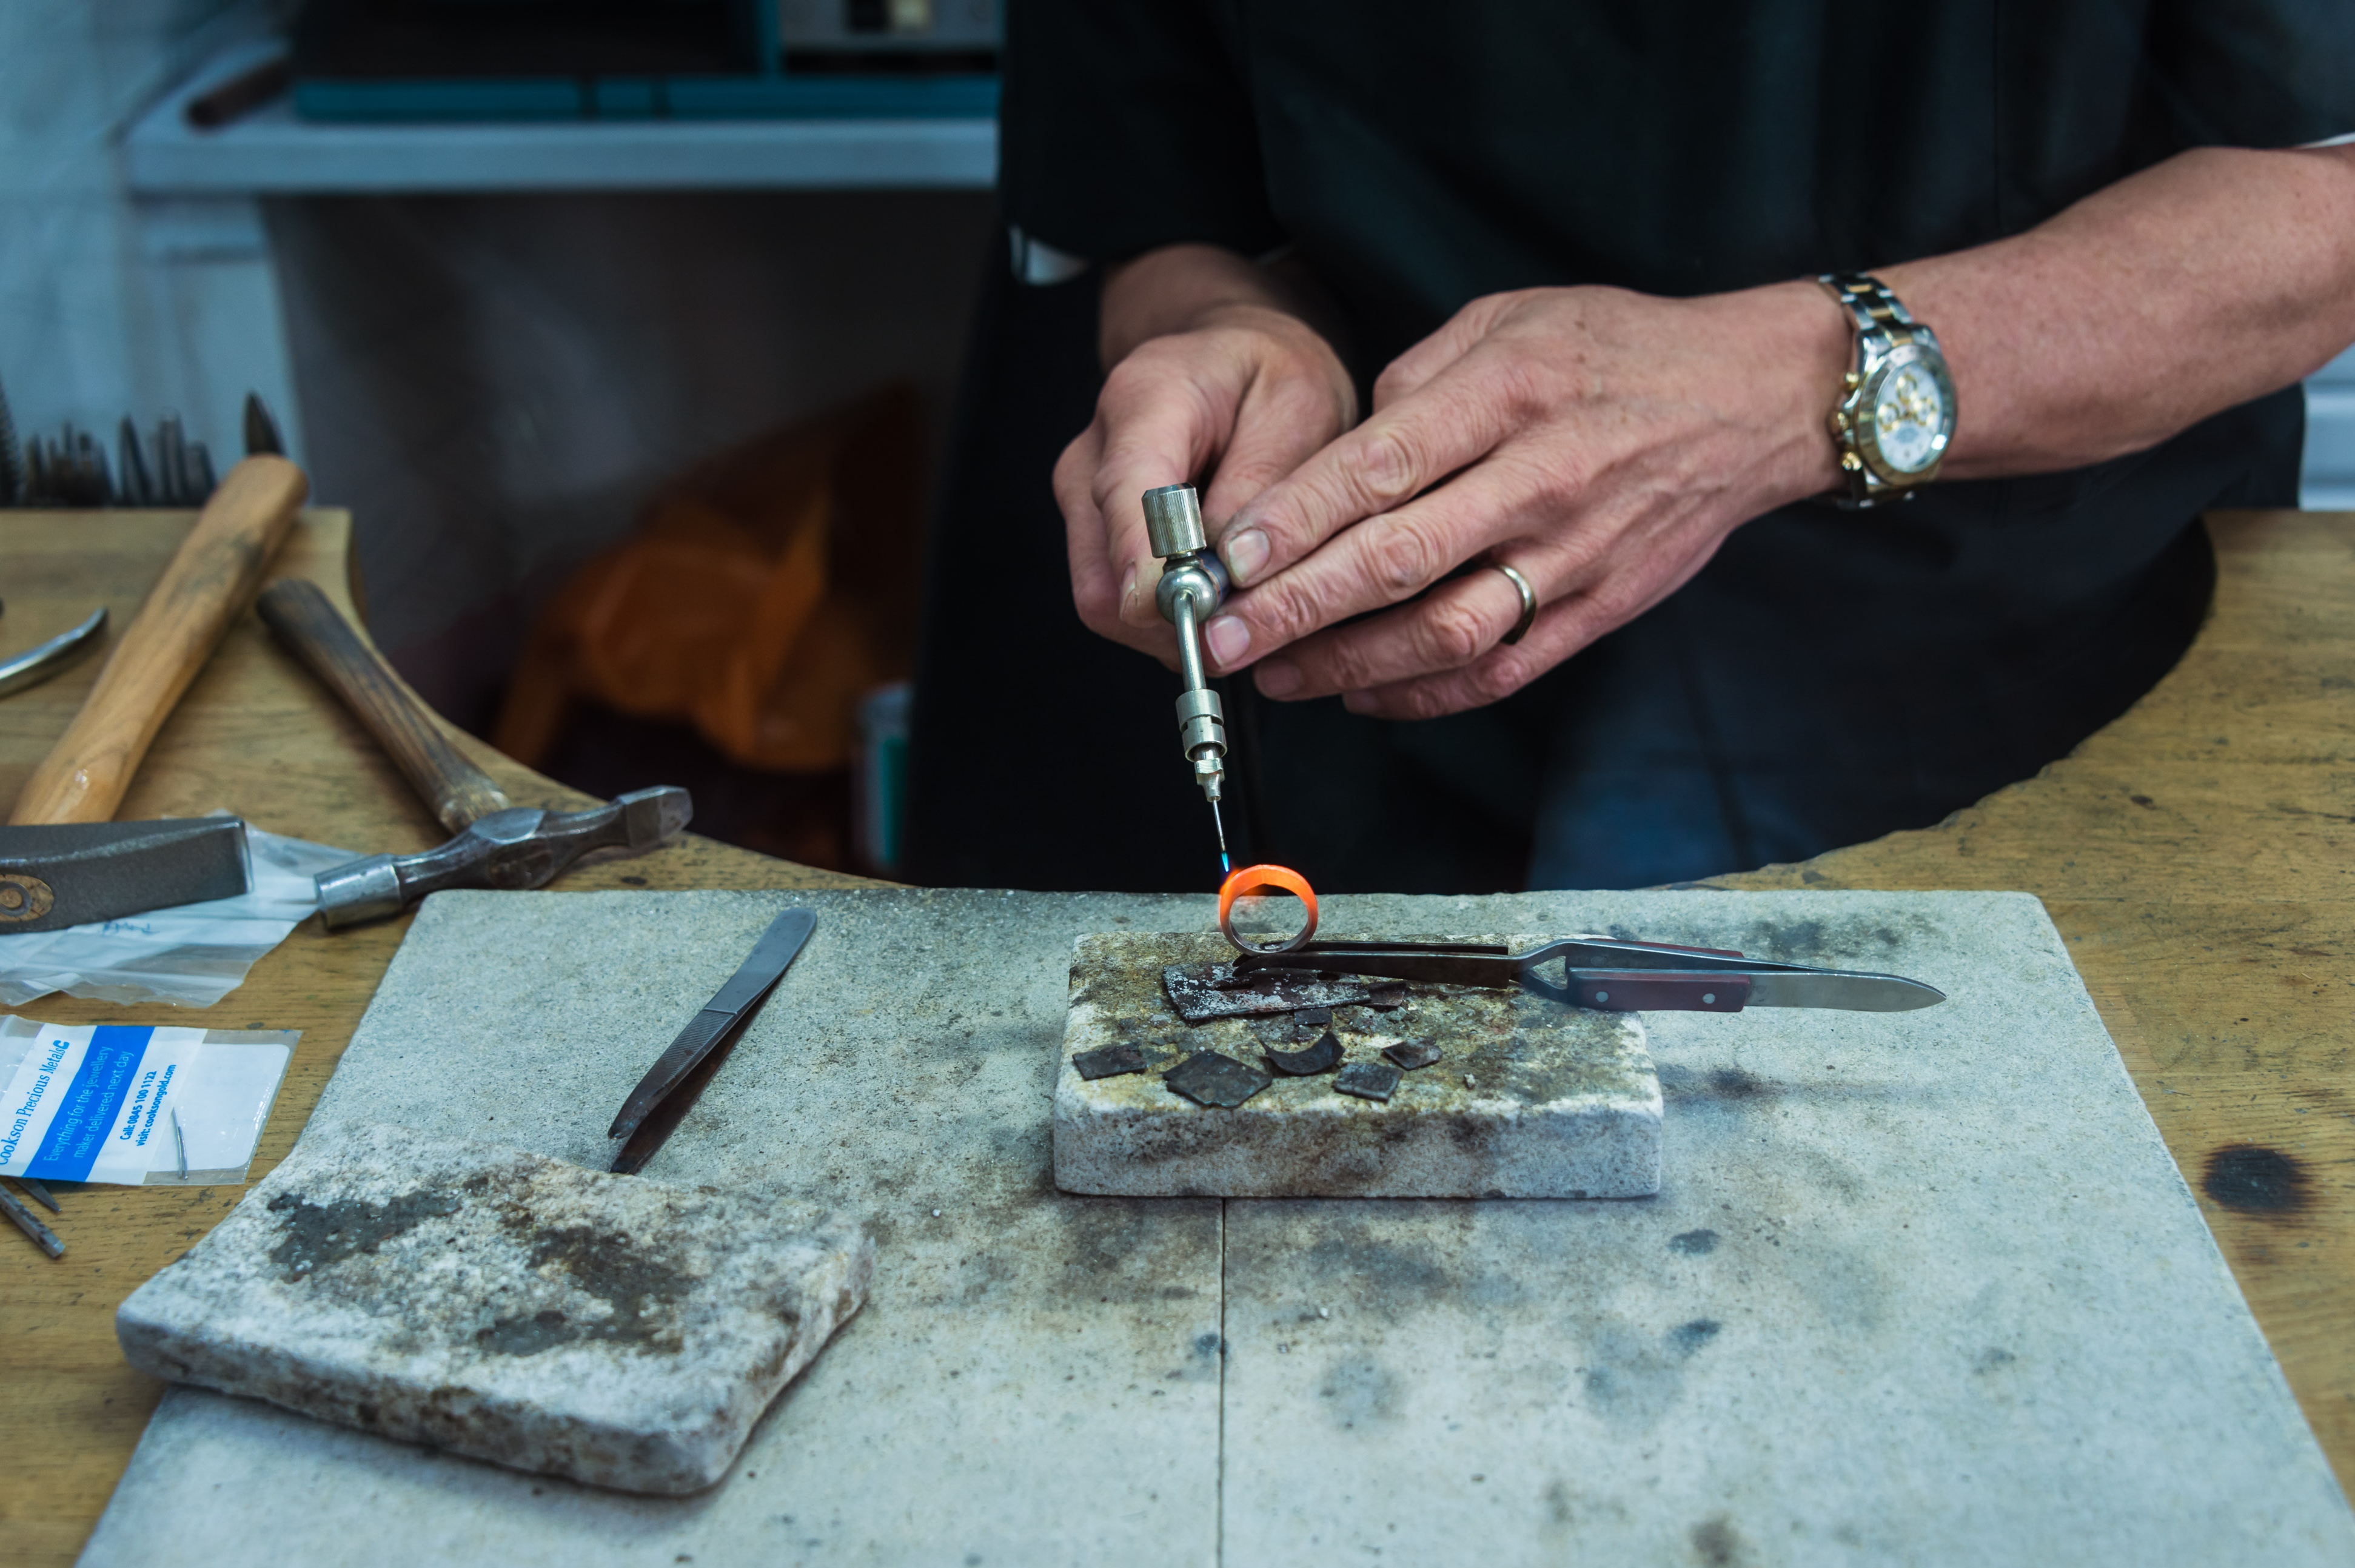
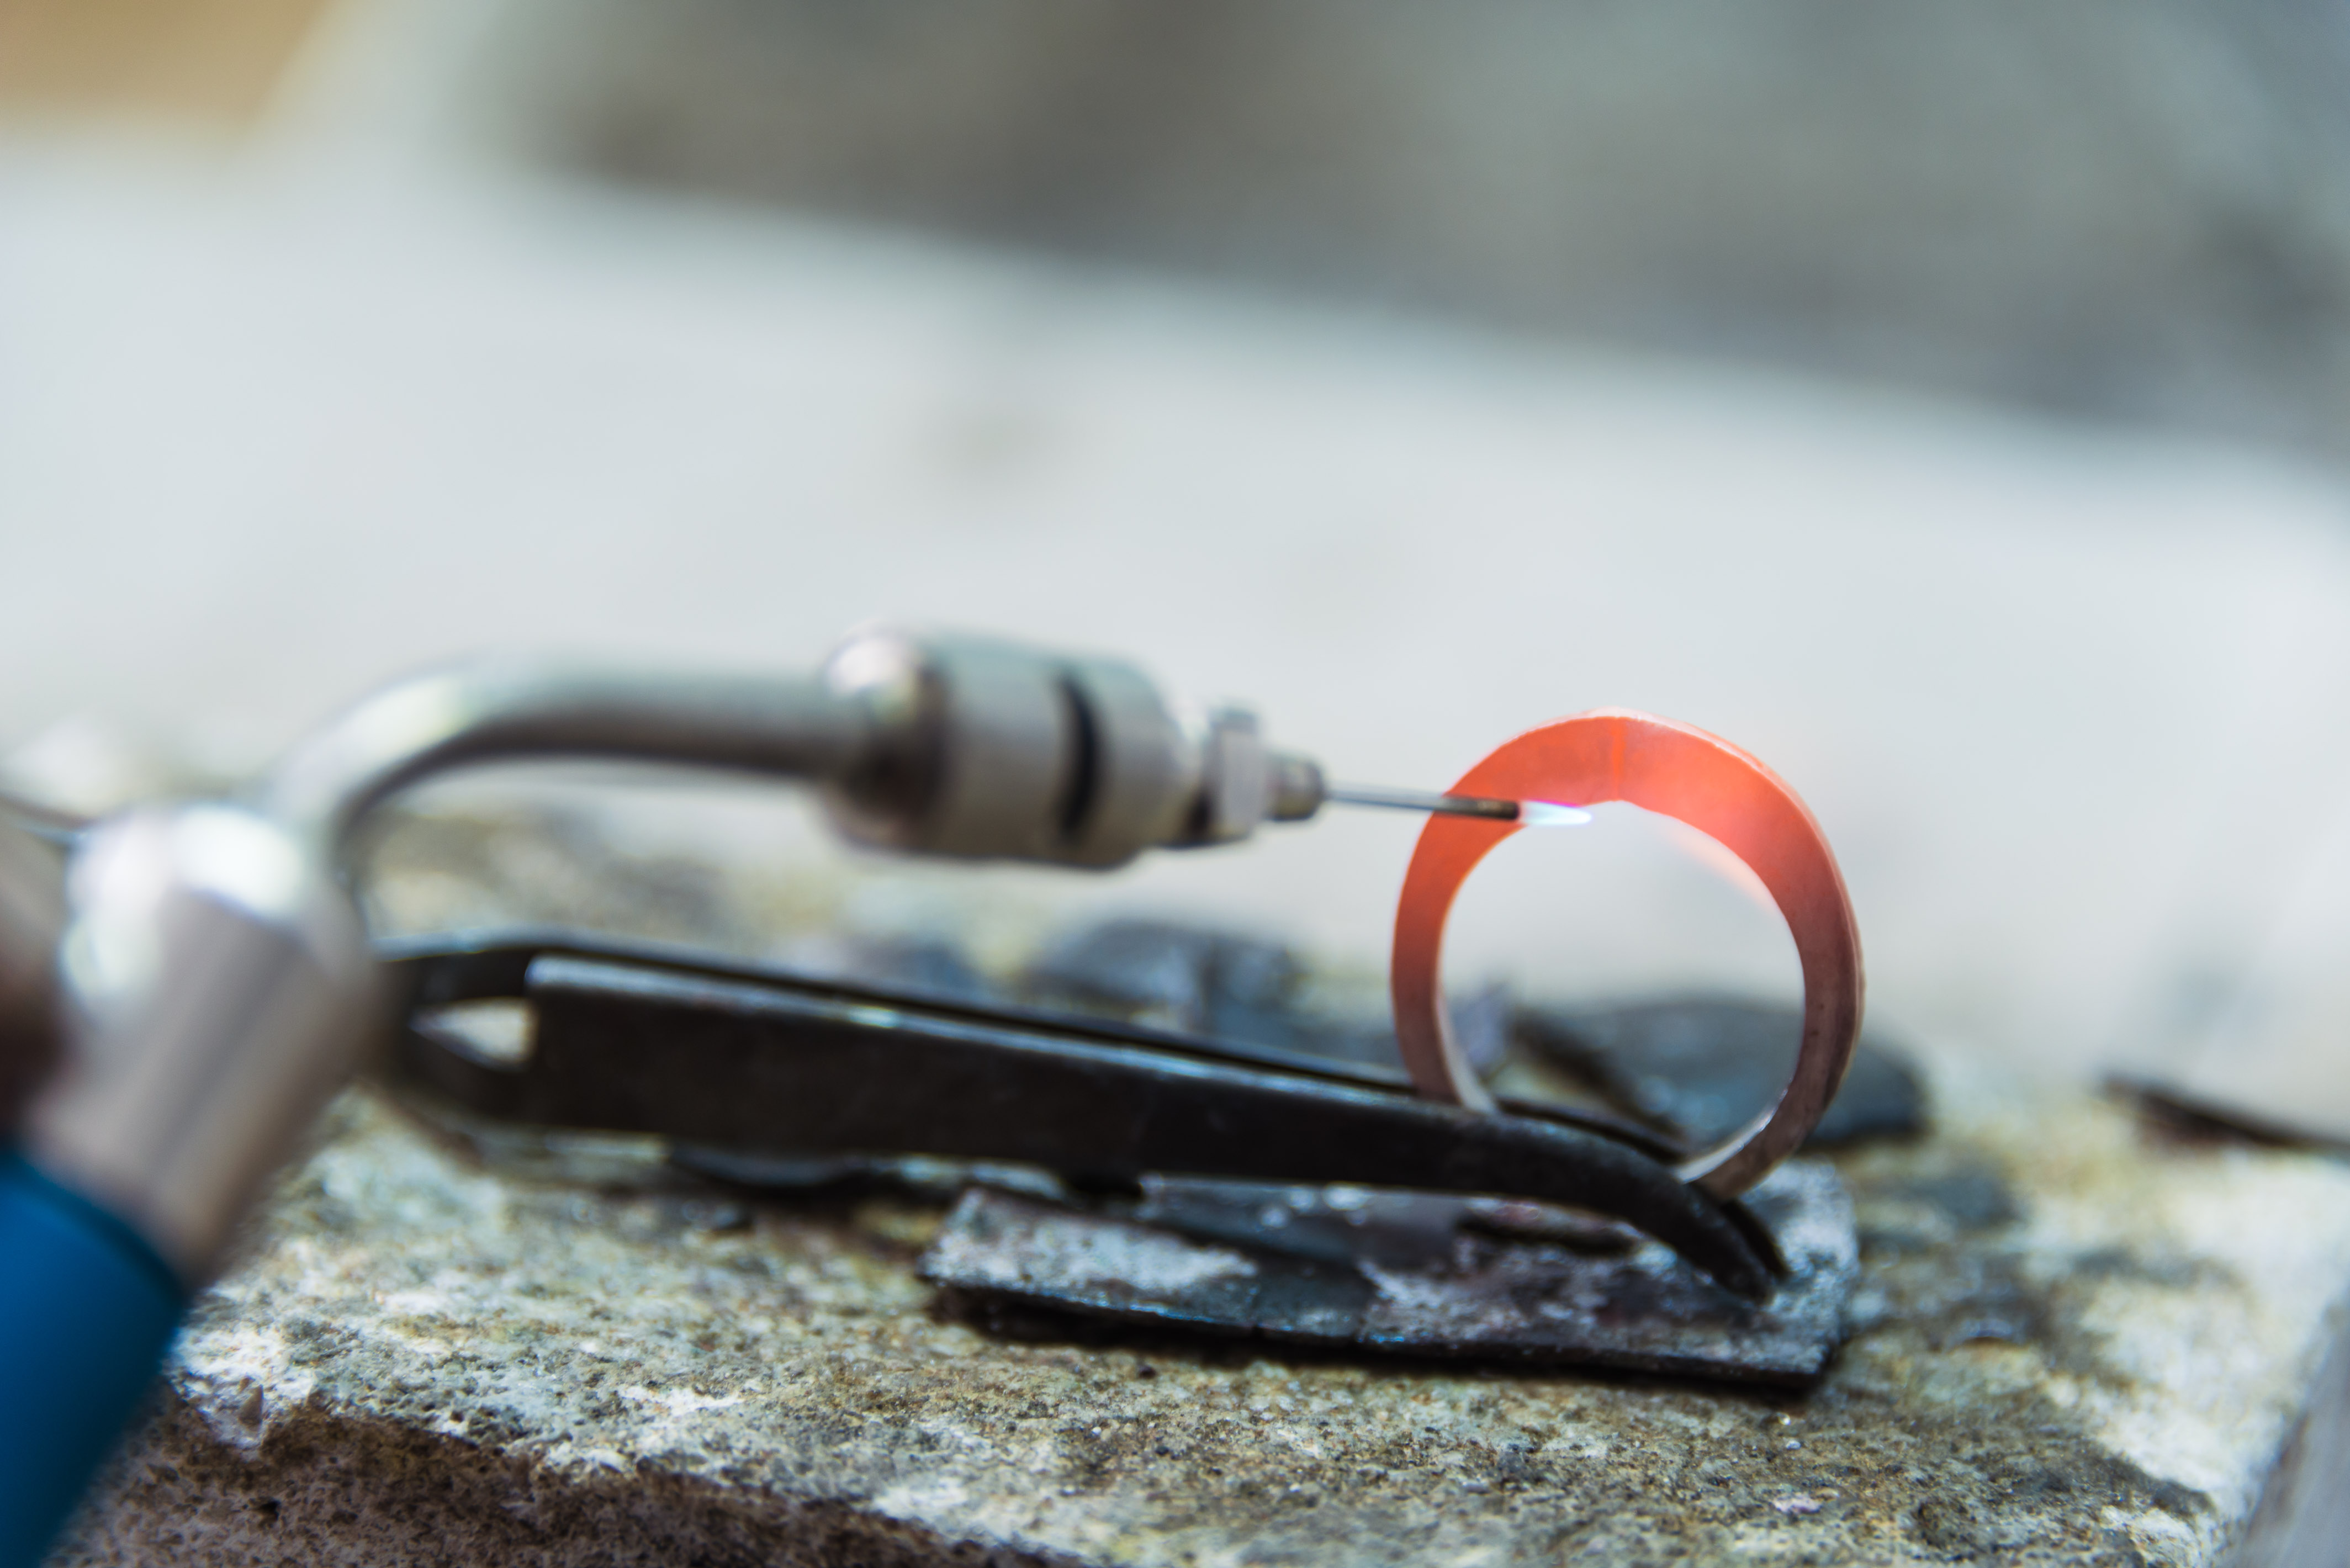
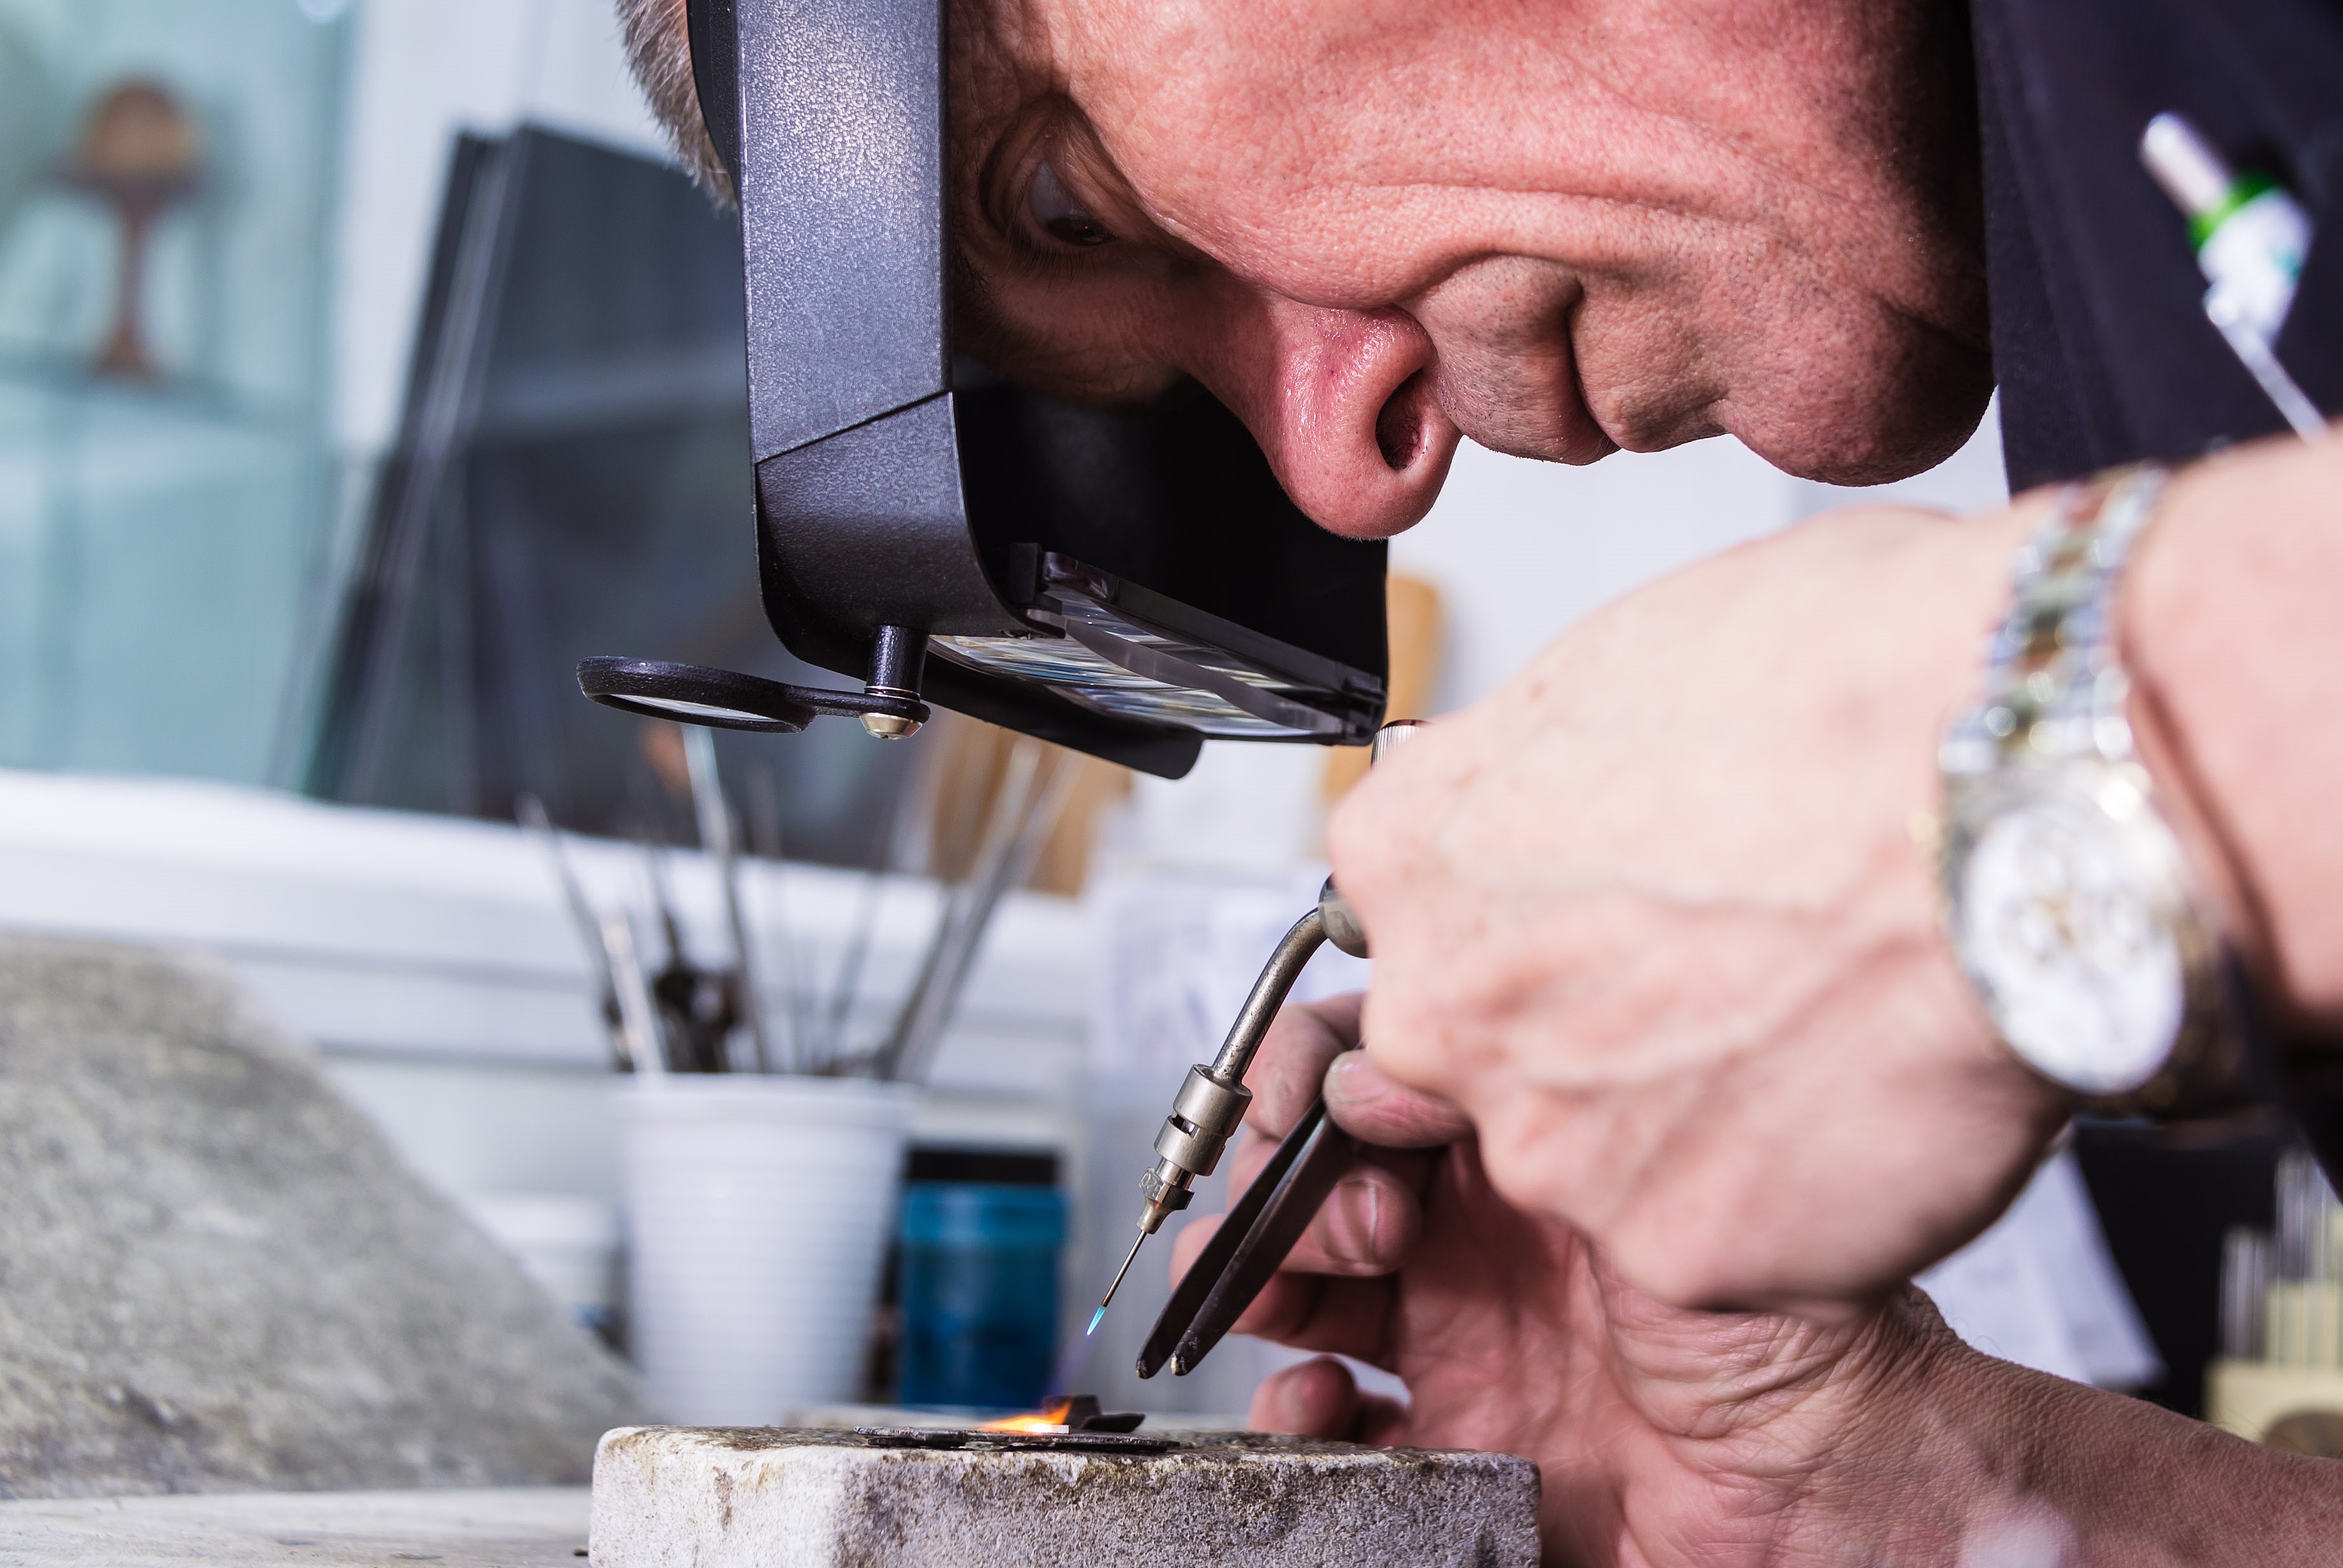
The micro flame used for soldering has a number of different sized torch tips giving pencil point sized flames. The flame temperature of this is 1800C, hot enough to melt platinum which has a melting point of 1768C.
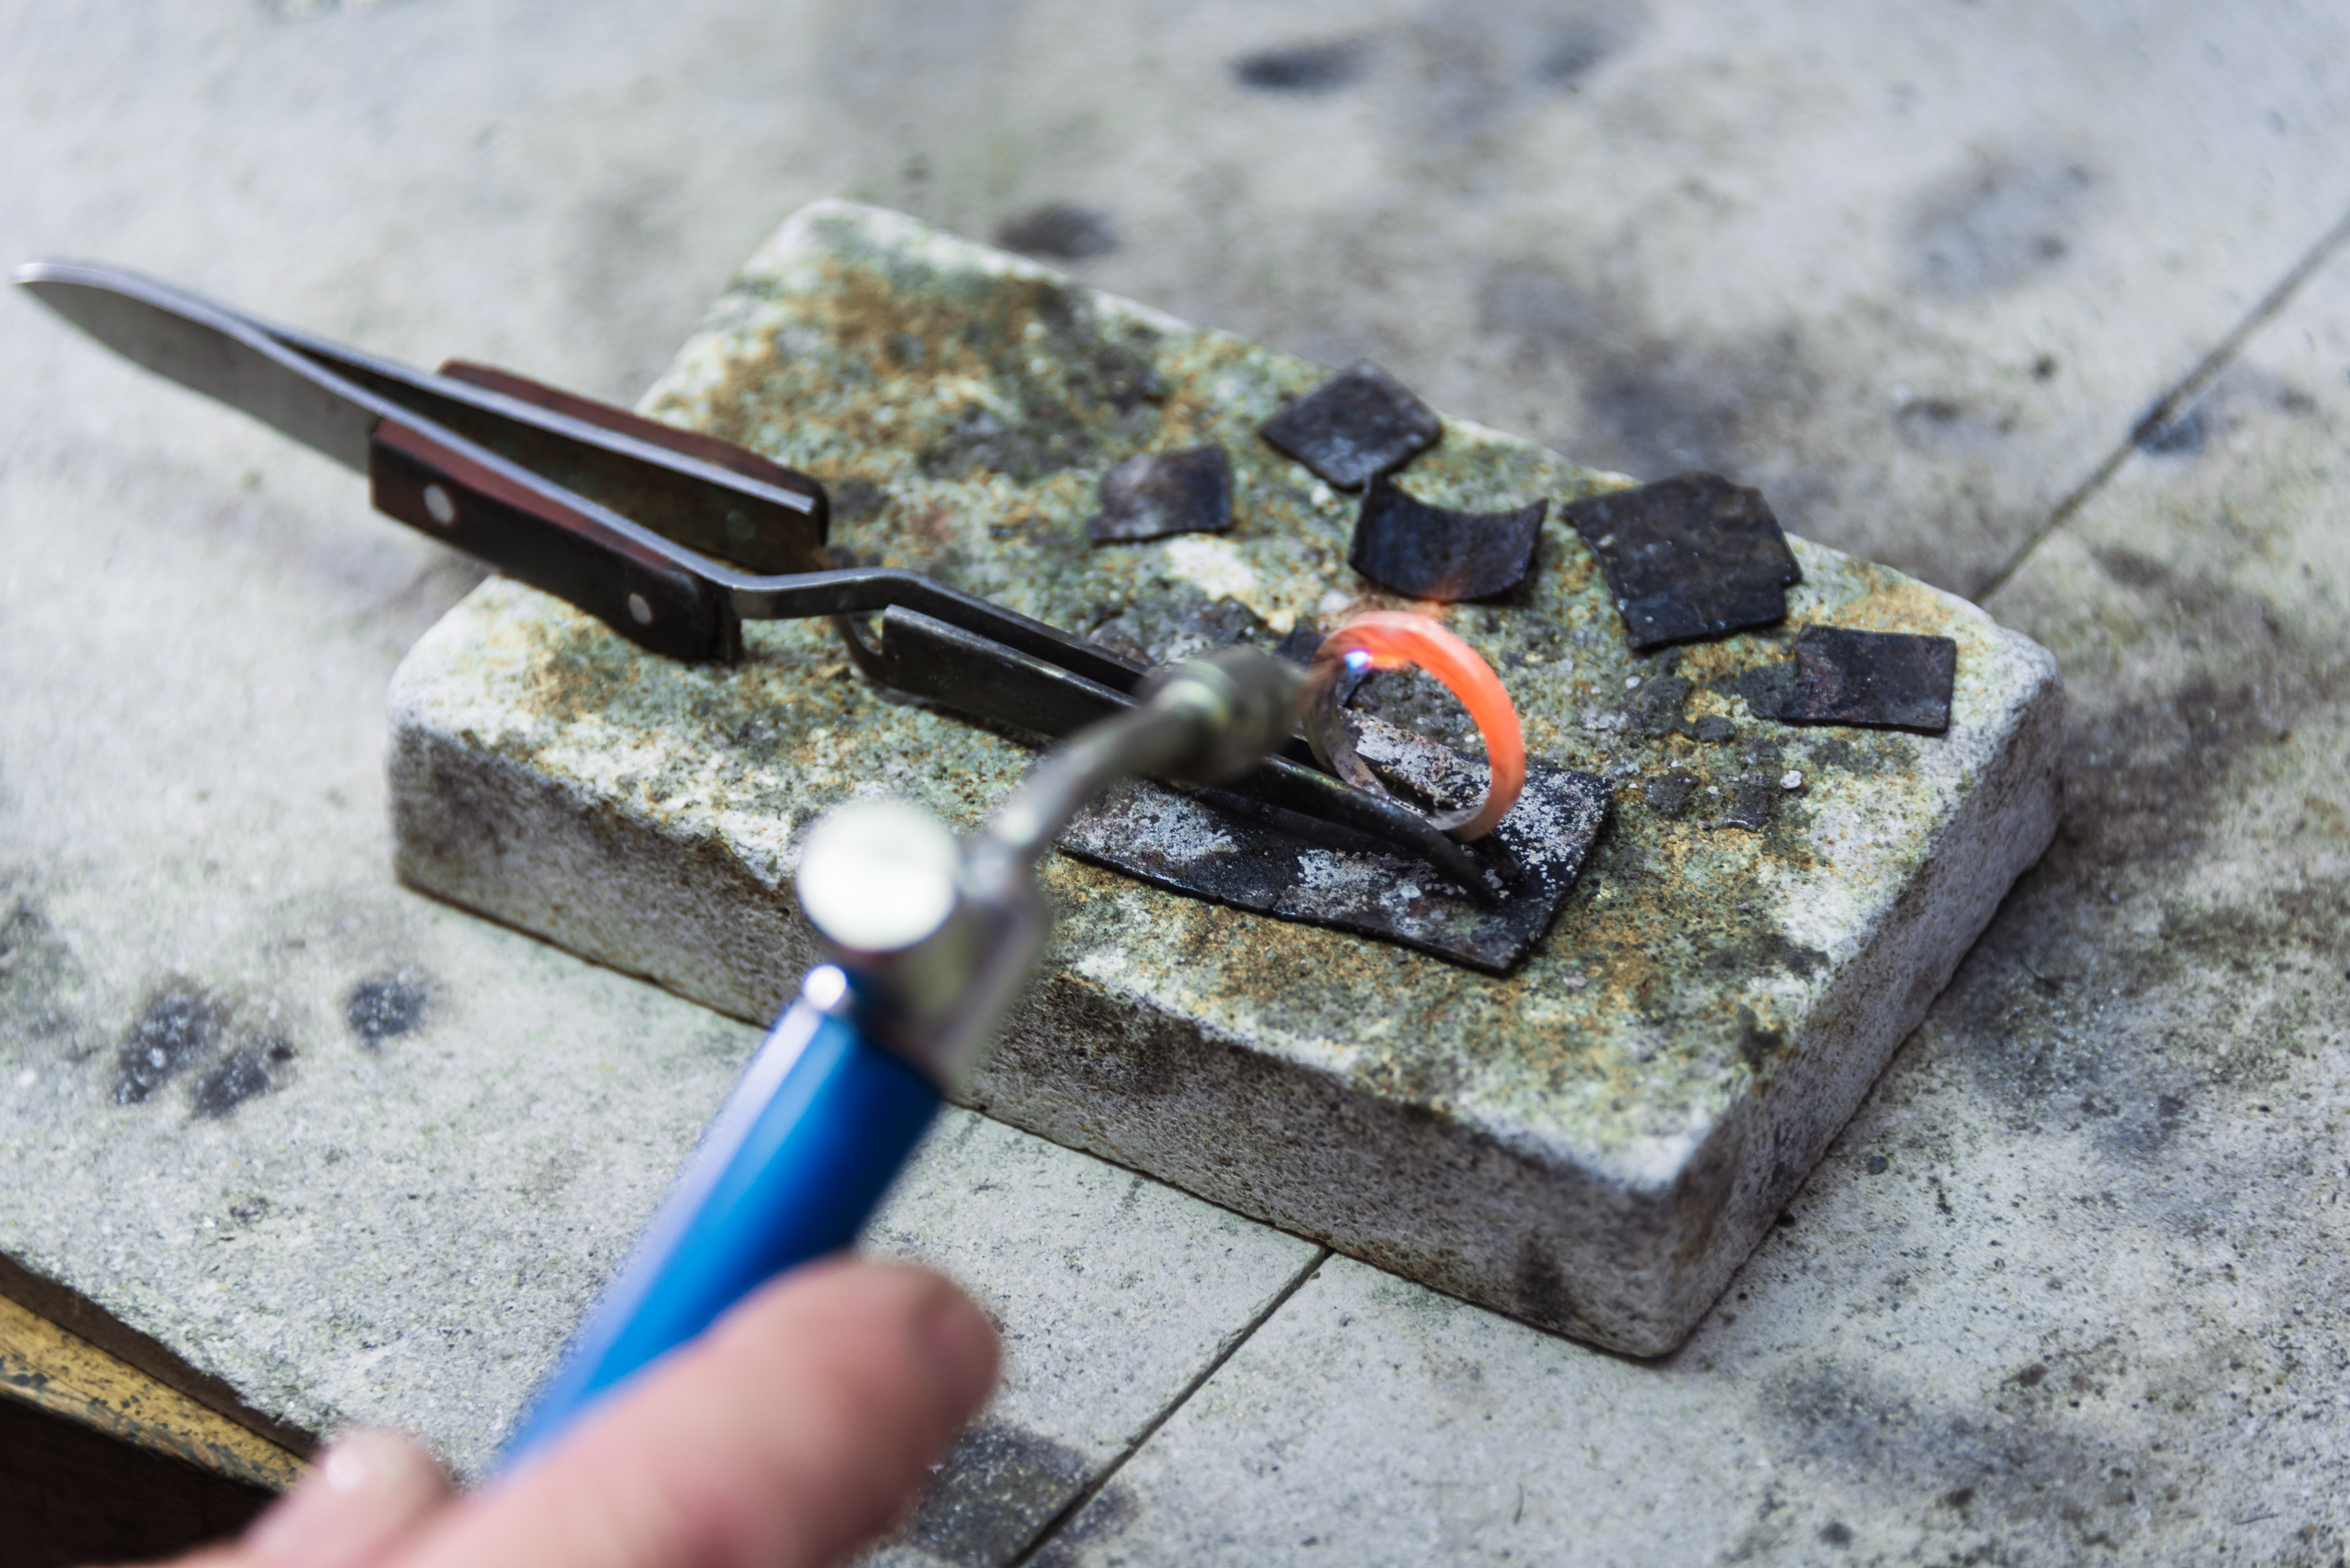
Soldering the ring together which is important. This keeps the ring in shape while forging.
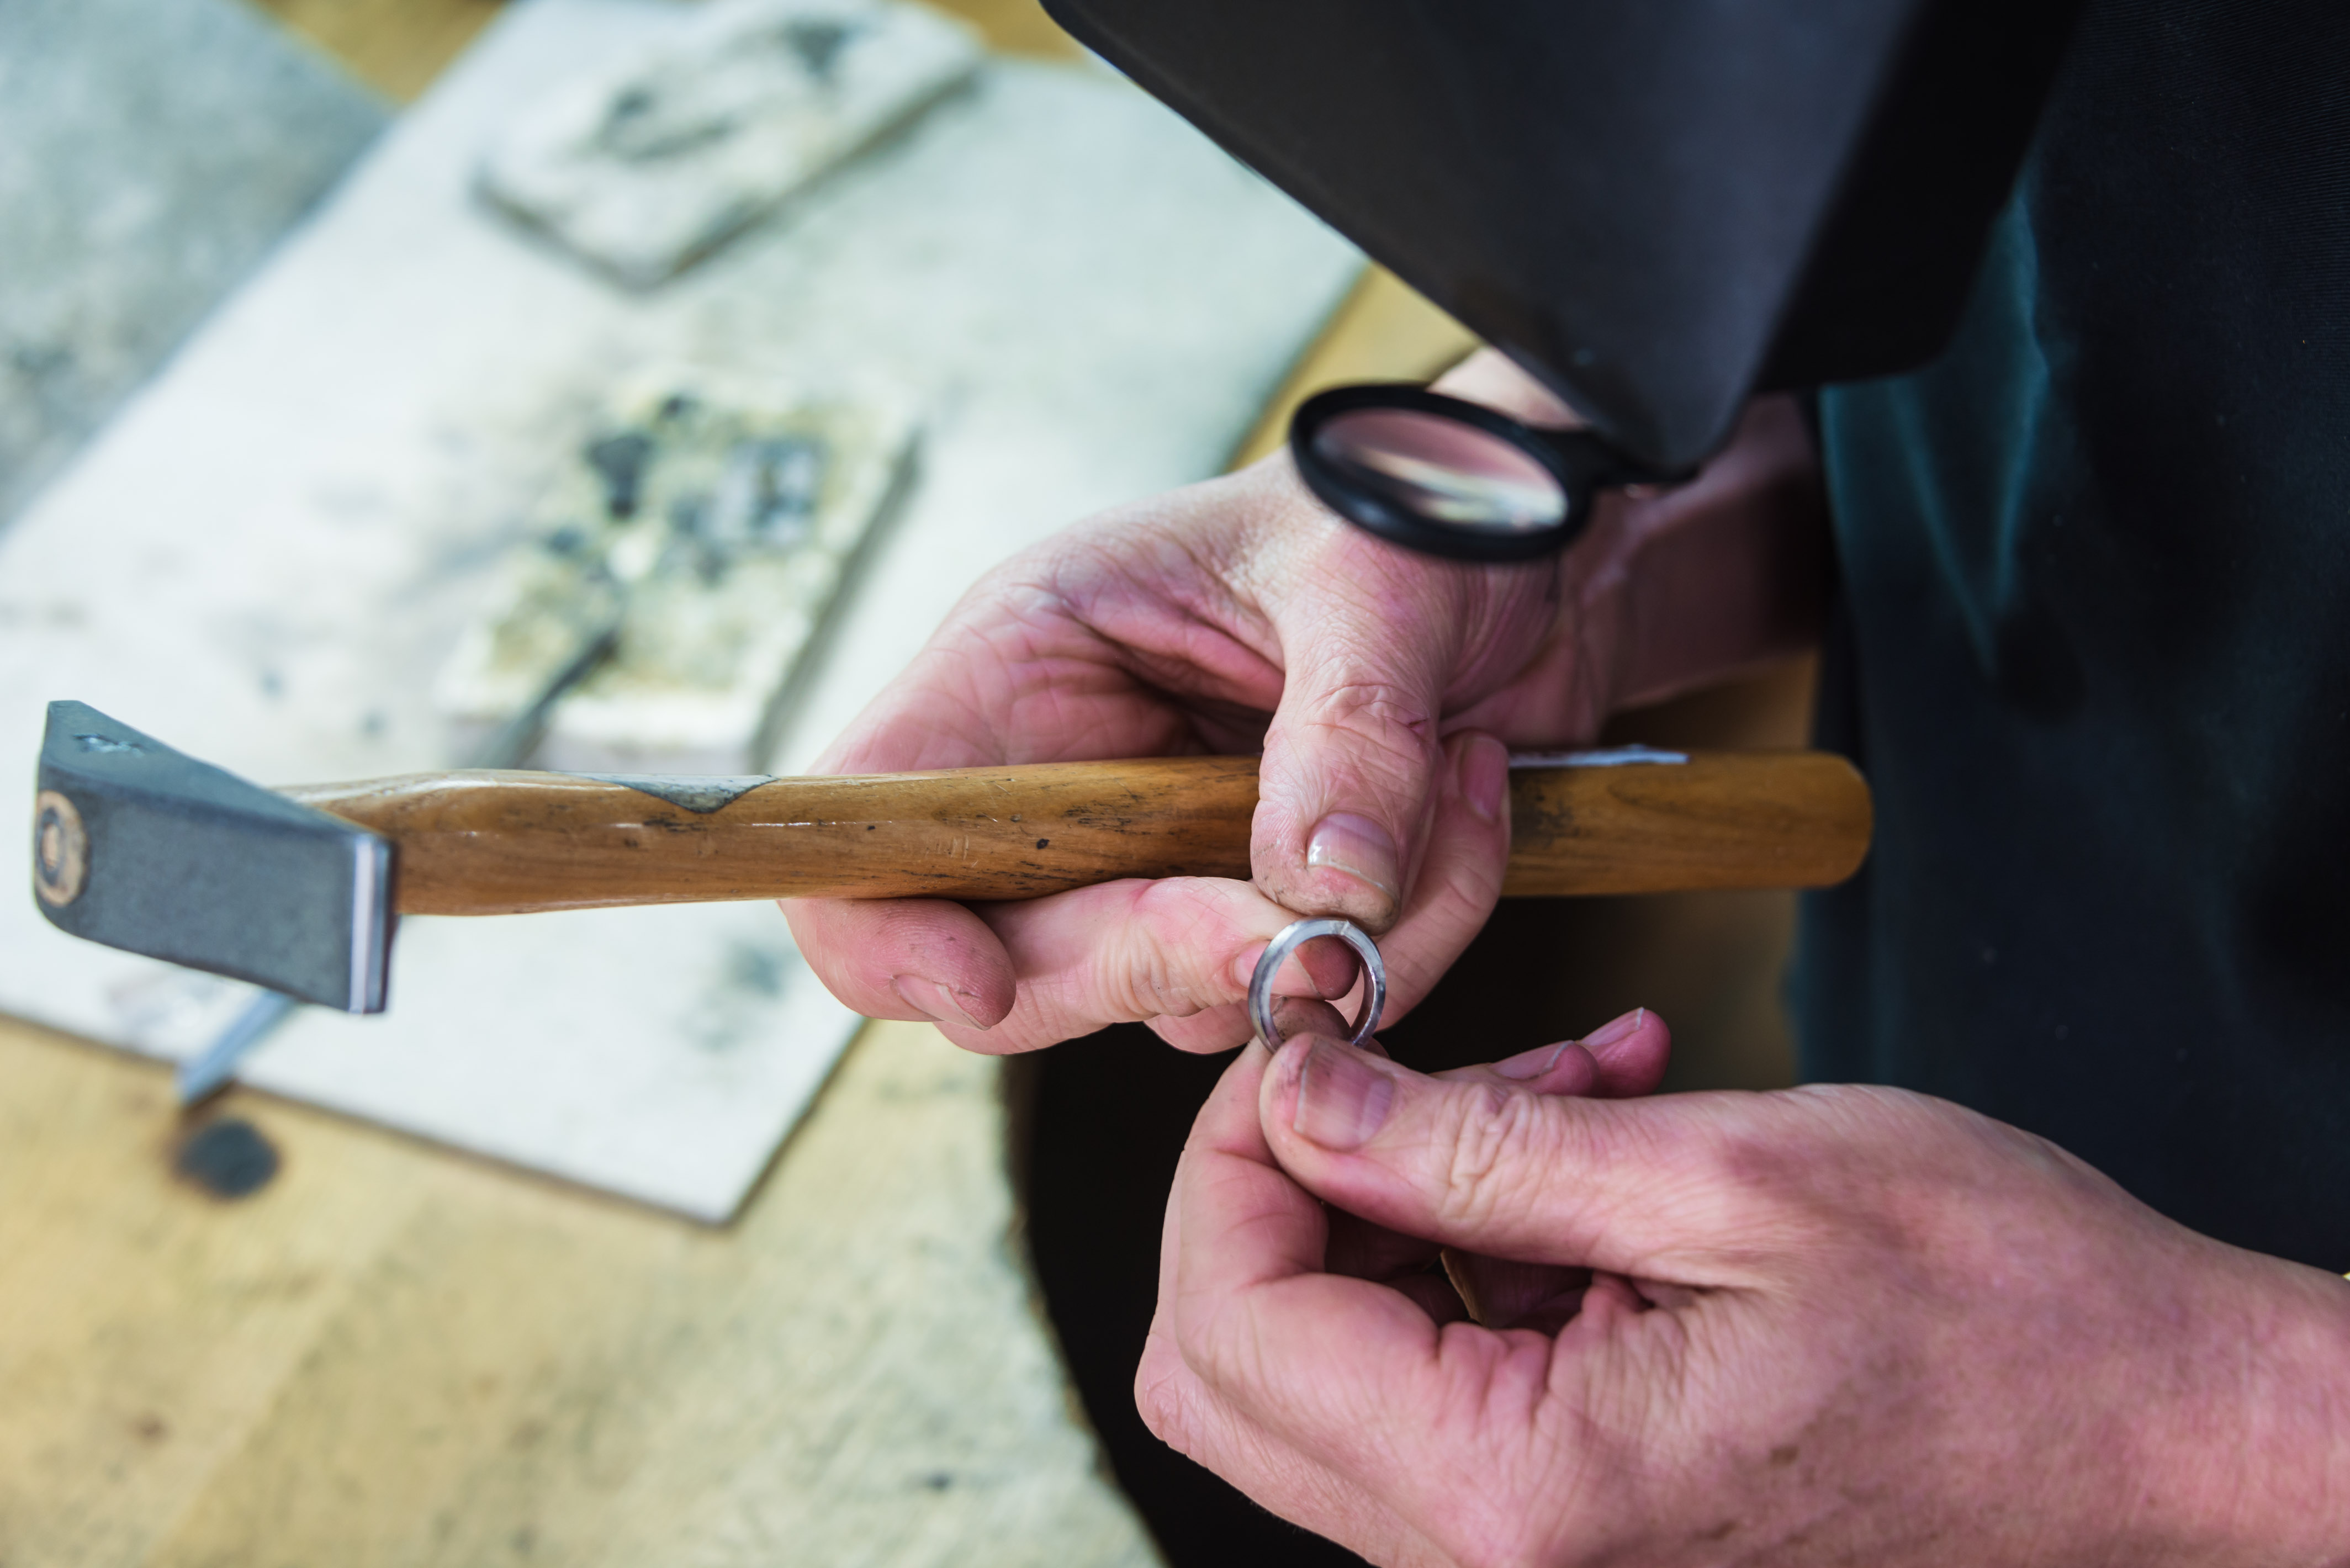
Checking the ring is round and the correct size required for the necessary ring design.
The forging hammer's narrow head stretches the metal in one direction. Using this correctly while forging small items such as rings takes considerable skill and experience!
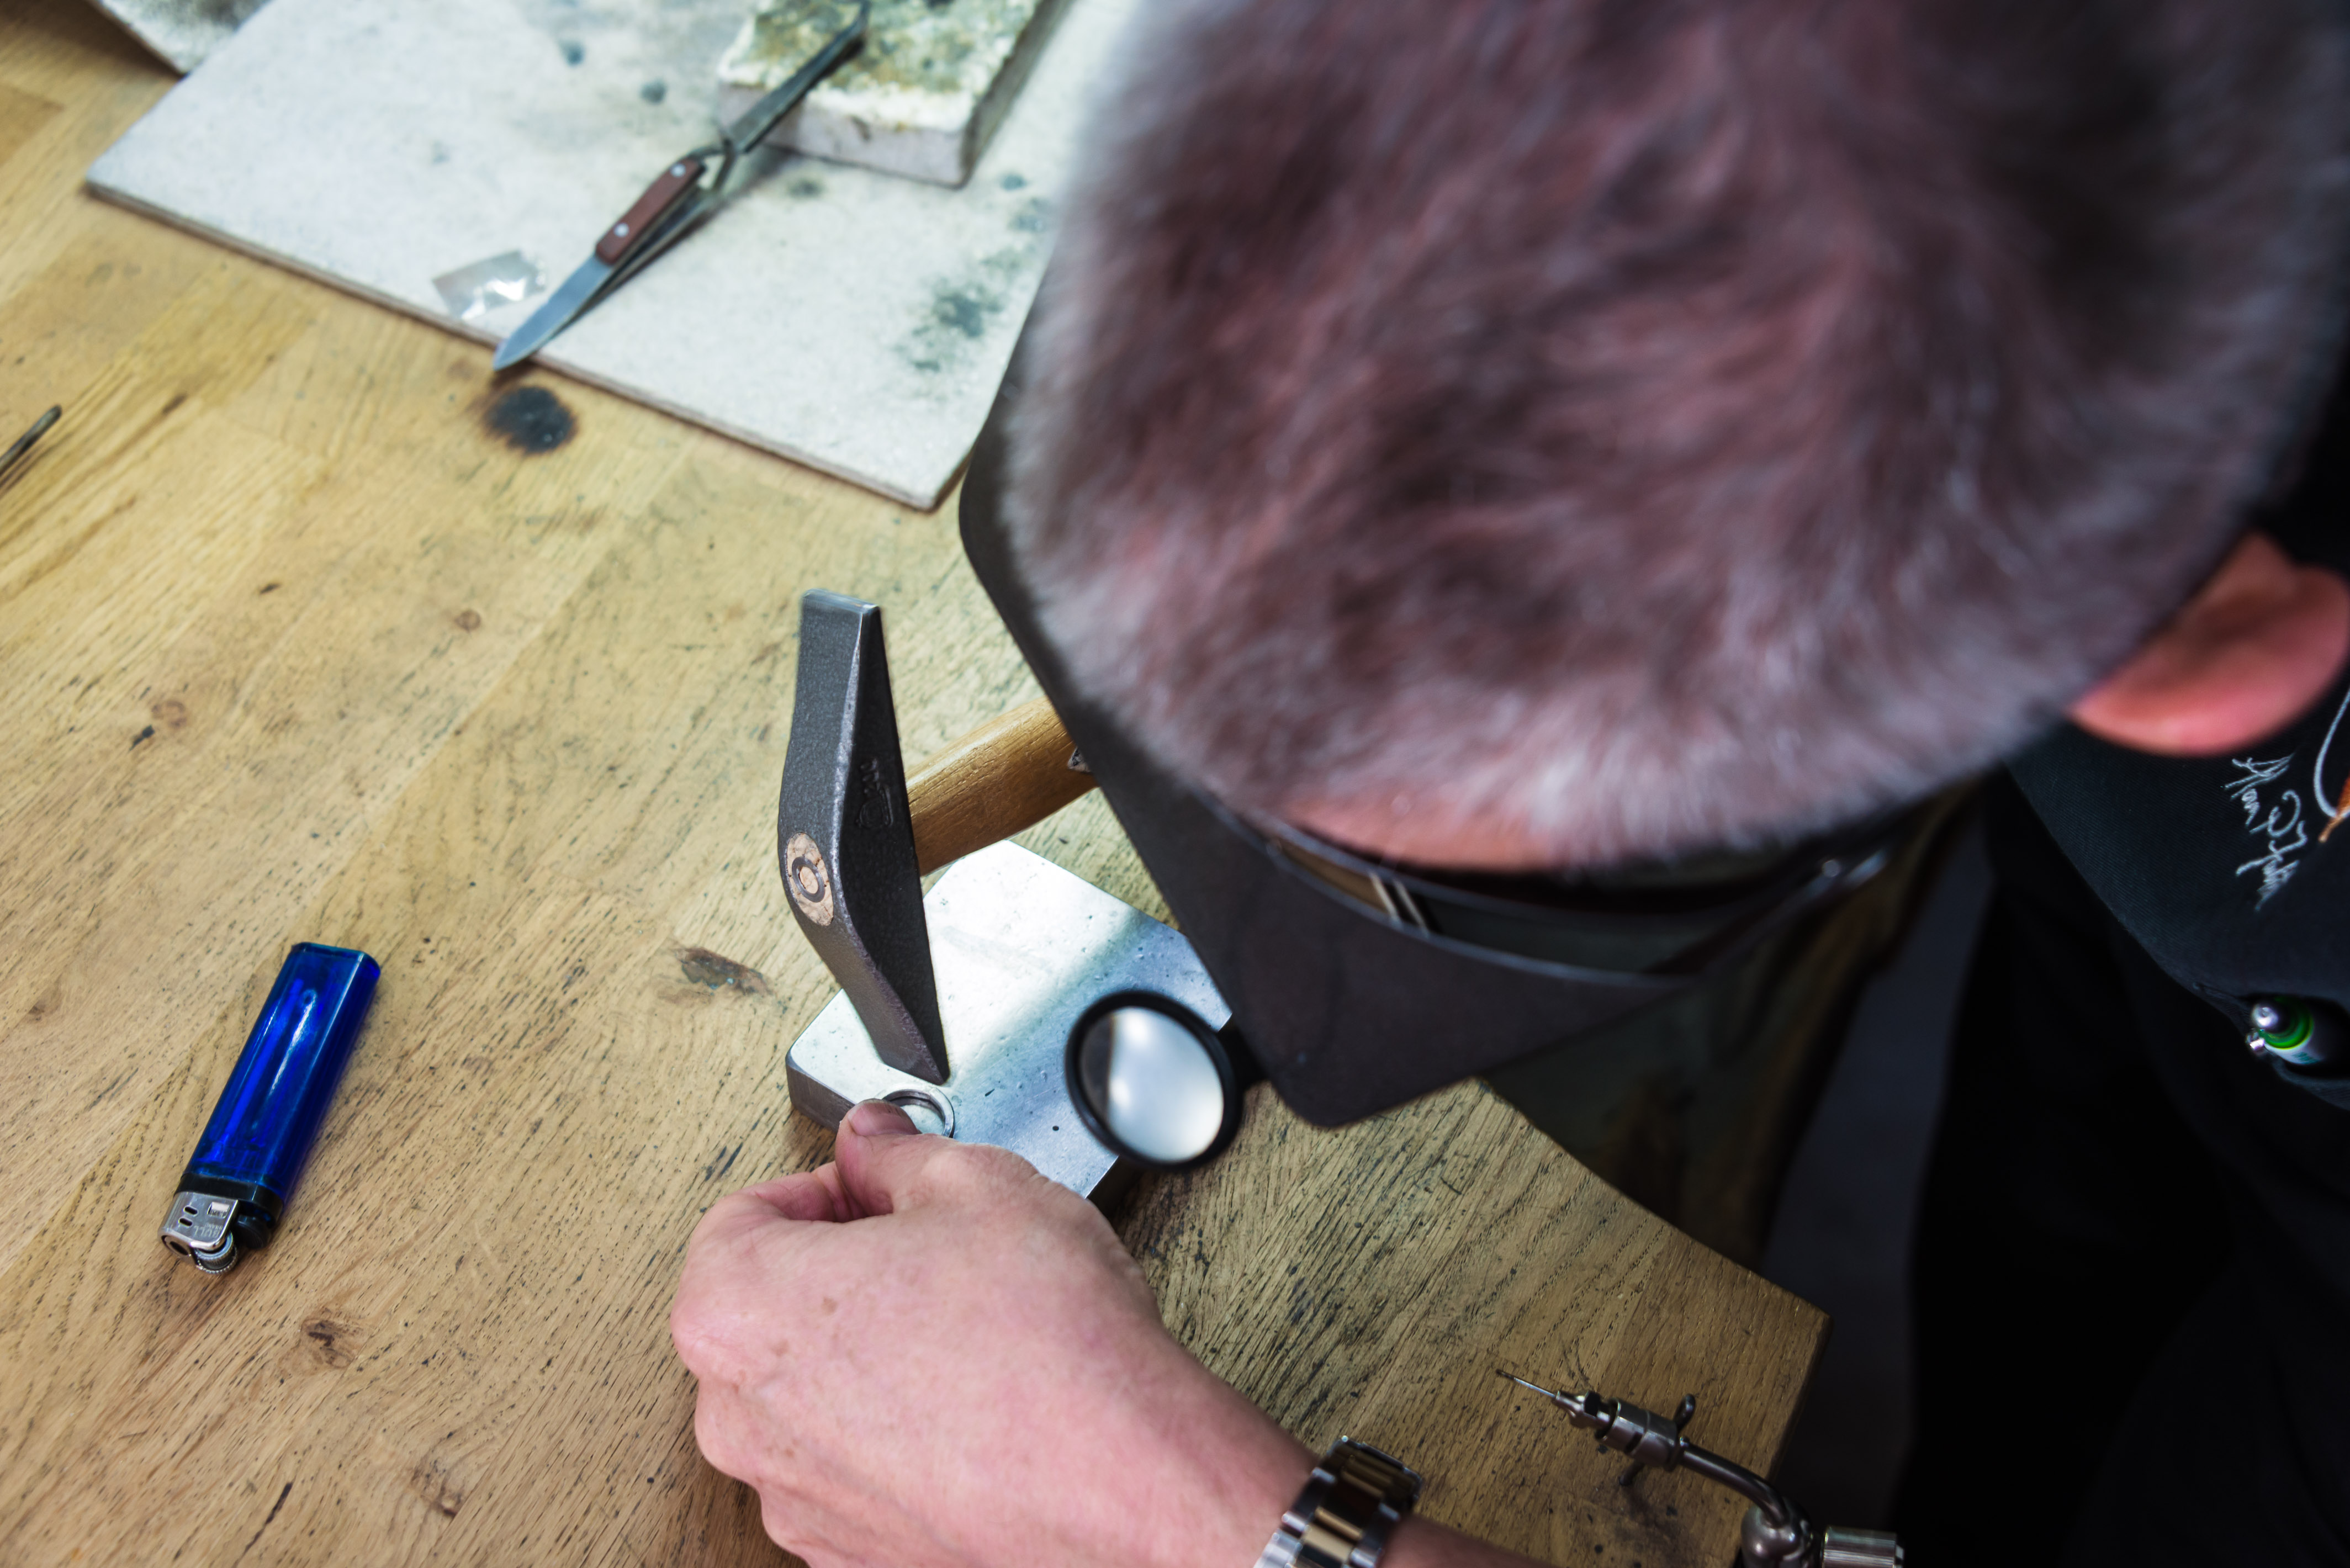
Starting to forge the ring to stretch the metal to create height to the top of the shank.
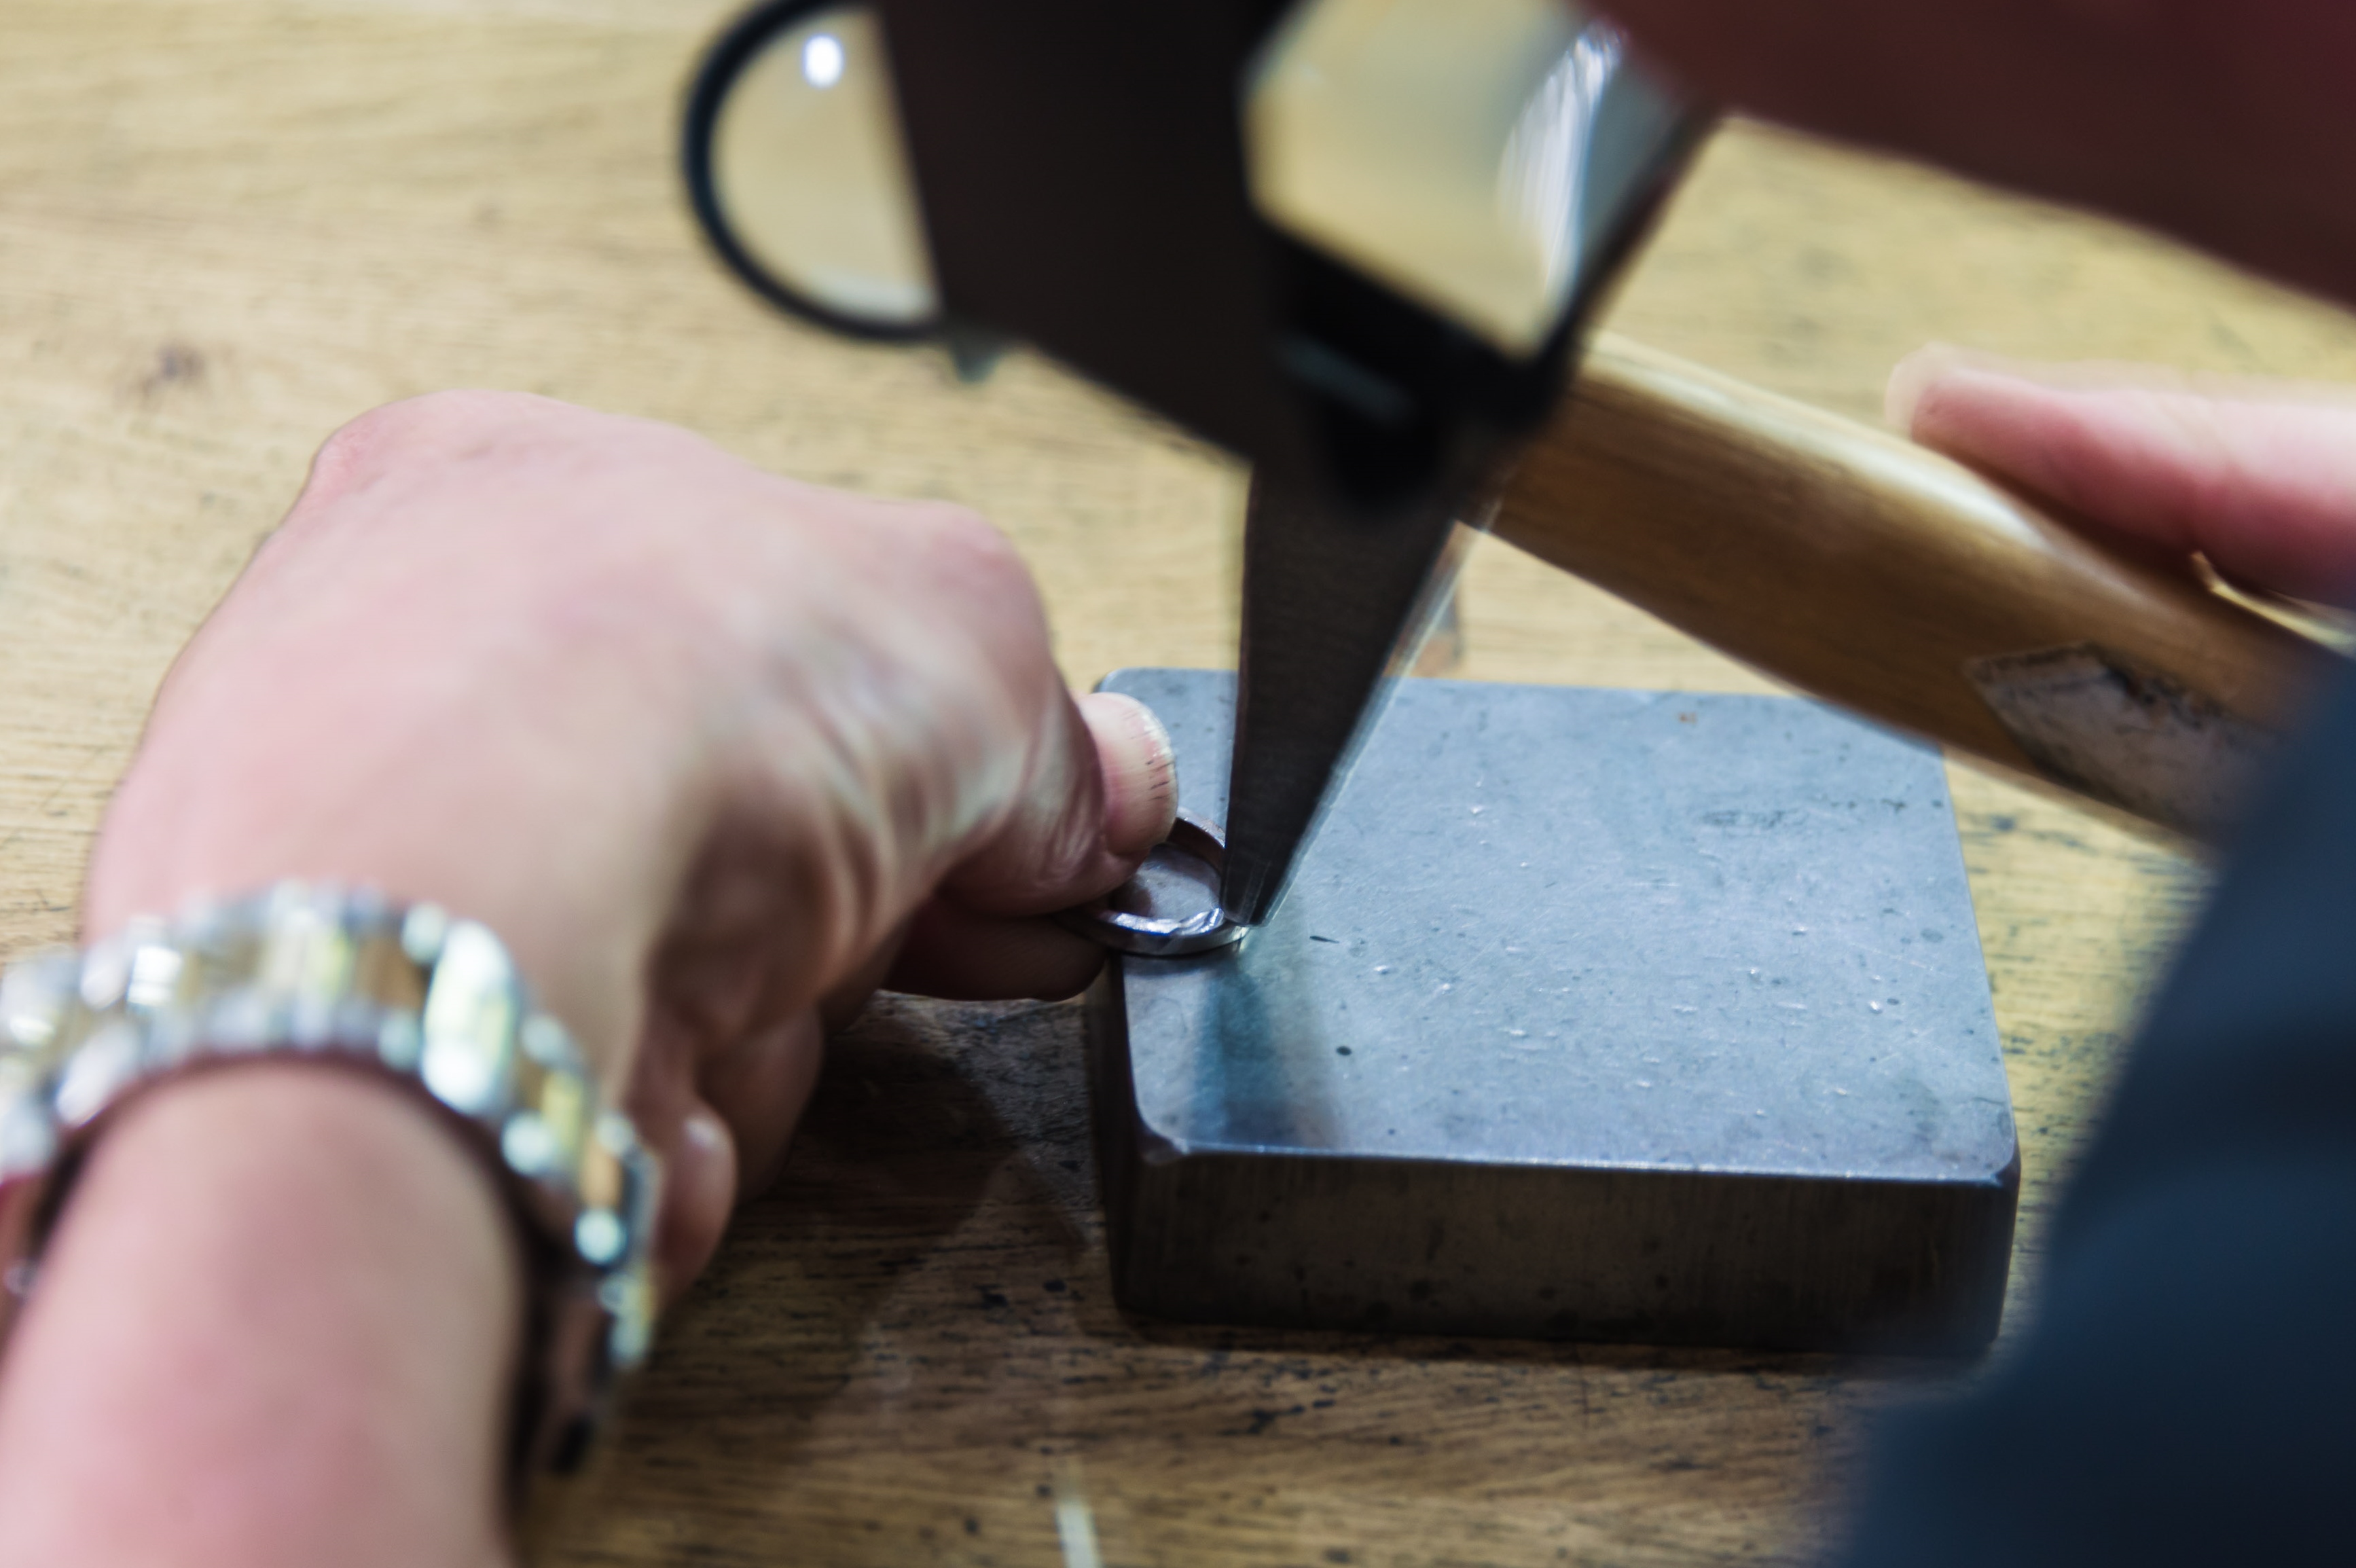
The impression in the metal indicates the area being worked. Both sides need to be forged equally.
Making sure, with a planishing hammer, after the first period of forging, the ring is round and no over stretching has occurred.
Forging work hardens or stresses the metal so periodically throughout the forging process the metal needs to be softened. This is done by annealing or tempering the ring.
Heating and quenching releases the stress that builds up while working. If this were not done, or carried out incorrectly, the metal would eventually crack.
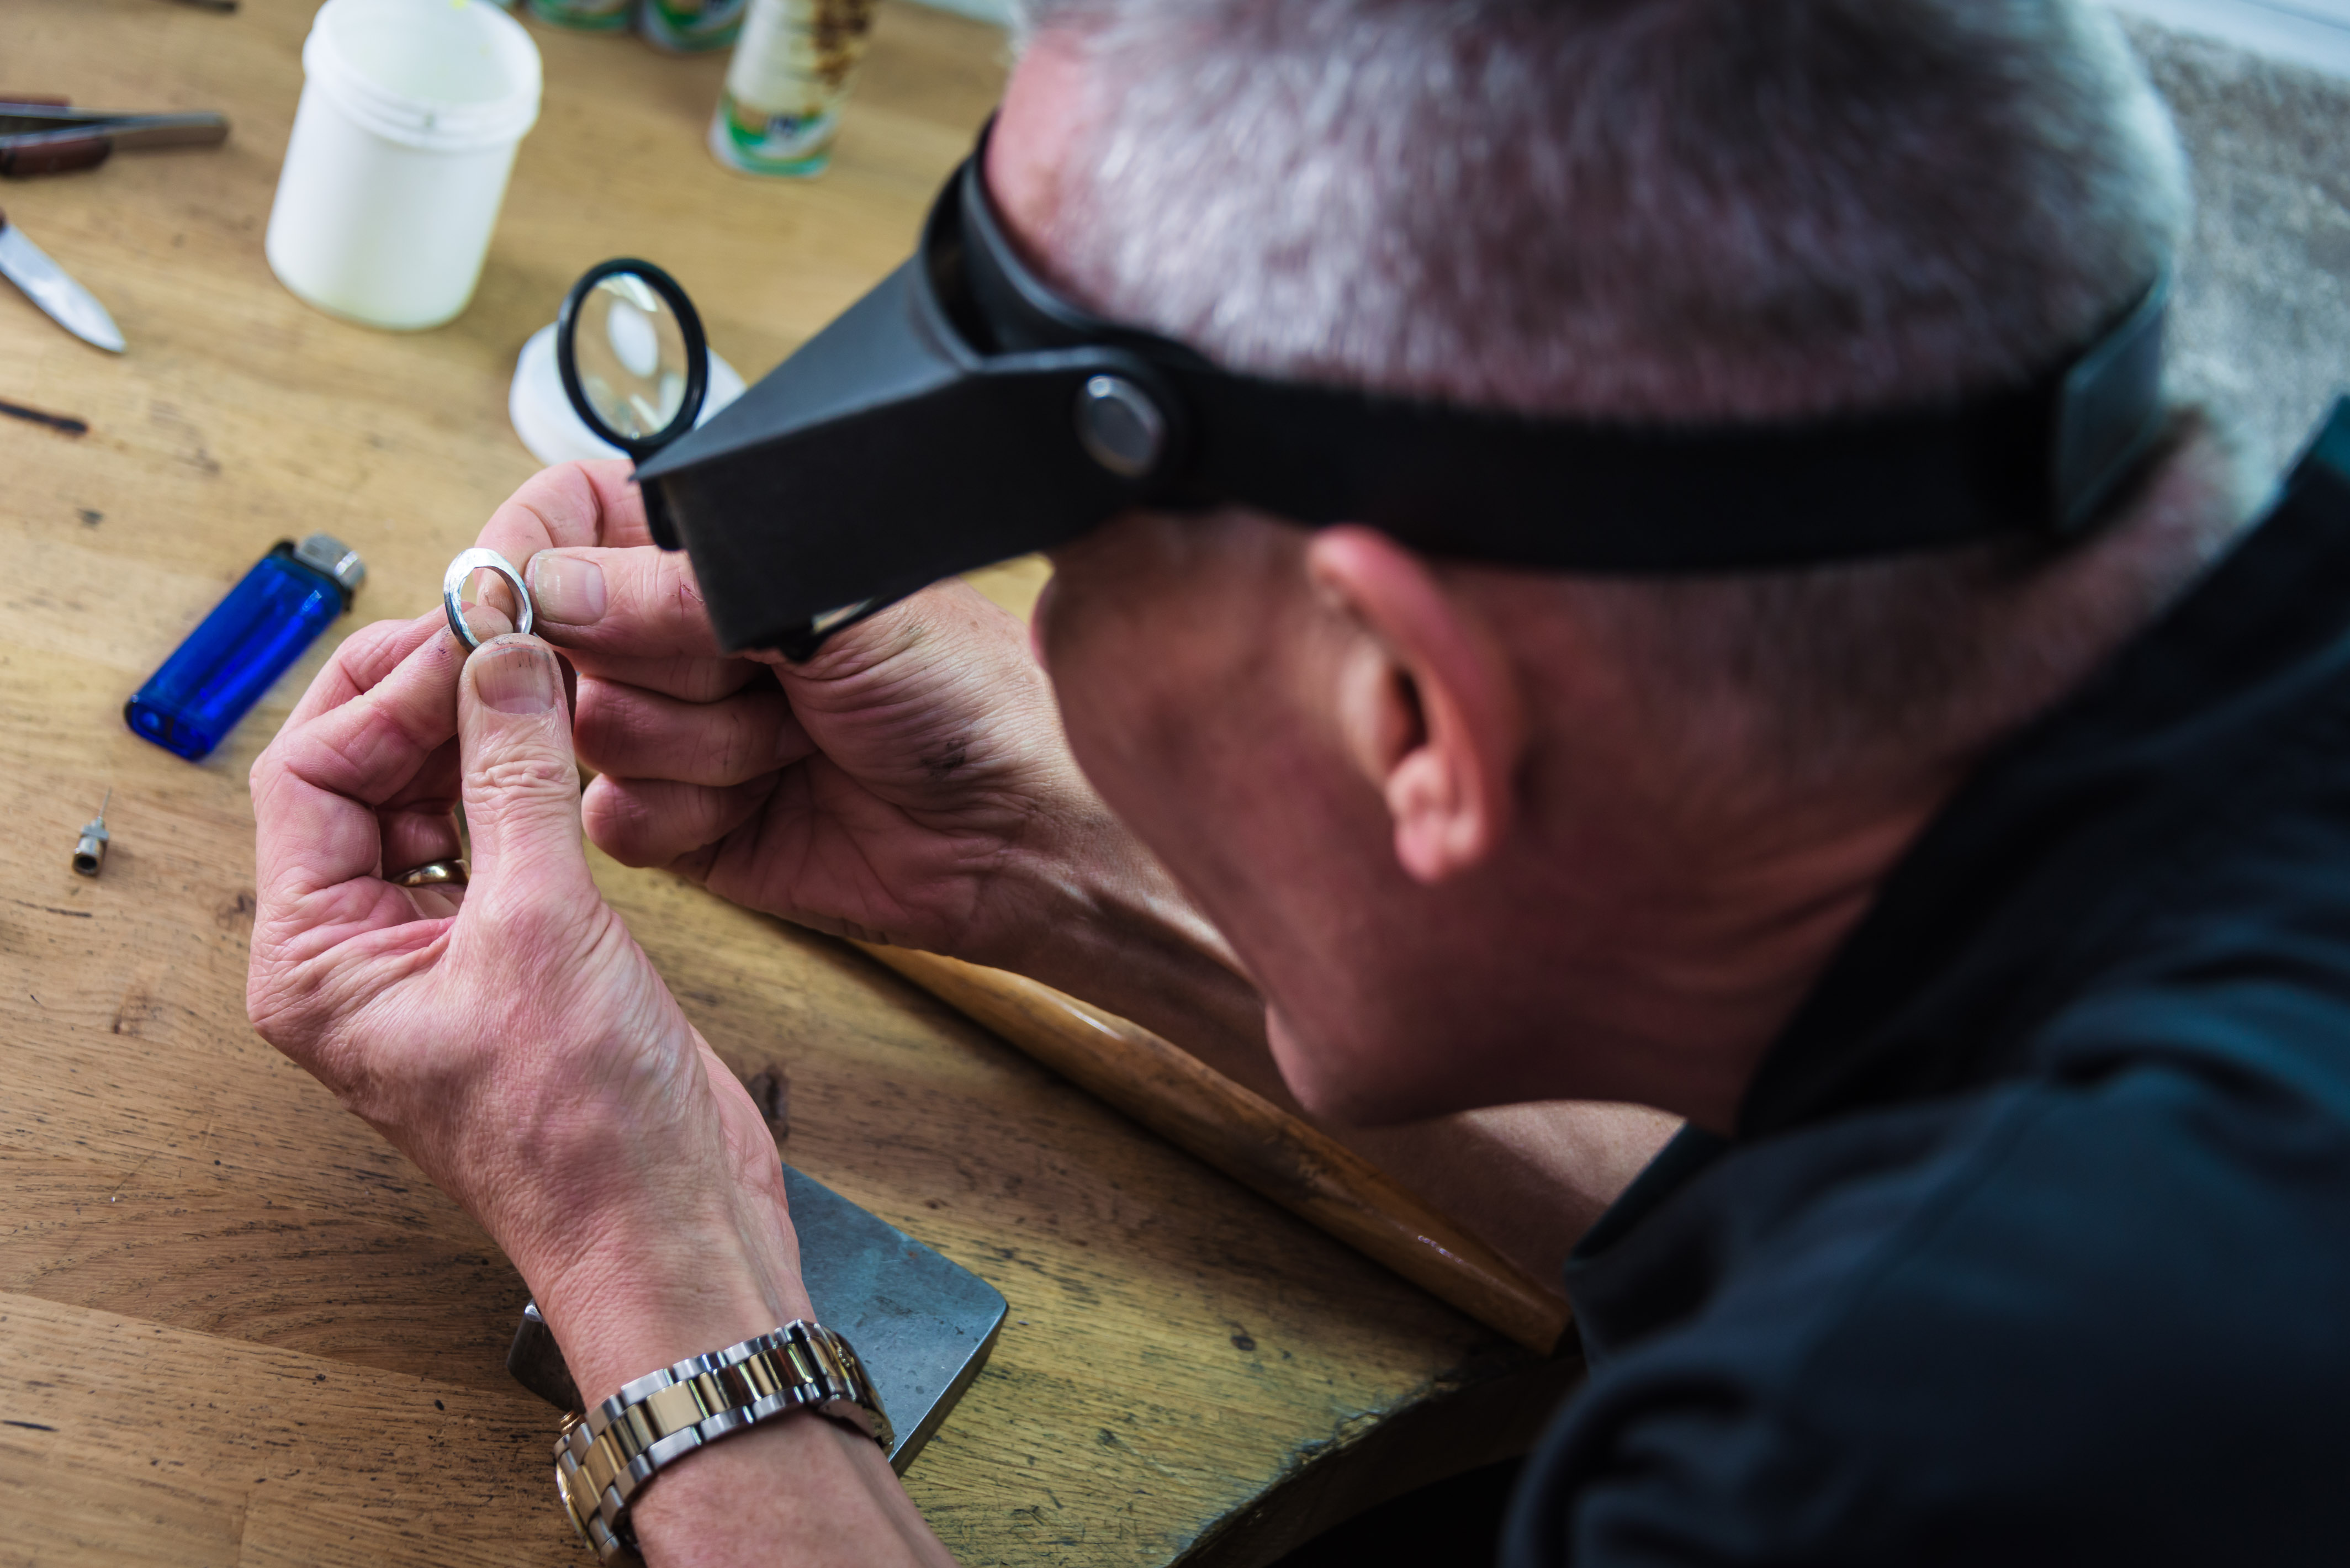
Alan checks the soldered join in the centre of the forged area is intact...
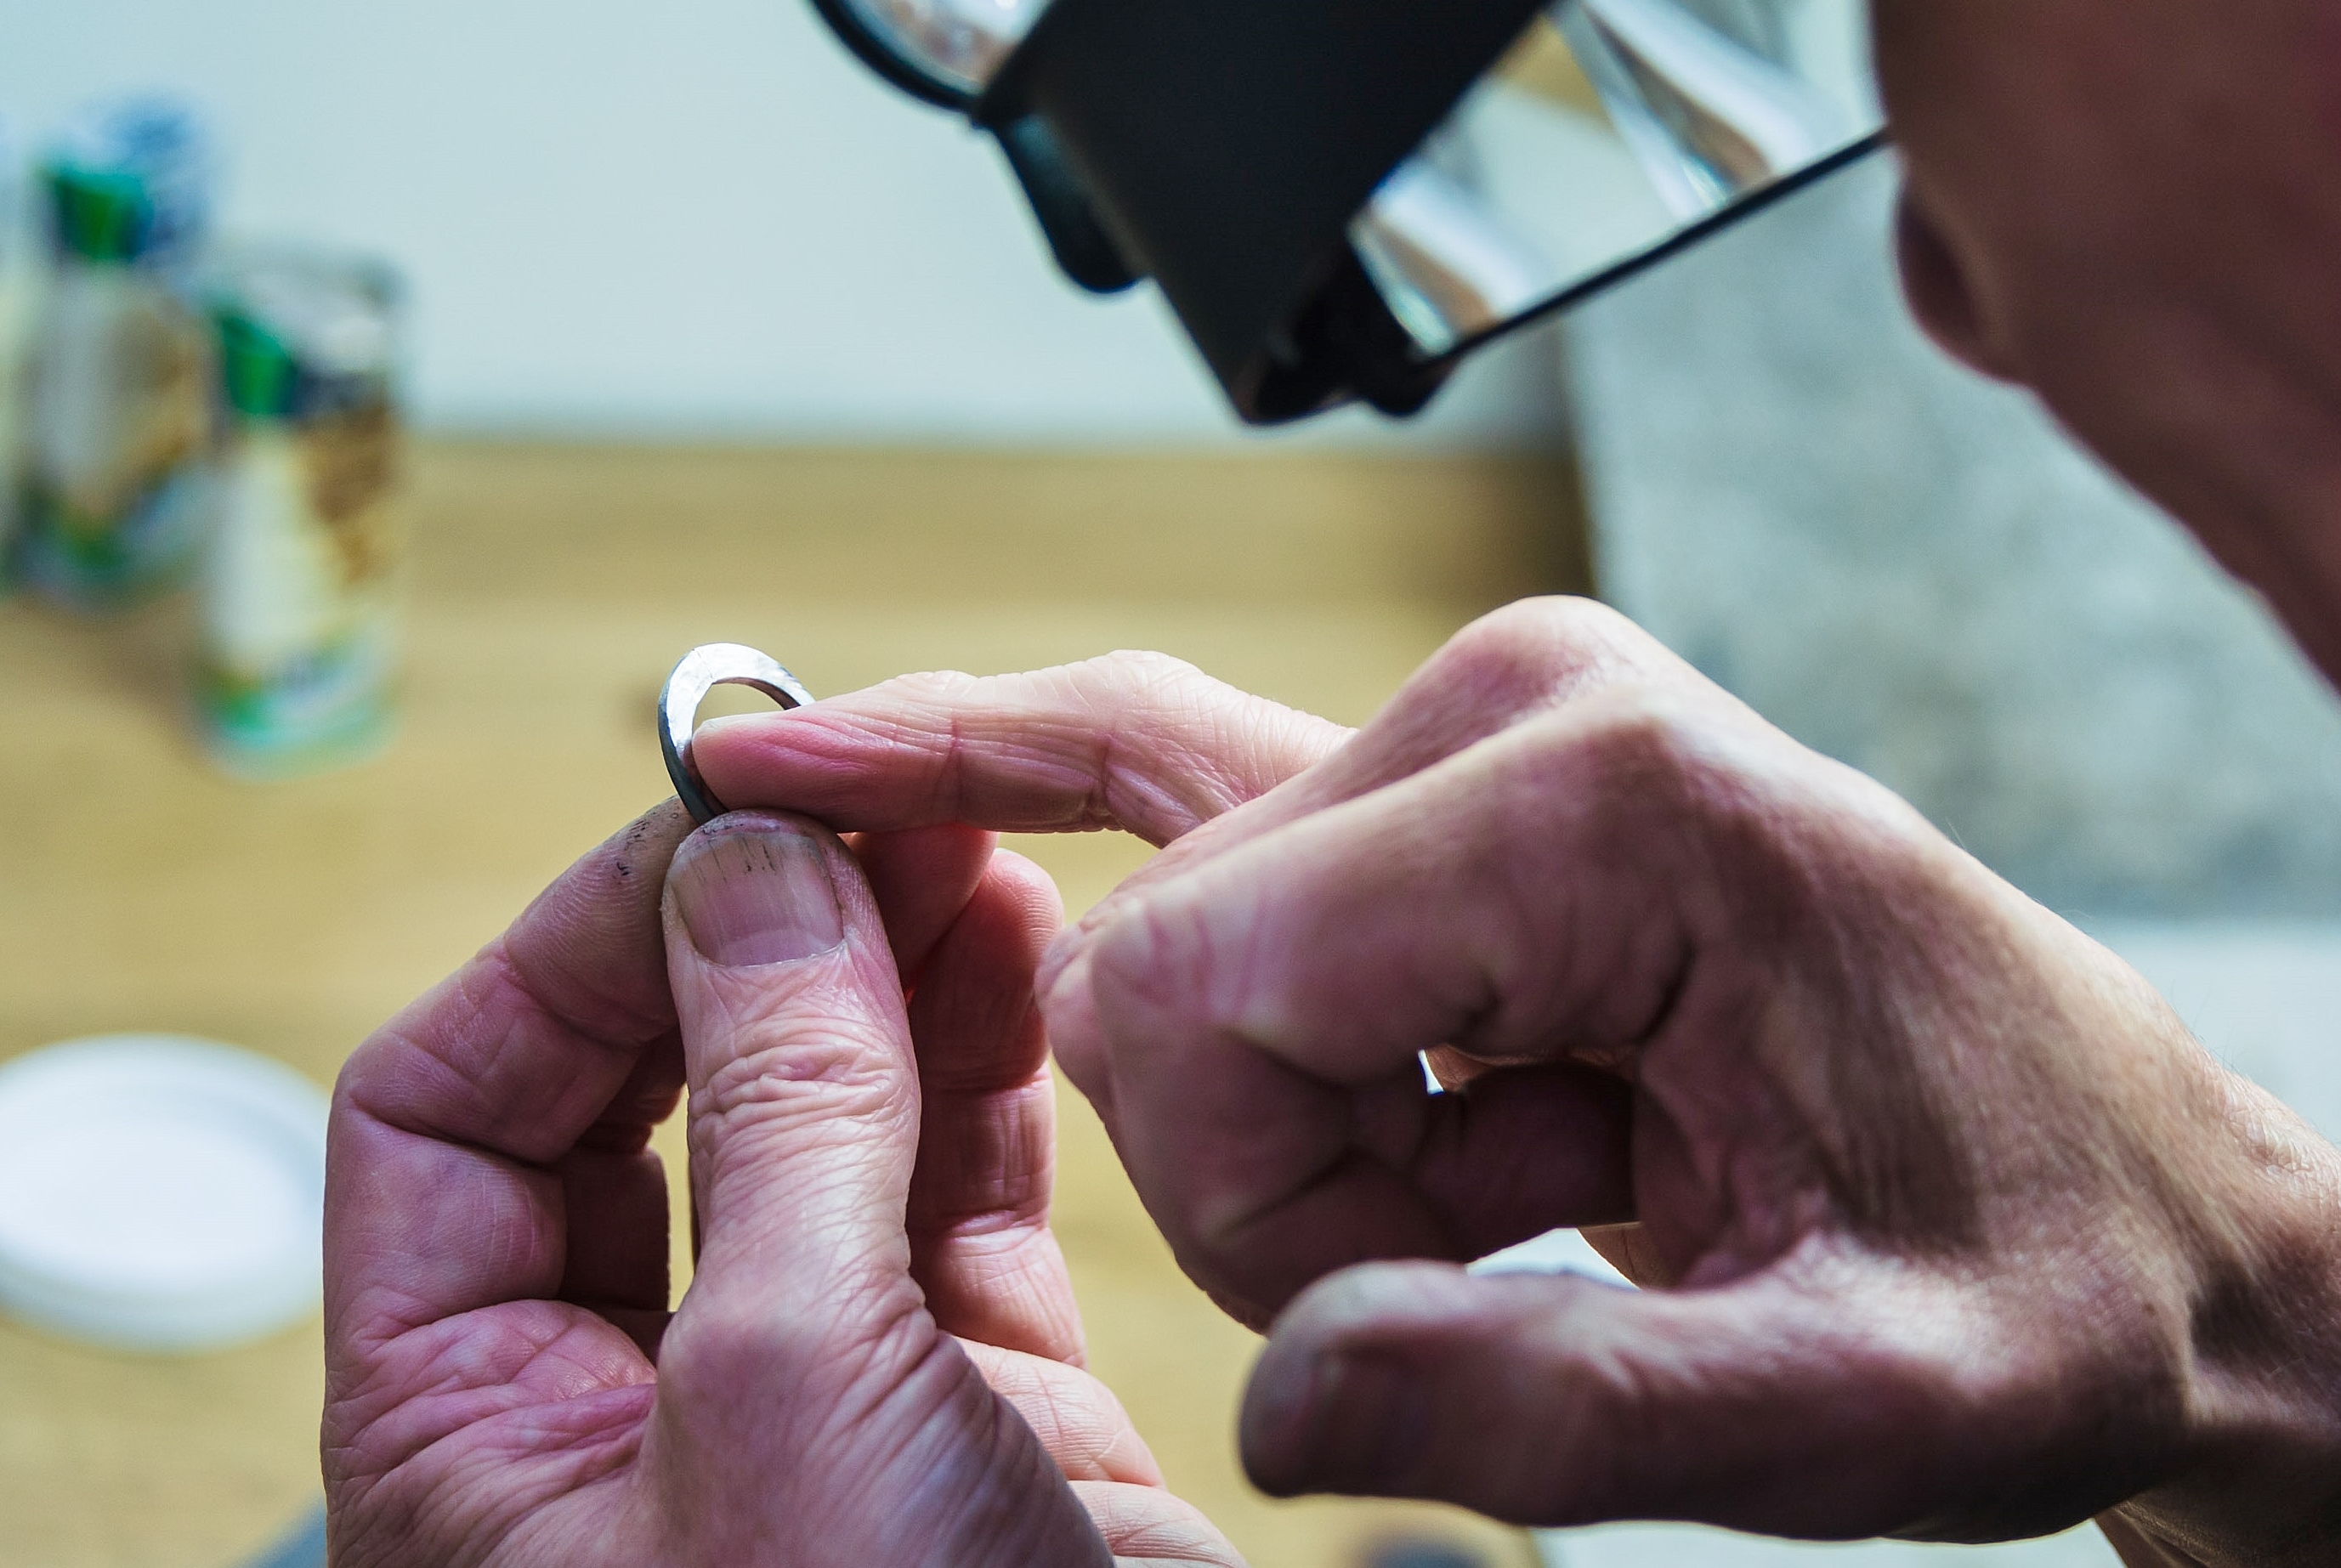
...and also checks the general condition of the metal before continuing to forge.
The forging and tempering processes will need to be repeated between three or four times before the desired height and width is attained.
During forging the ring is continually checked for signs of stress.
Once the required height and width is achieved...
...a final annealing takes place.
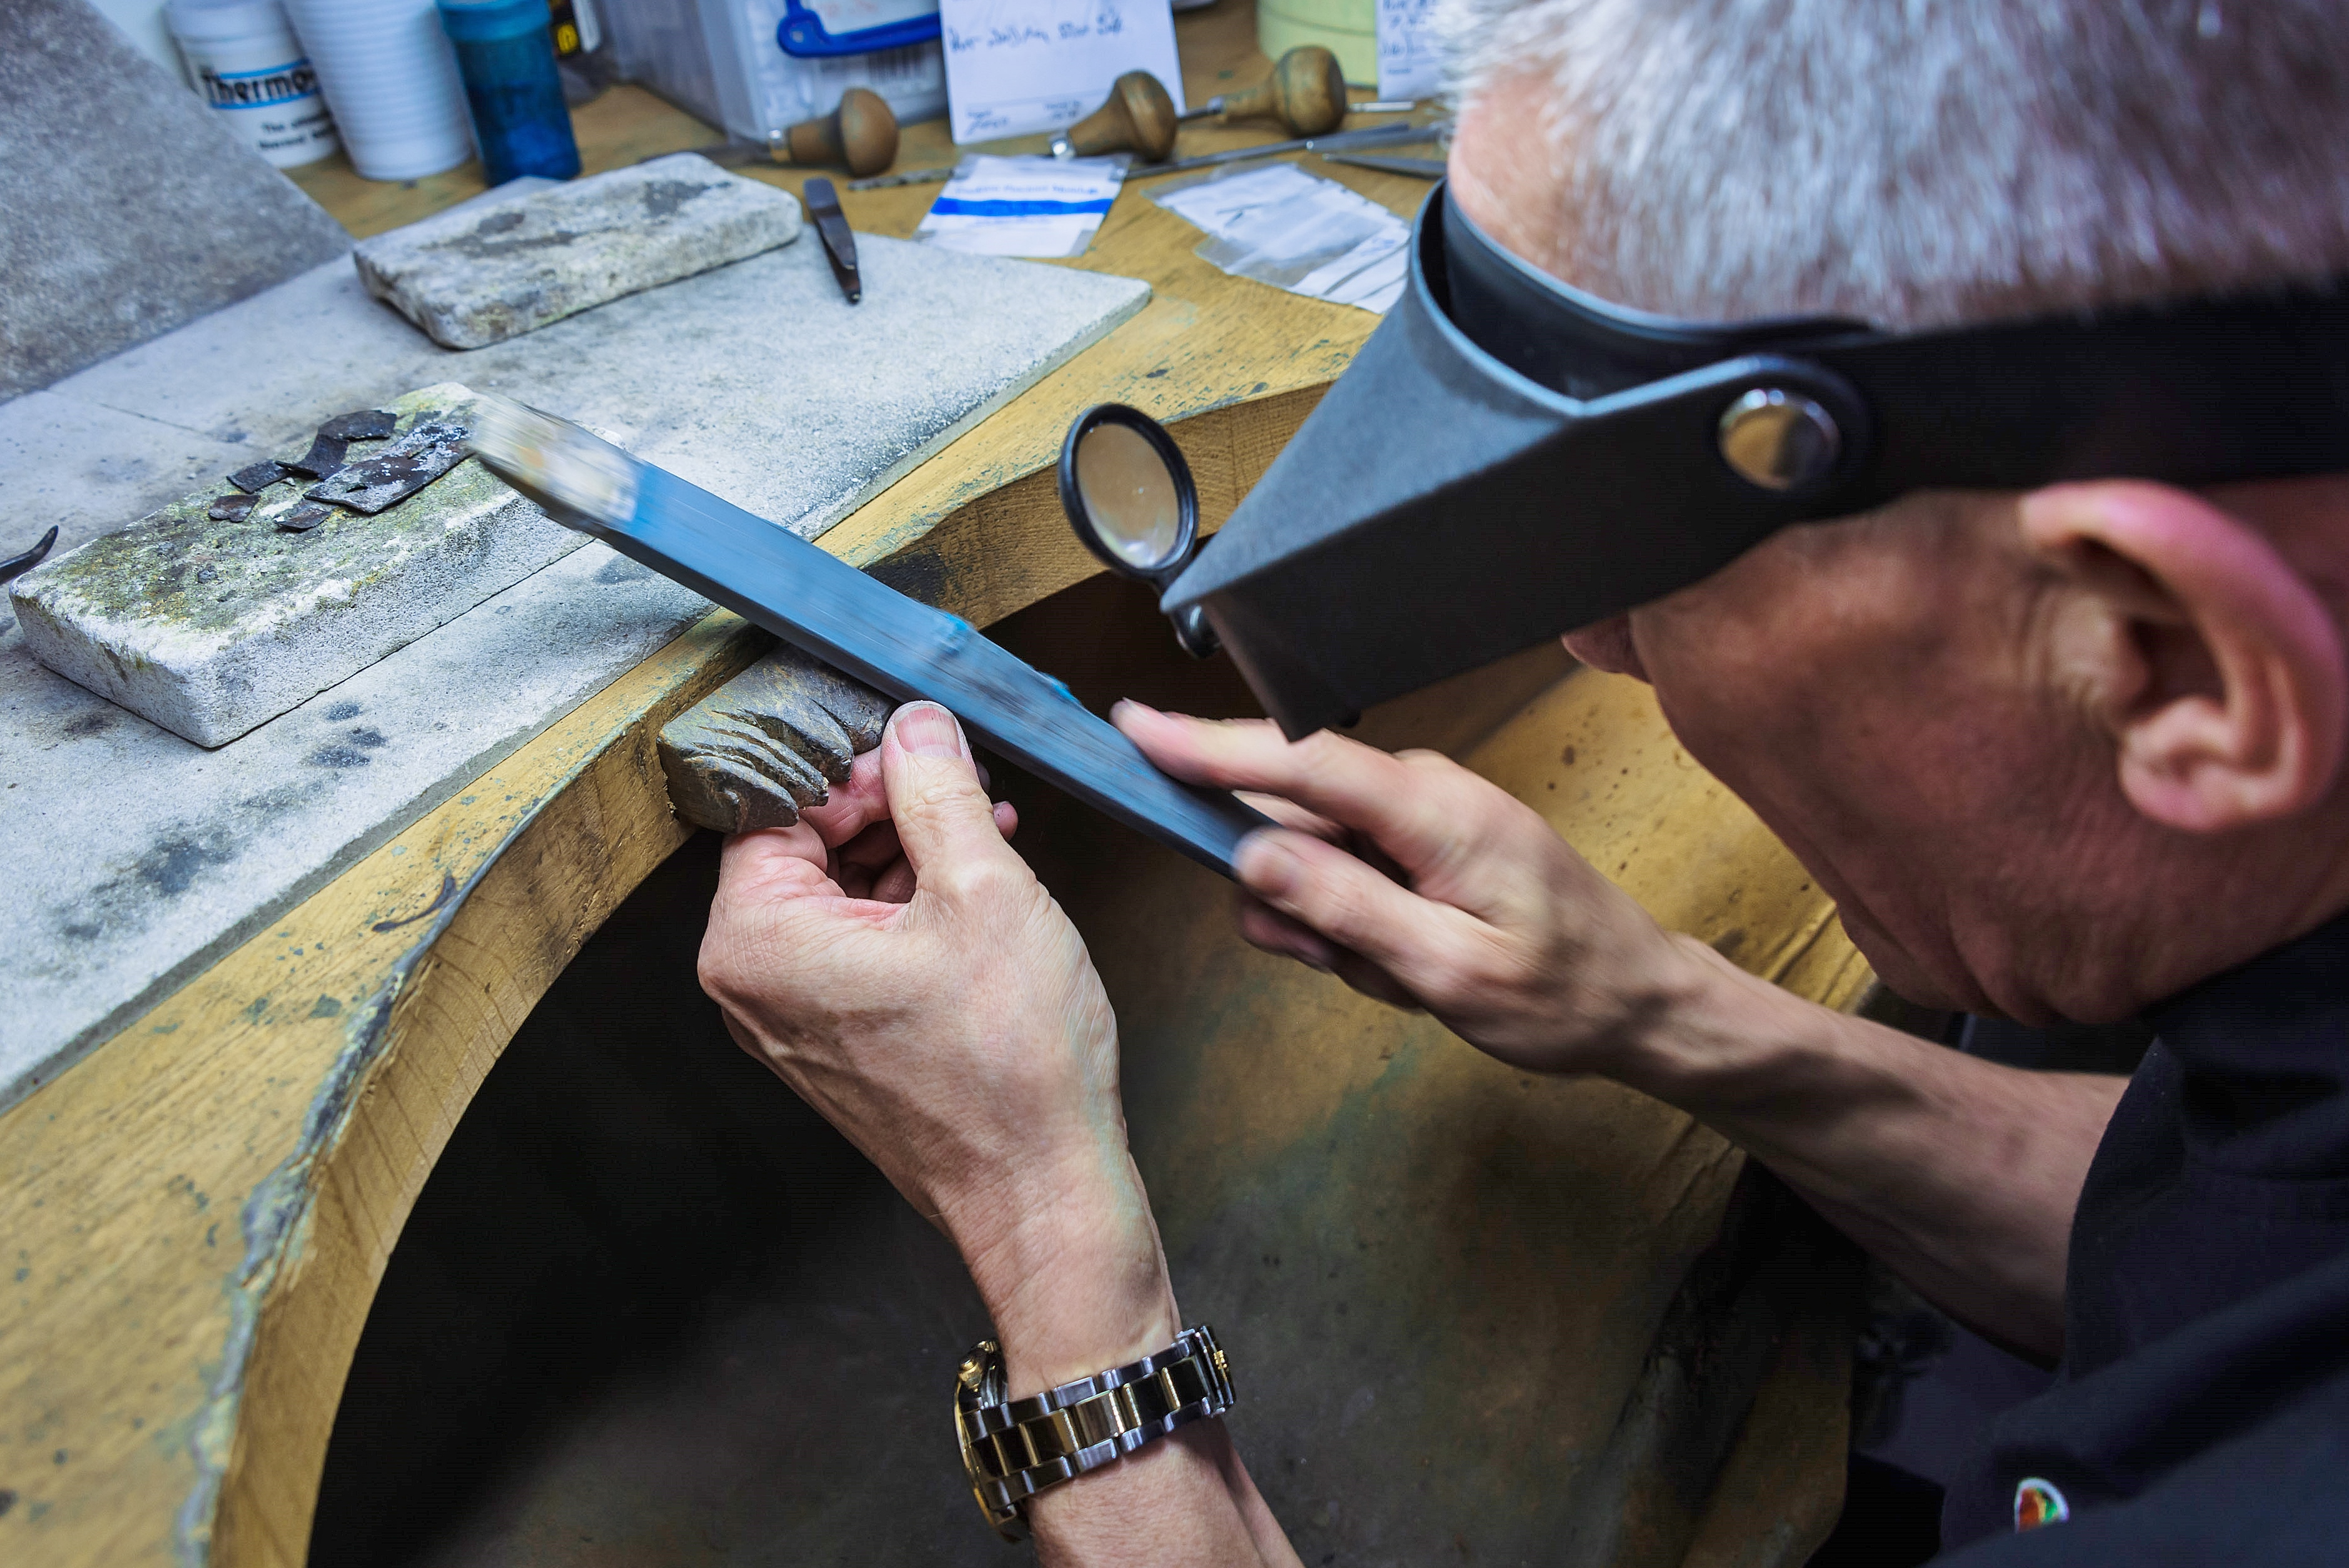
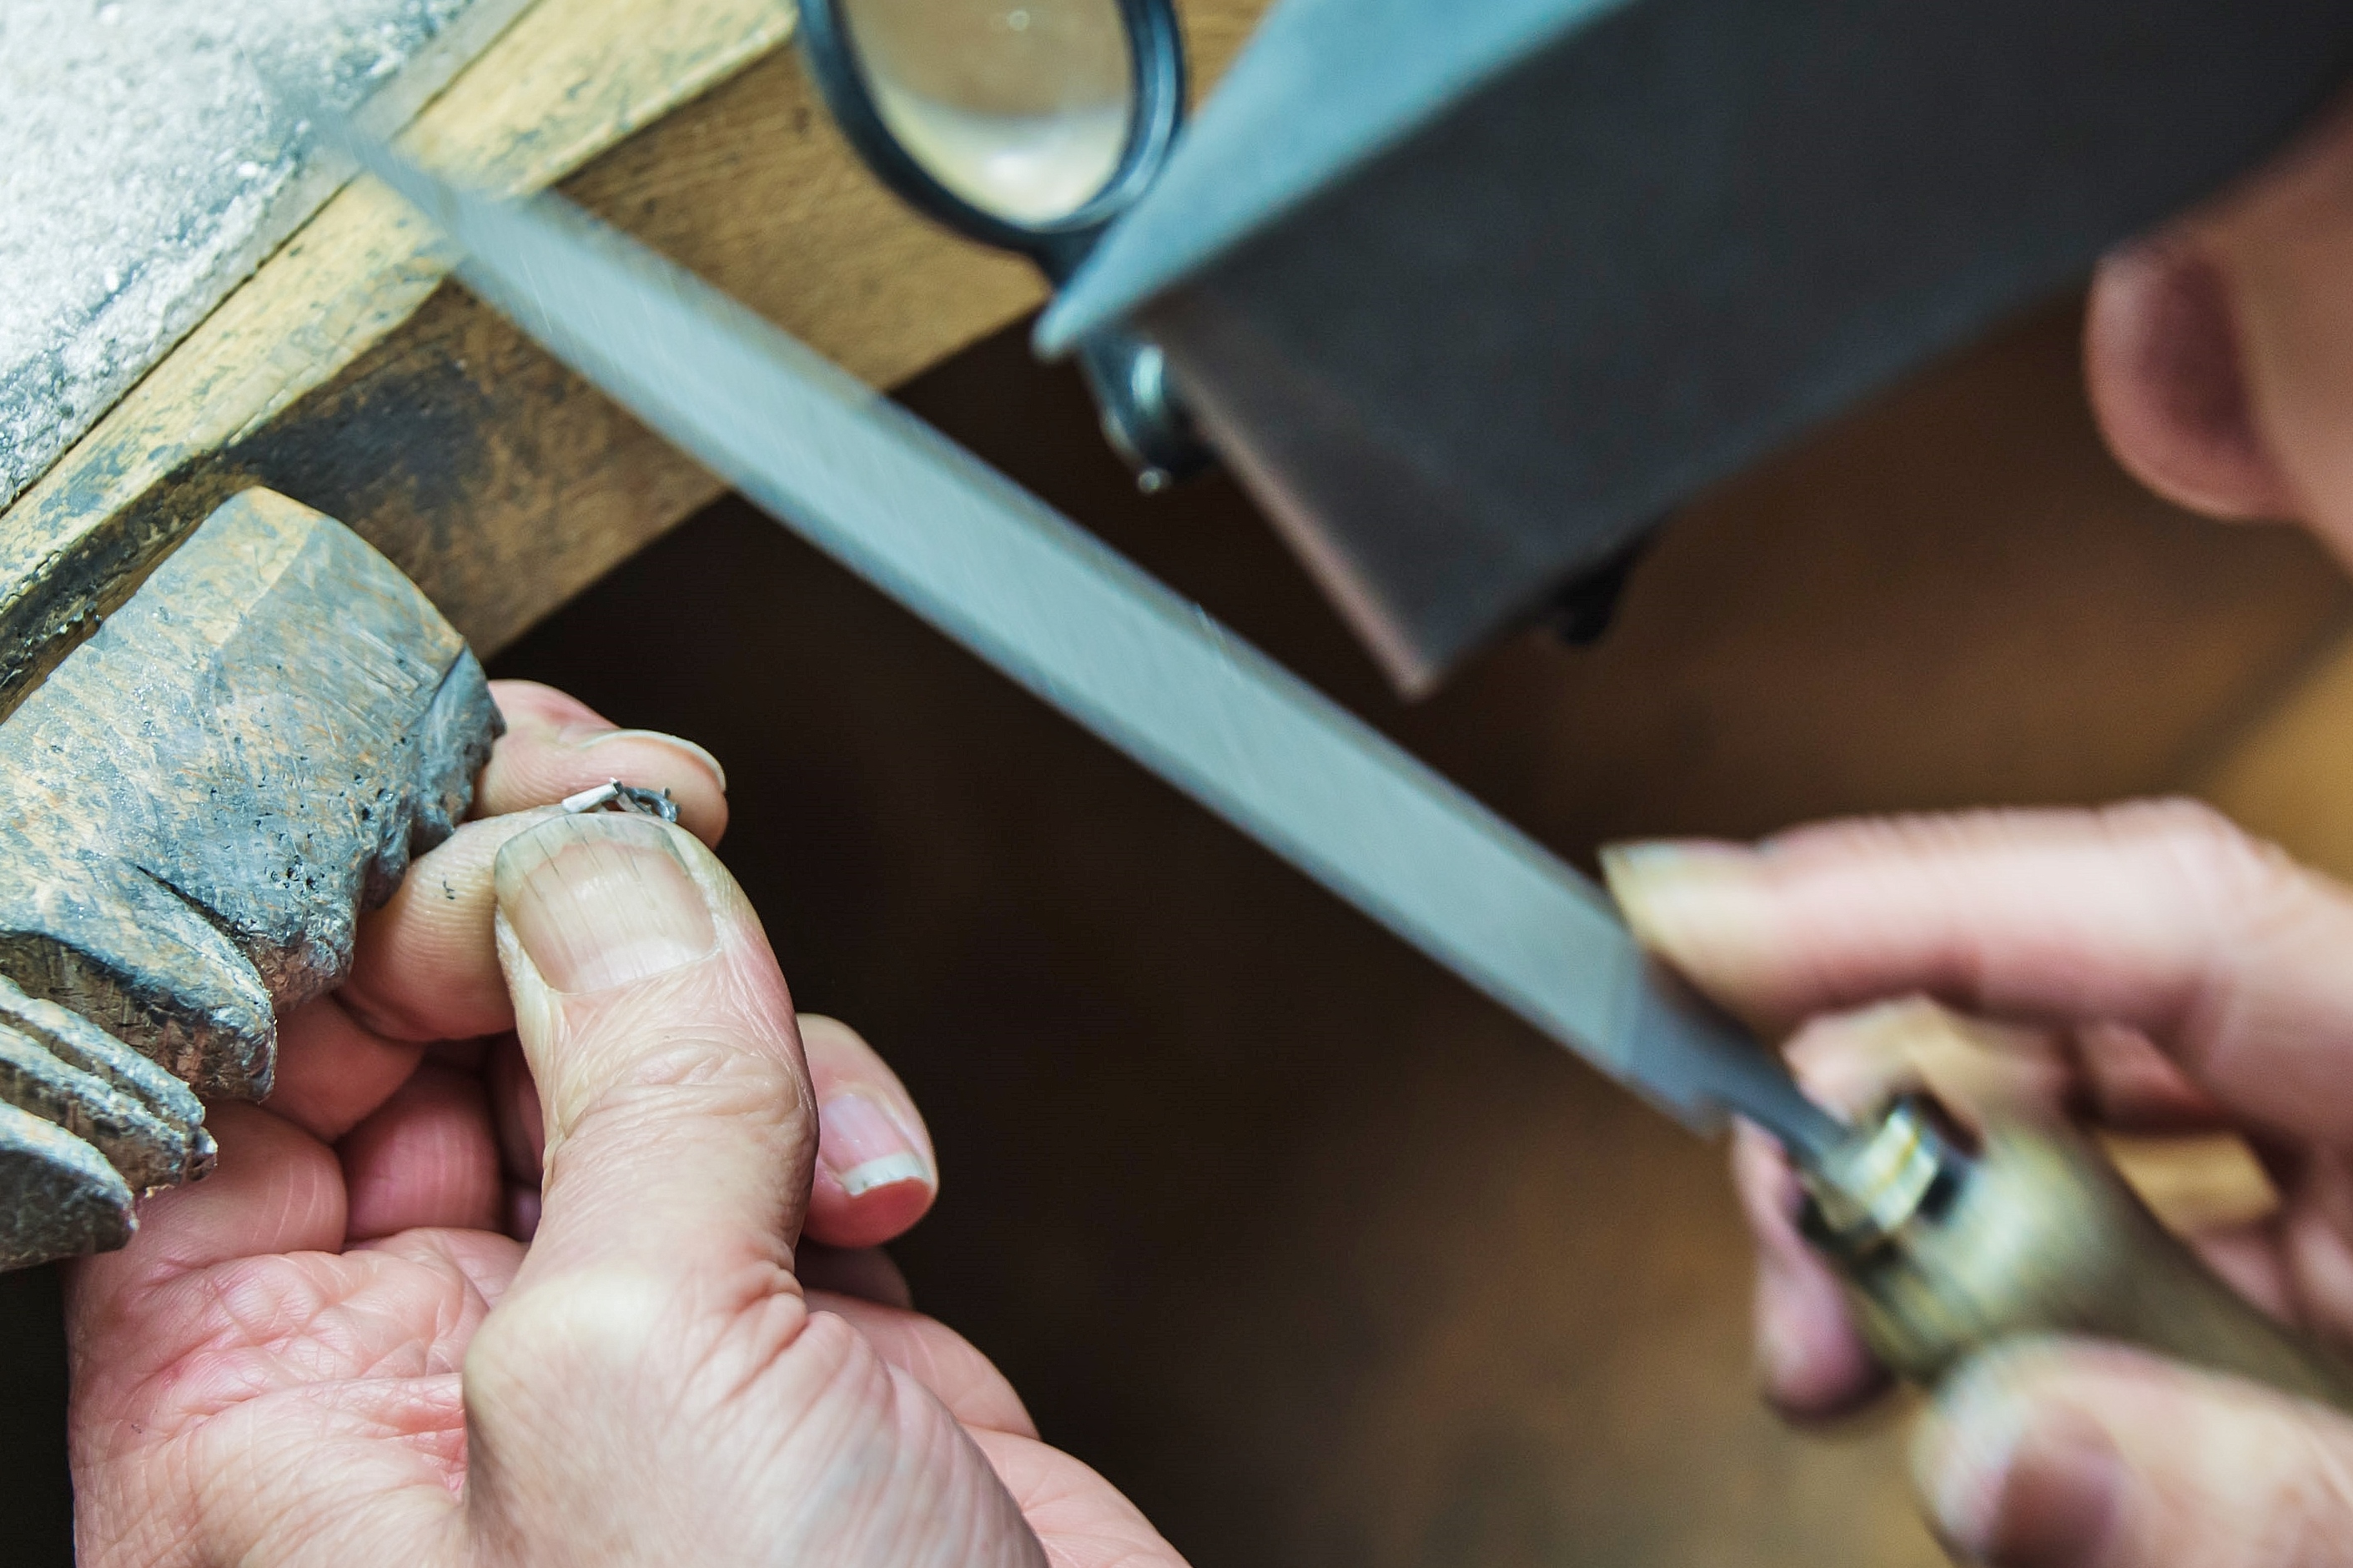
The ring is now filed to shape and to remove hammer marks.
The ring then needs to be buffed with two grades of emery paper. Due to the forged platinum's durability and resilience to wear and tear, after filing all file marks need to be removed completely with the rougher grade of emery before proceeding to an extremely fine grade emery. This step removes any marks left by the rougher grade emery before the ring is polished. Alan finds that as cast rings are less durable, with these, some stages of the filing and buffing with emery can be passed over.
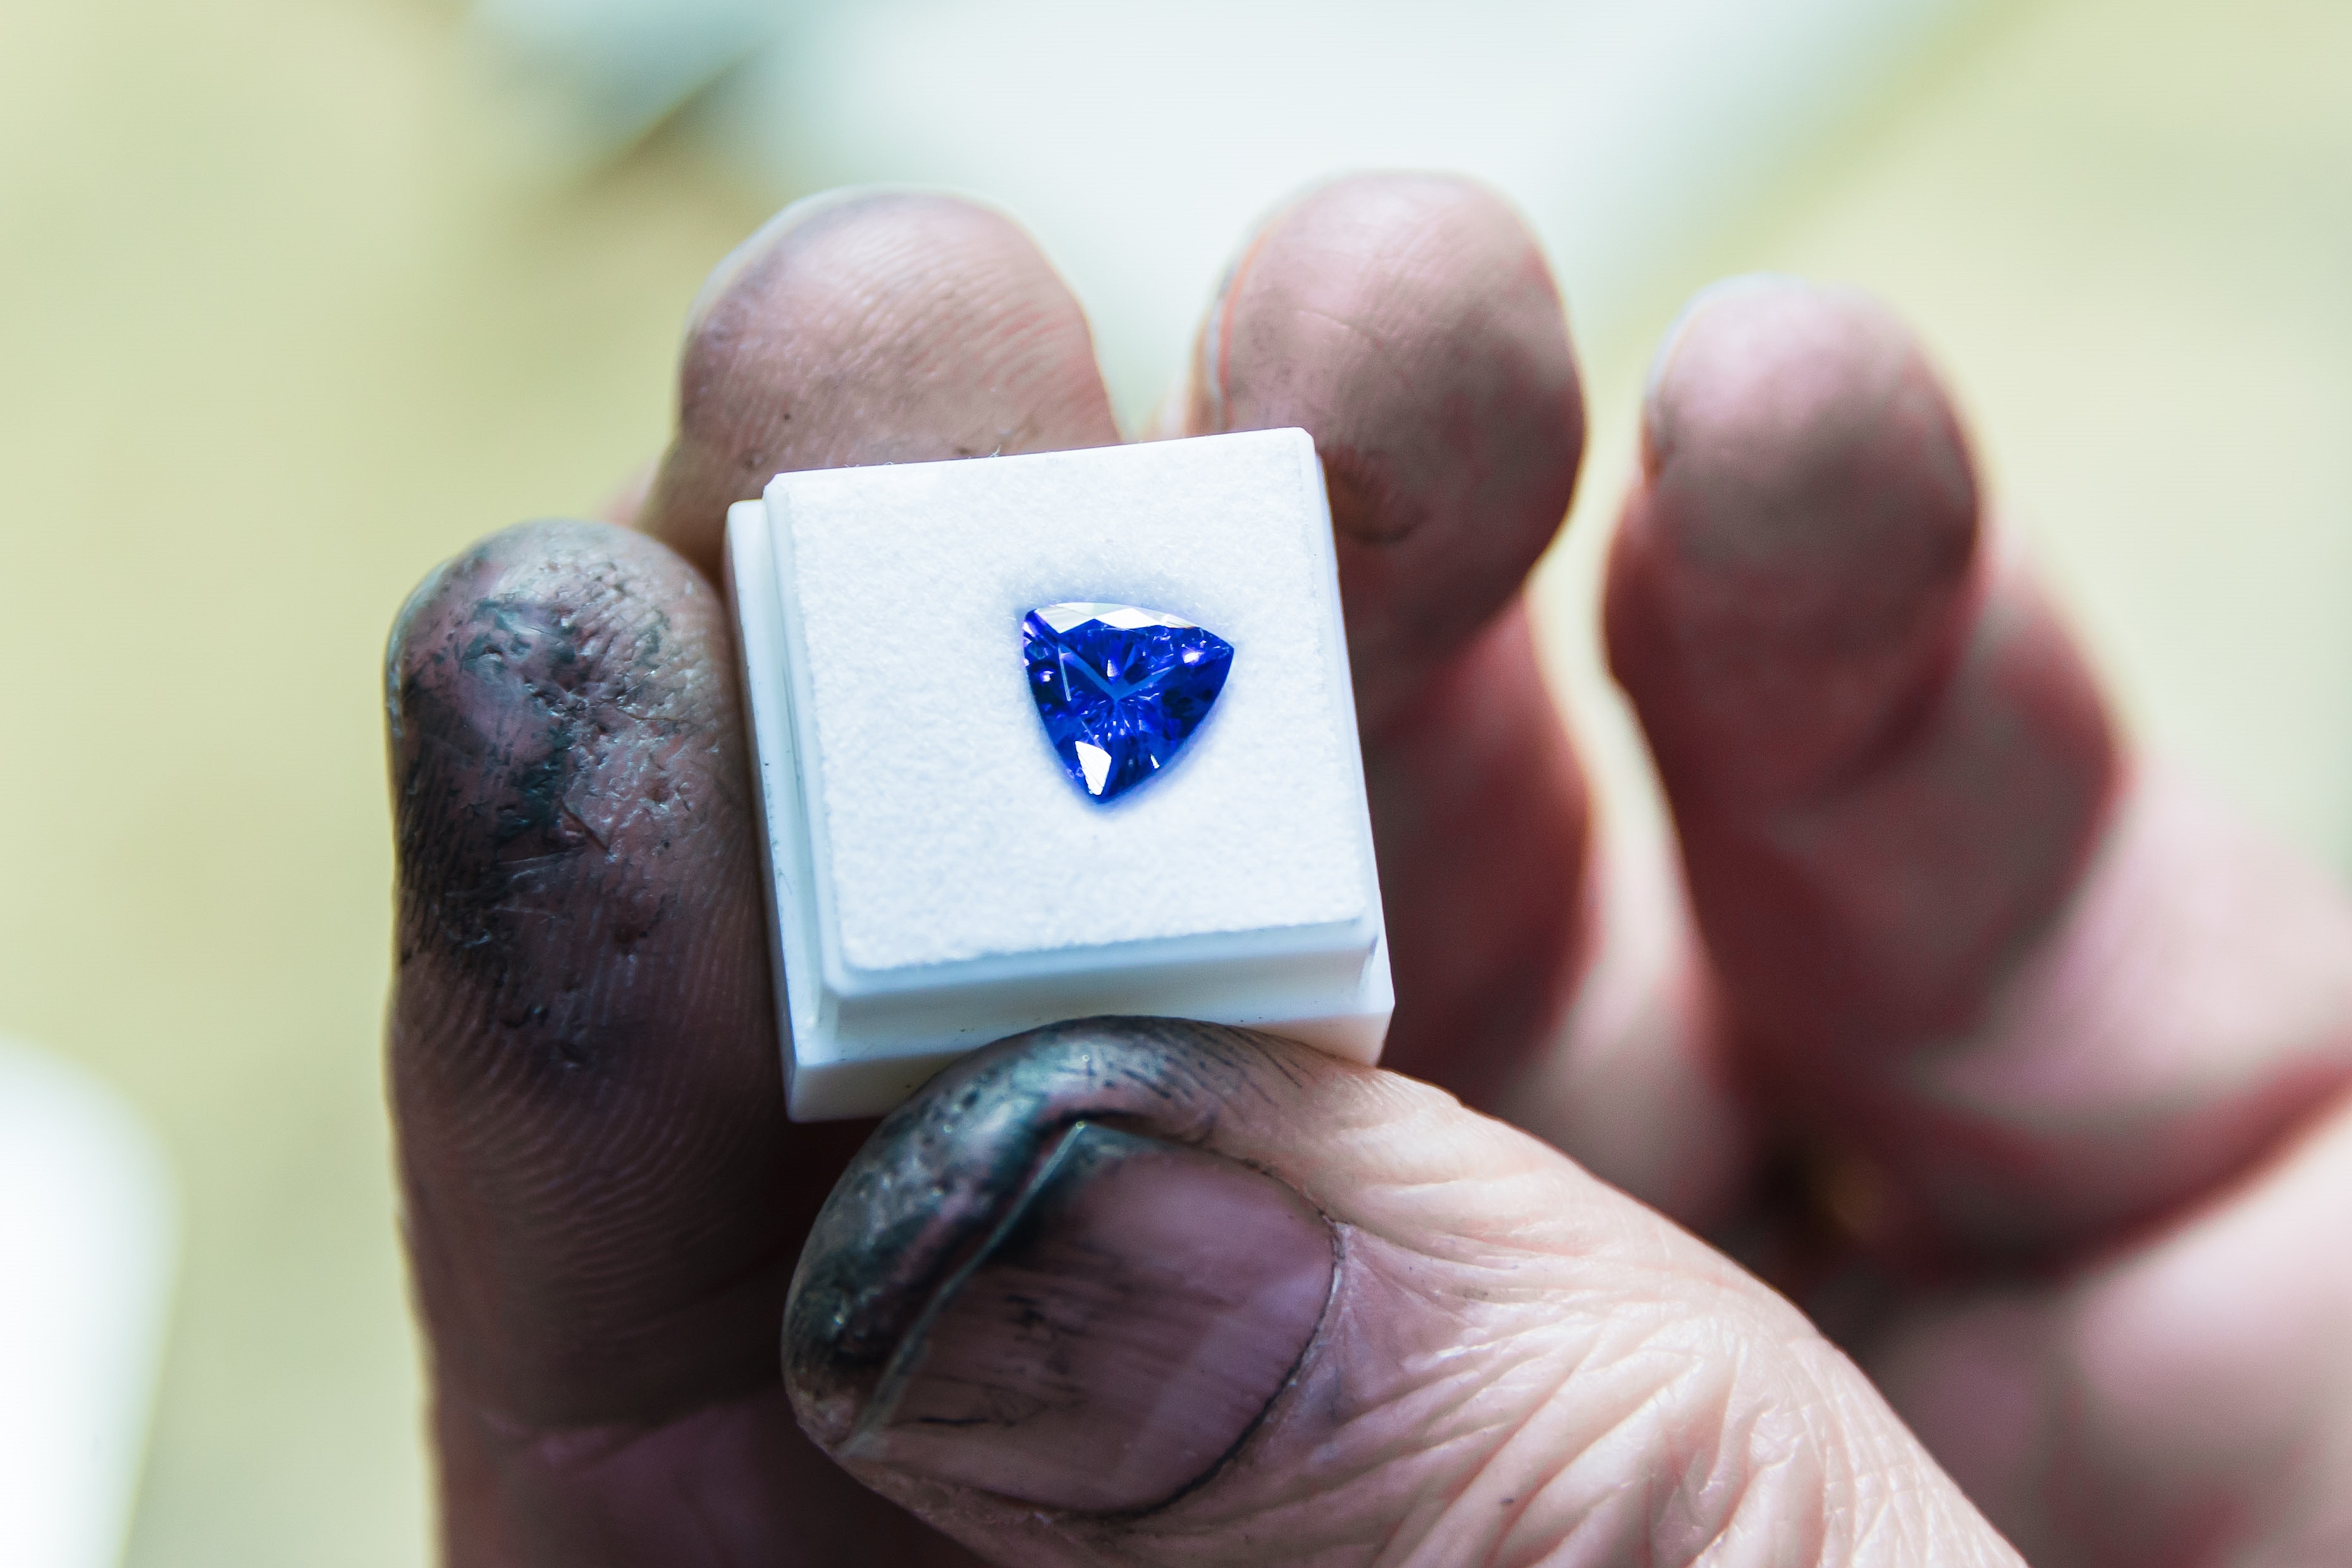
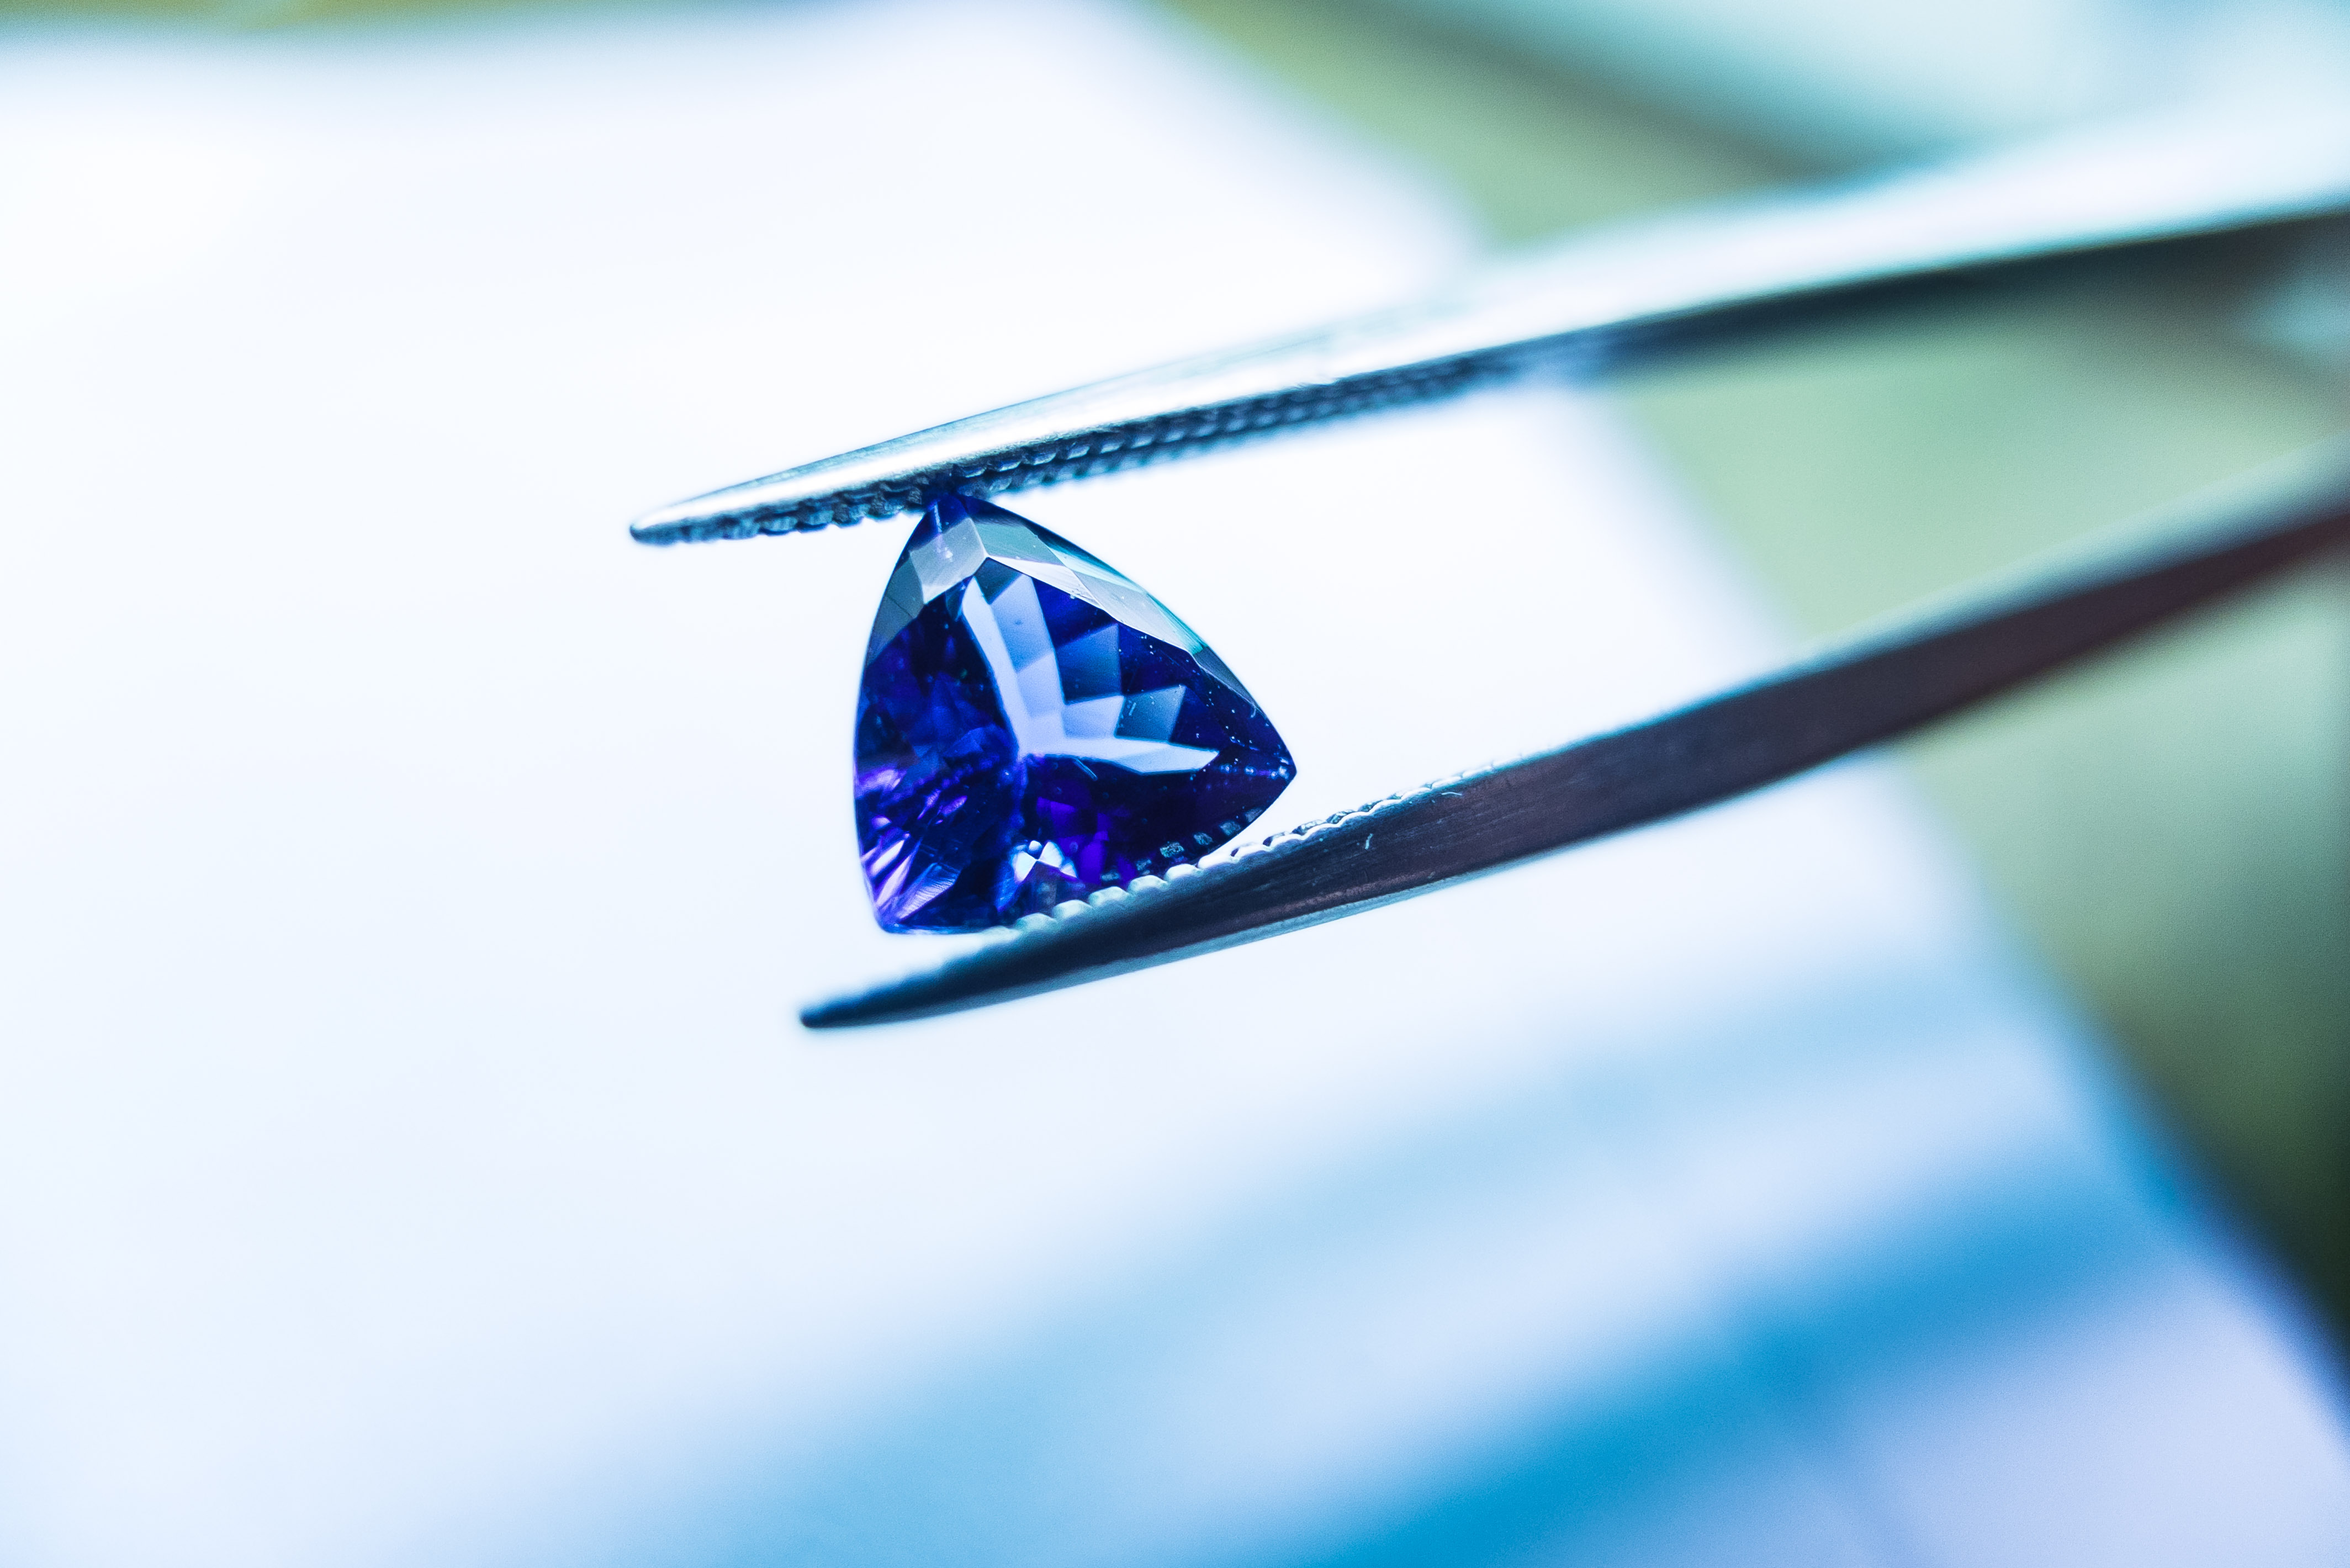
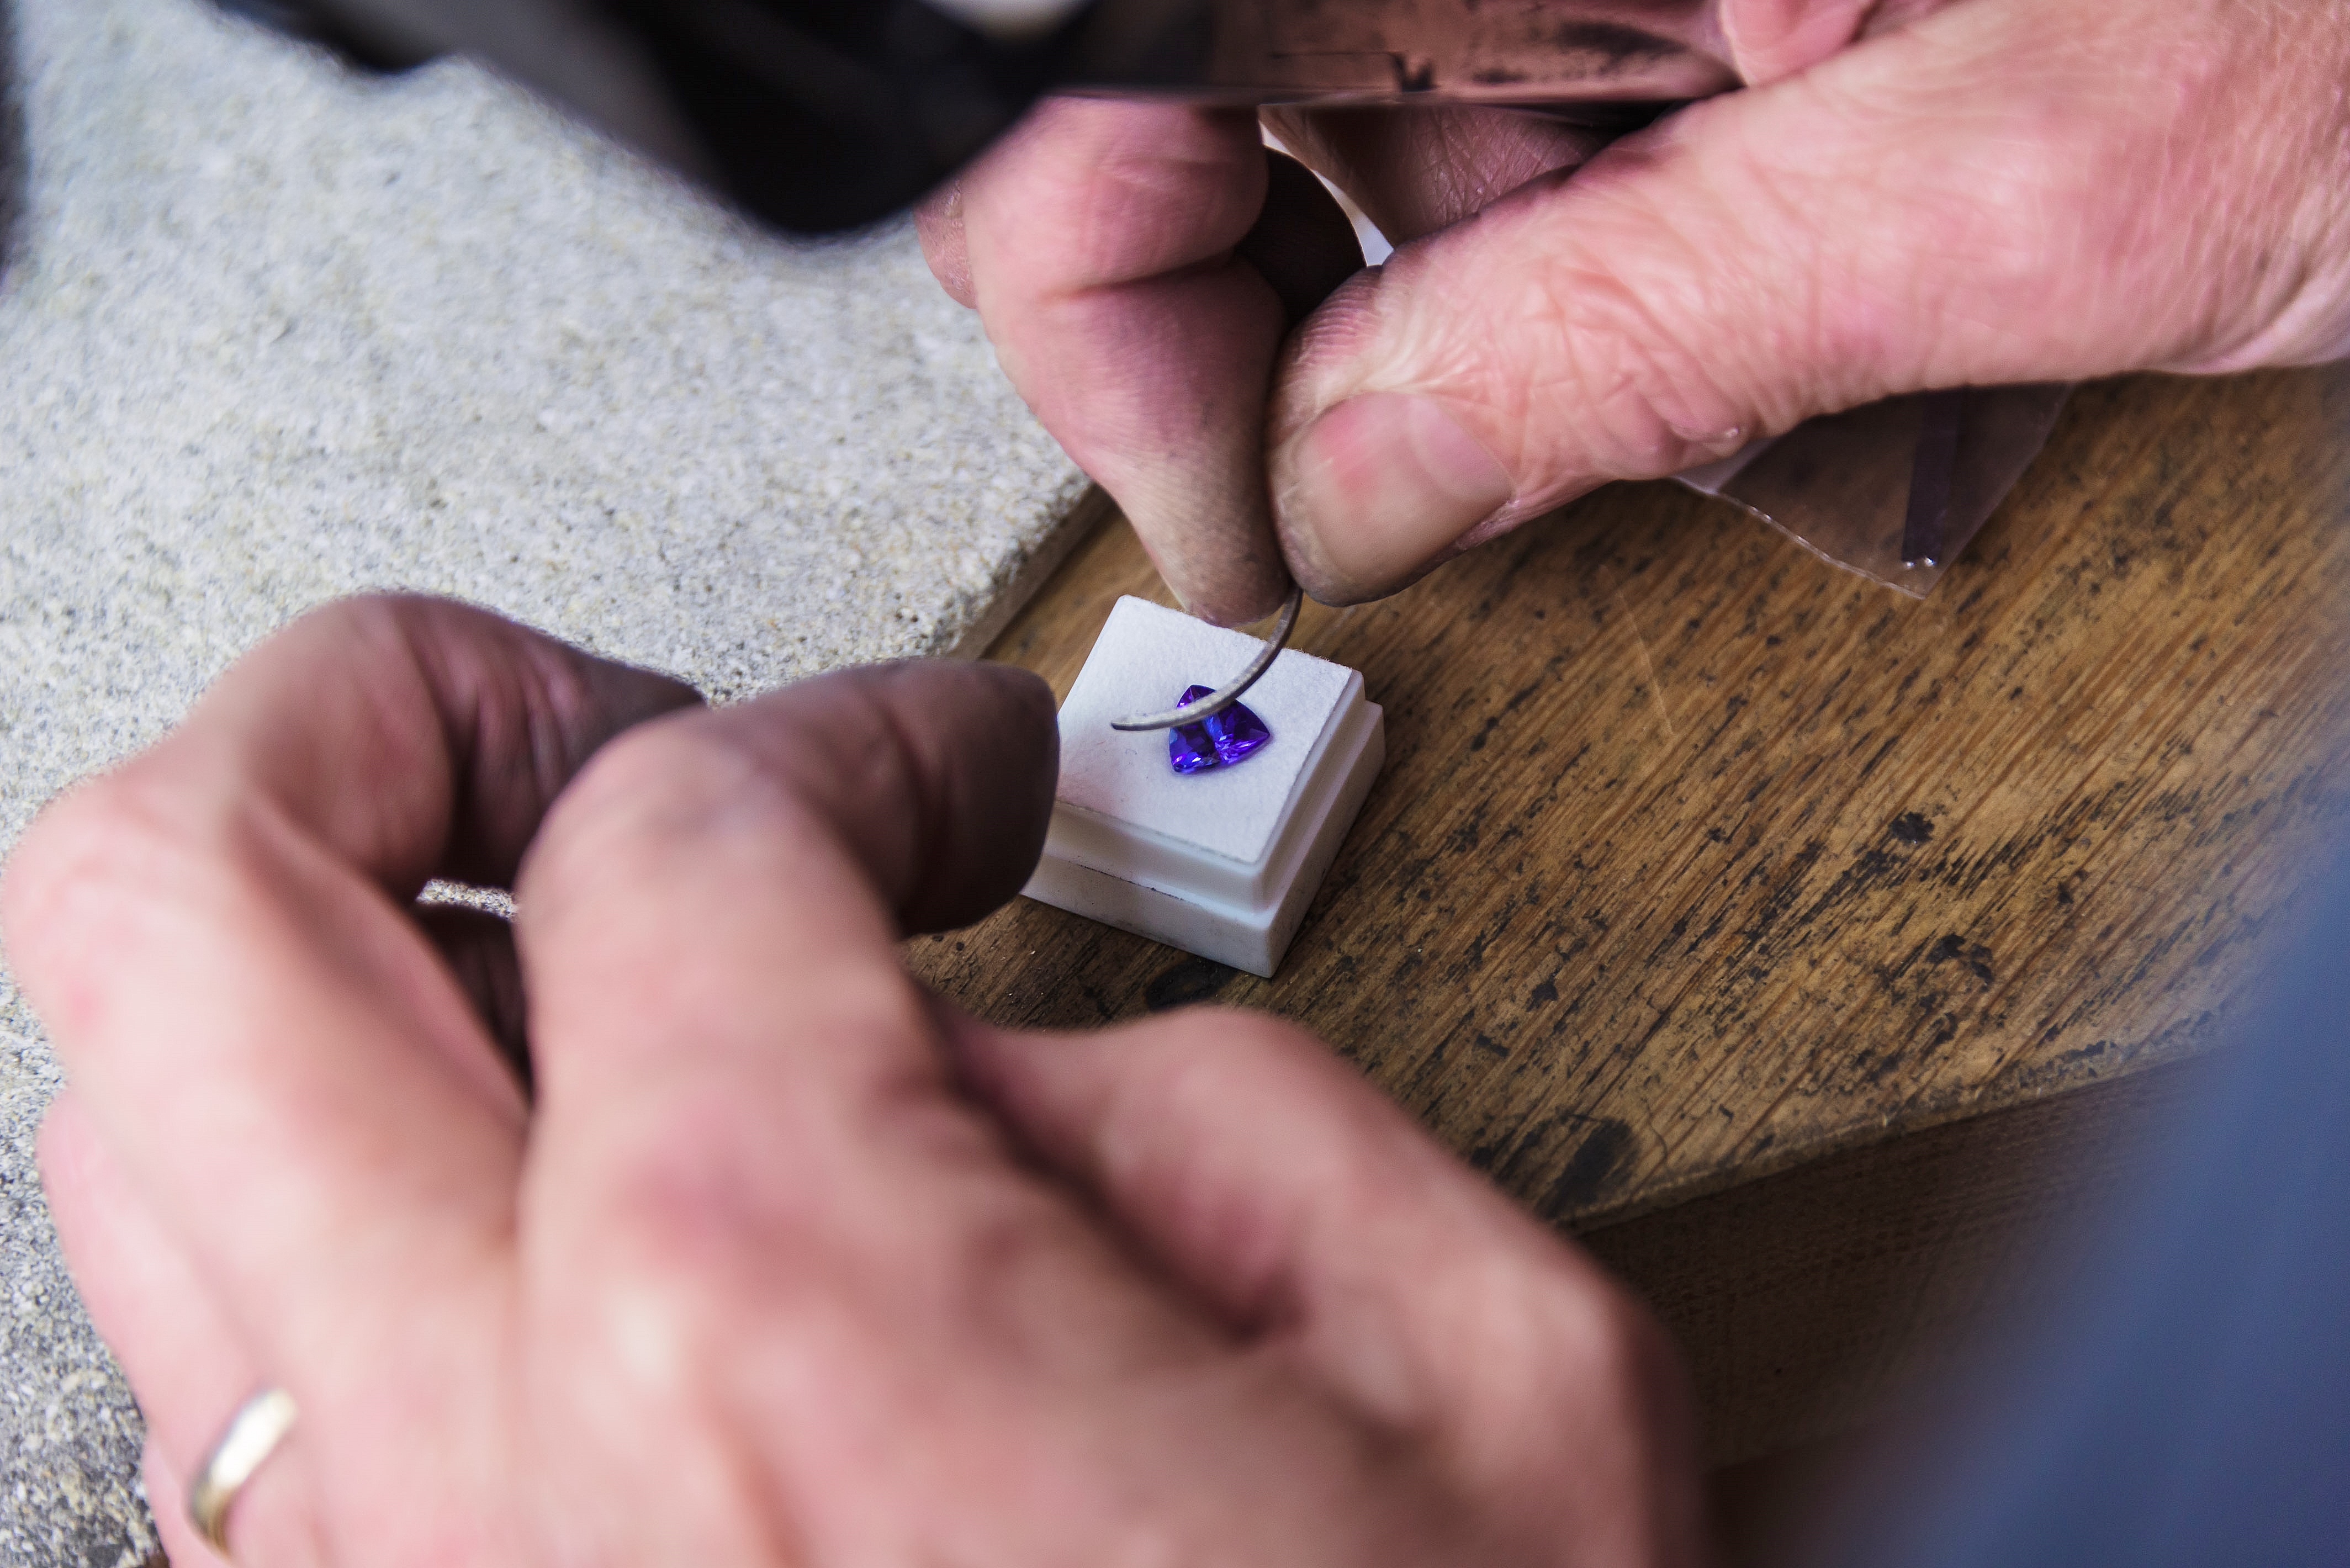
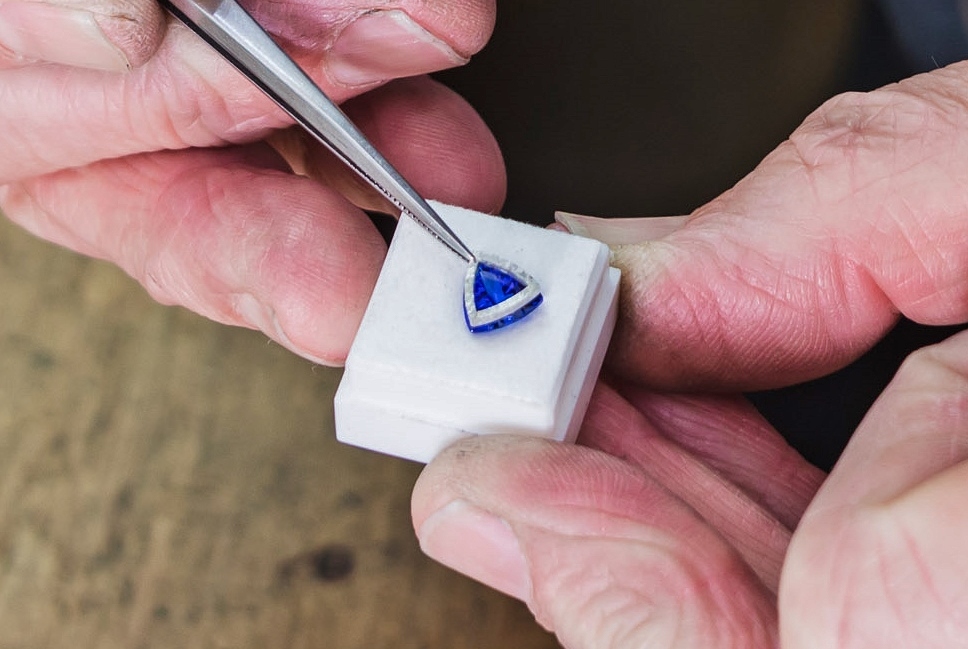
The stone this client selected to have is a Tanzanite and this shape is called a trilliant.
Before starting to create the setting Alan studies the stone assessing any irregularities in it's shape or cut, particularly on the underside which will rest on a wire bearer.
Alan starts by rolling down a fine rectangular wire from which the bearer the stone will rest on is made. The wire is shaped to that of the stone...
...then mitred to the correct angle to suit the cut of the underside of the stone.
This joint is then soldered completing two of the three sides.
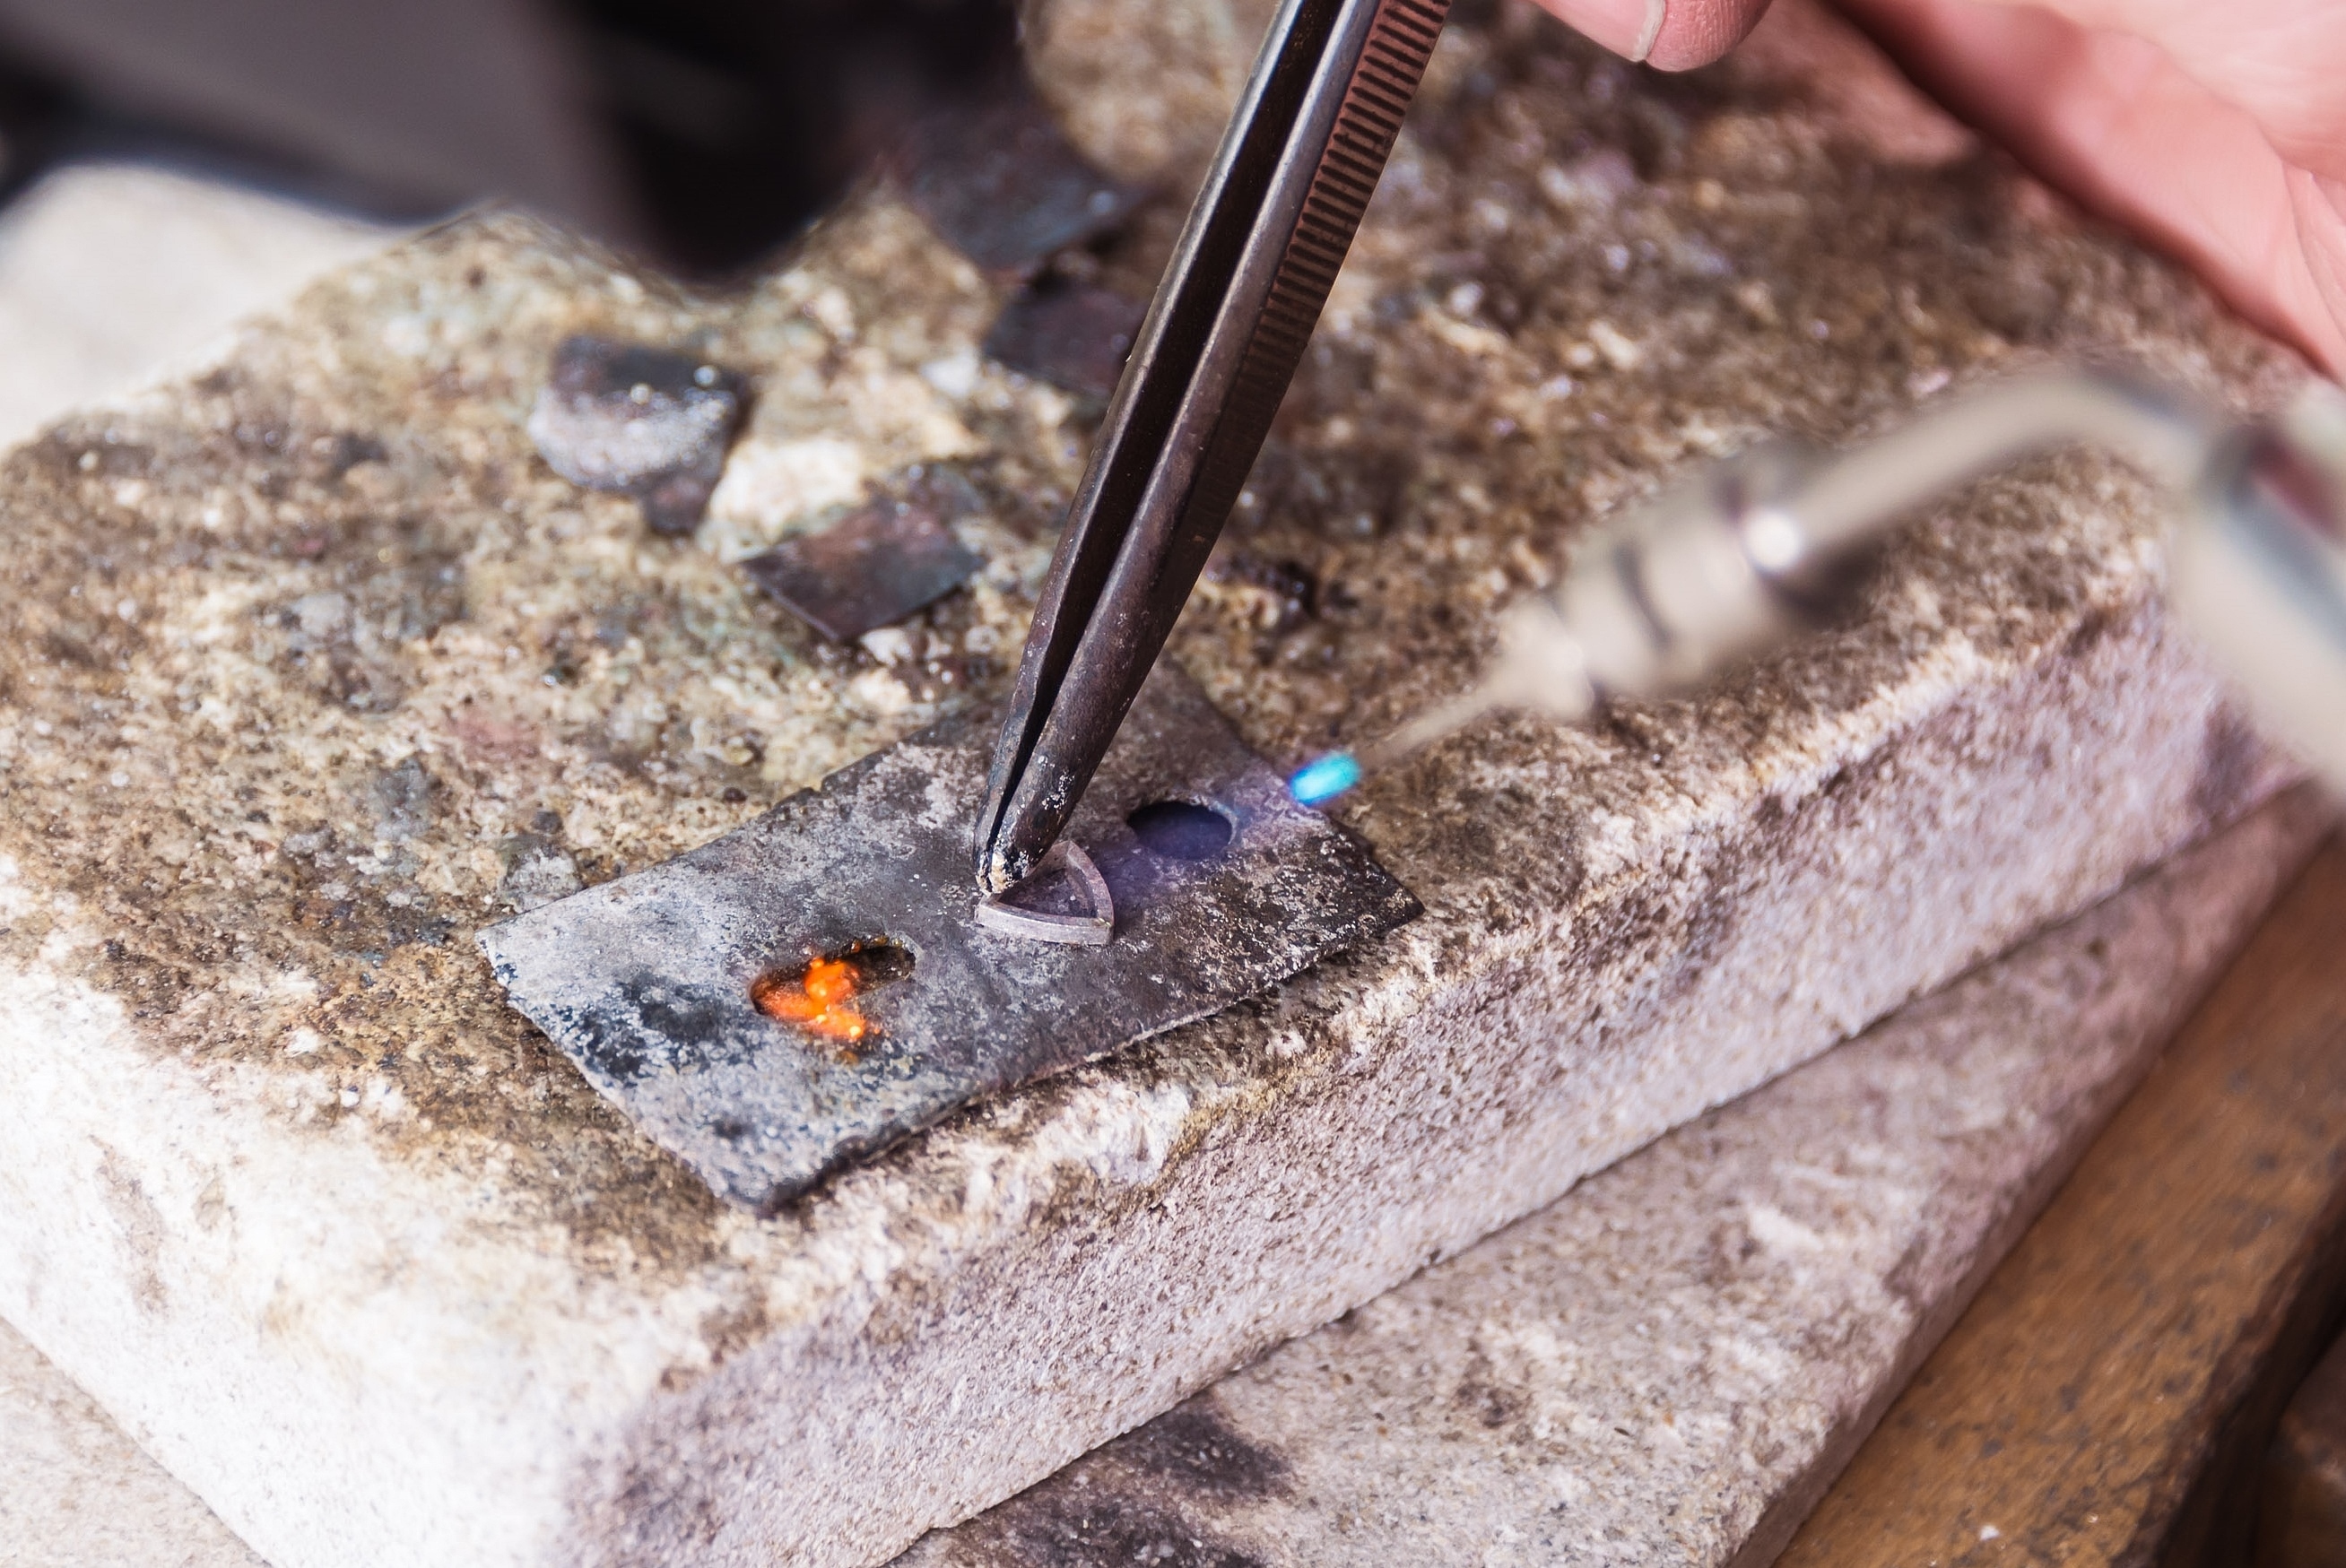
The wire for the third side is now shaped, cut to fit and then soldered into place.
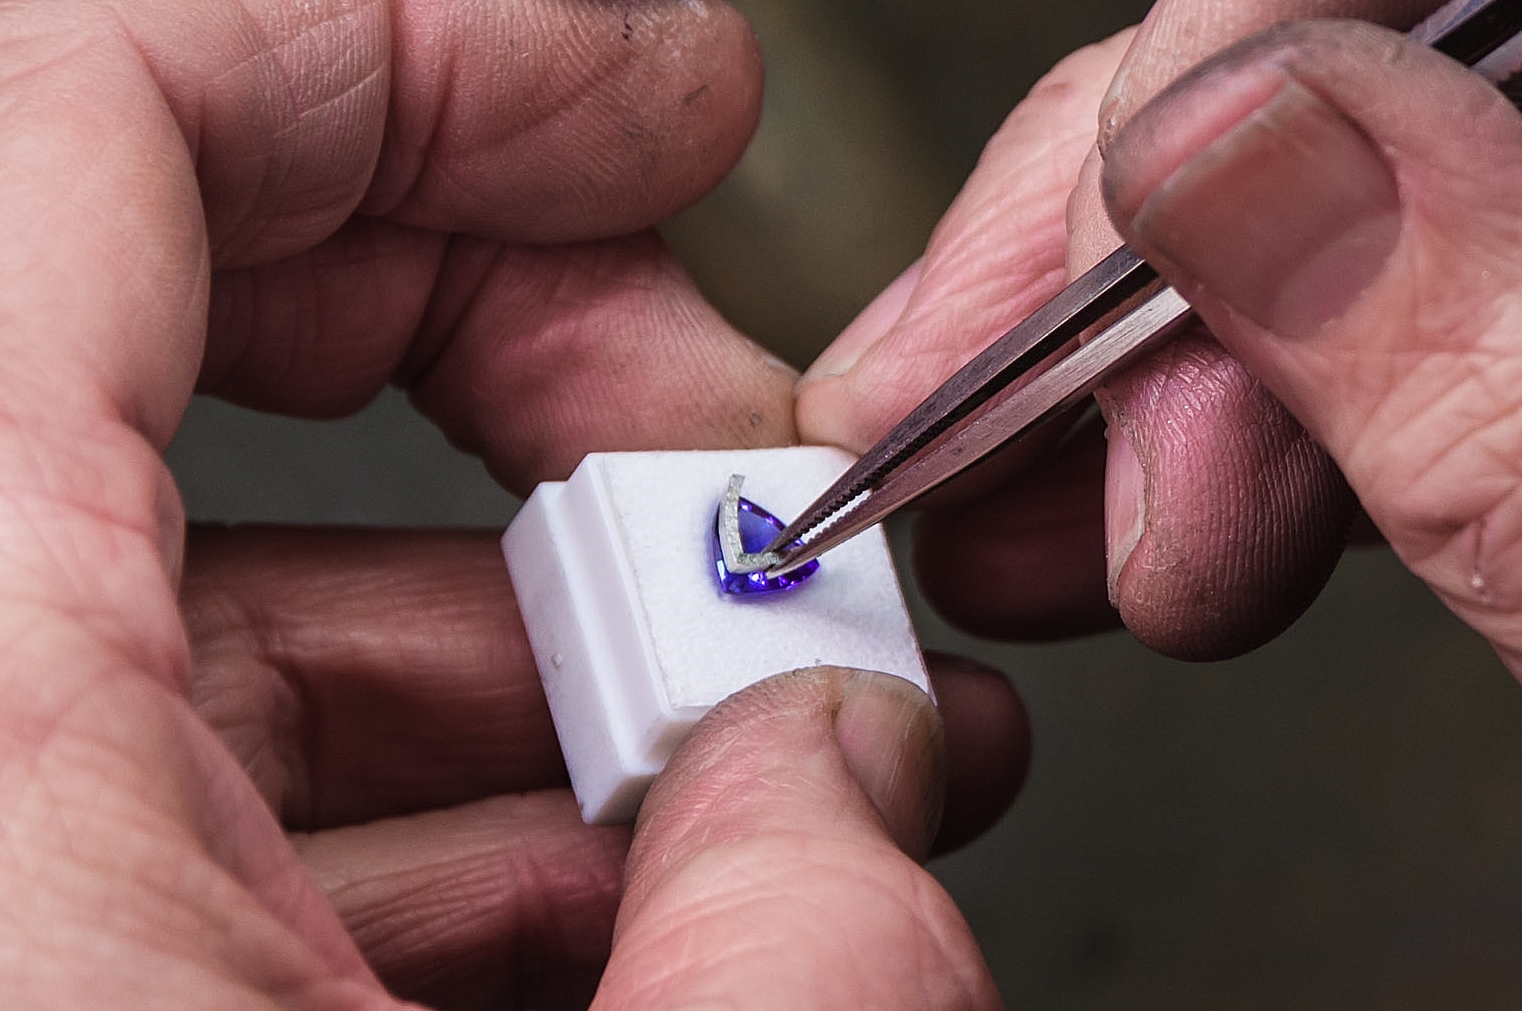
Alan now checks to make sure the bearer fits perfectly as it is very important to support the stone properly to minimise loss or damage when being worn. With a generic cast setting this is not generally the case. Alarmingly in recent years Alan has been seeing more and more stones having been set into ring settings with no wire bearer to support the stone and where the stone has either become loose or indeed fallen out!
A back rail that will rest on the finger and three 'V' claws are now created and soldered to the support bearer. The setting is ready to solder to the shank once the 'V' claws have been filed flush to the back rail.

Fast forward now to the completed ring. We have concentrated on the procedures that are most important in understanding what makes us so different from others and the benefits our hand making offers clients. One further thing we wish to point out are the 'V' claws holding the stone. Any stone with a point or points such as princess cuts, pears, marquise, and trilliants should have the points or corners set in 'V' claws as these protect and support the most fragile areas of the stone which can be damaged. It also makes for a more secure setting, not like some mounts we now are seeing, with round wire claws holding the corners or points.
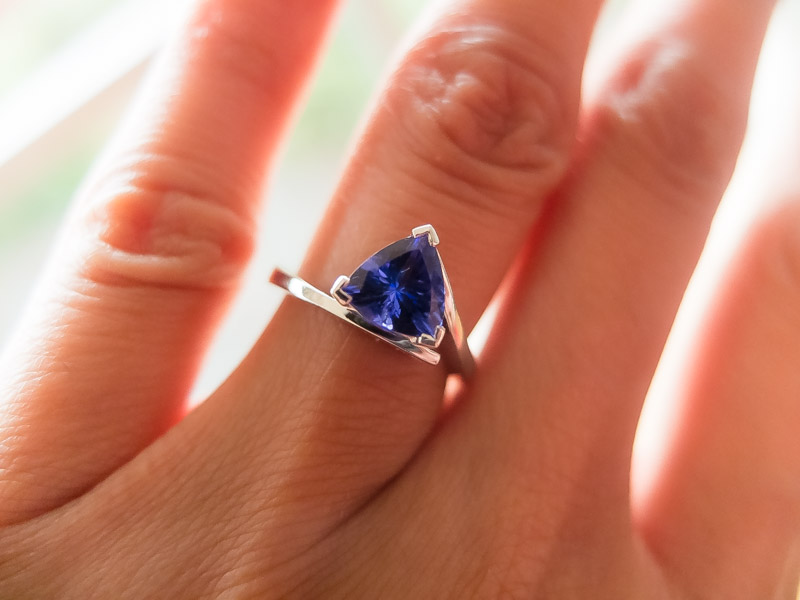
And finally on the recipients finger. So why not experience the ultimate in luxury with a quality piece of handmade jewellery from Alan P. Fulton Artisan Goldsmith.