Who would have guessed?
A commission requiring accurate Geometry and arithmetic calculations.
It’s possibly something that you hadn’t considered or thought of as a requirement when creating my handcrafted jewellery but many commissions do need the knowledge of basic geometry and arithmetic. This case studio, however, explains a recent commission which required very accurate and detailed geometry and arithmetic calculations to make it work.
Robert contacted me as his wife Lynn was looking to have her 18ct. yellow gold channel set 12 stone millennium cut eternity ring remodelled into a full hoop eternity ring mounted in platinum with the supply of additional diamonds to successfully circumnavigate the platinum band required for her finger size.
The millennium cut diamonds in Lynn’s ring were rectangular stones approximately twice the length to width. These stones were, however, not all the same length and tapered slightly in length from 2.8mm to 2.6mm. which had to be taken into consideration when setting.
We considered adding round brilliant cuts and square princess cuts and Lynn’s choice was to opt for the princess cuts. The width of the ring at 3.5mm was determined by the length of the longest of the millennium cut diamonds so it meant working out whether square princess cuts of 2.8mm would be suitable to create the full eternity ring.

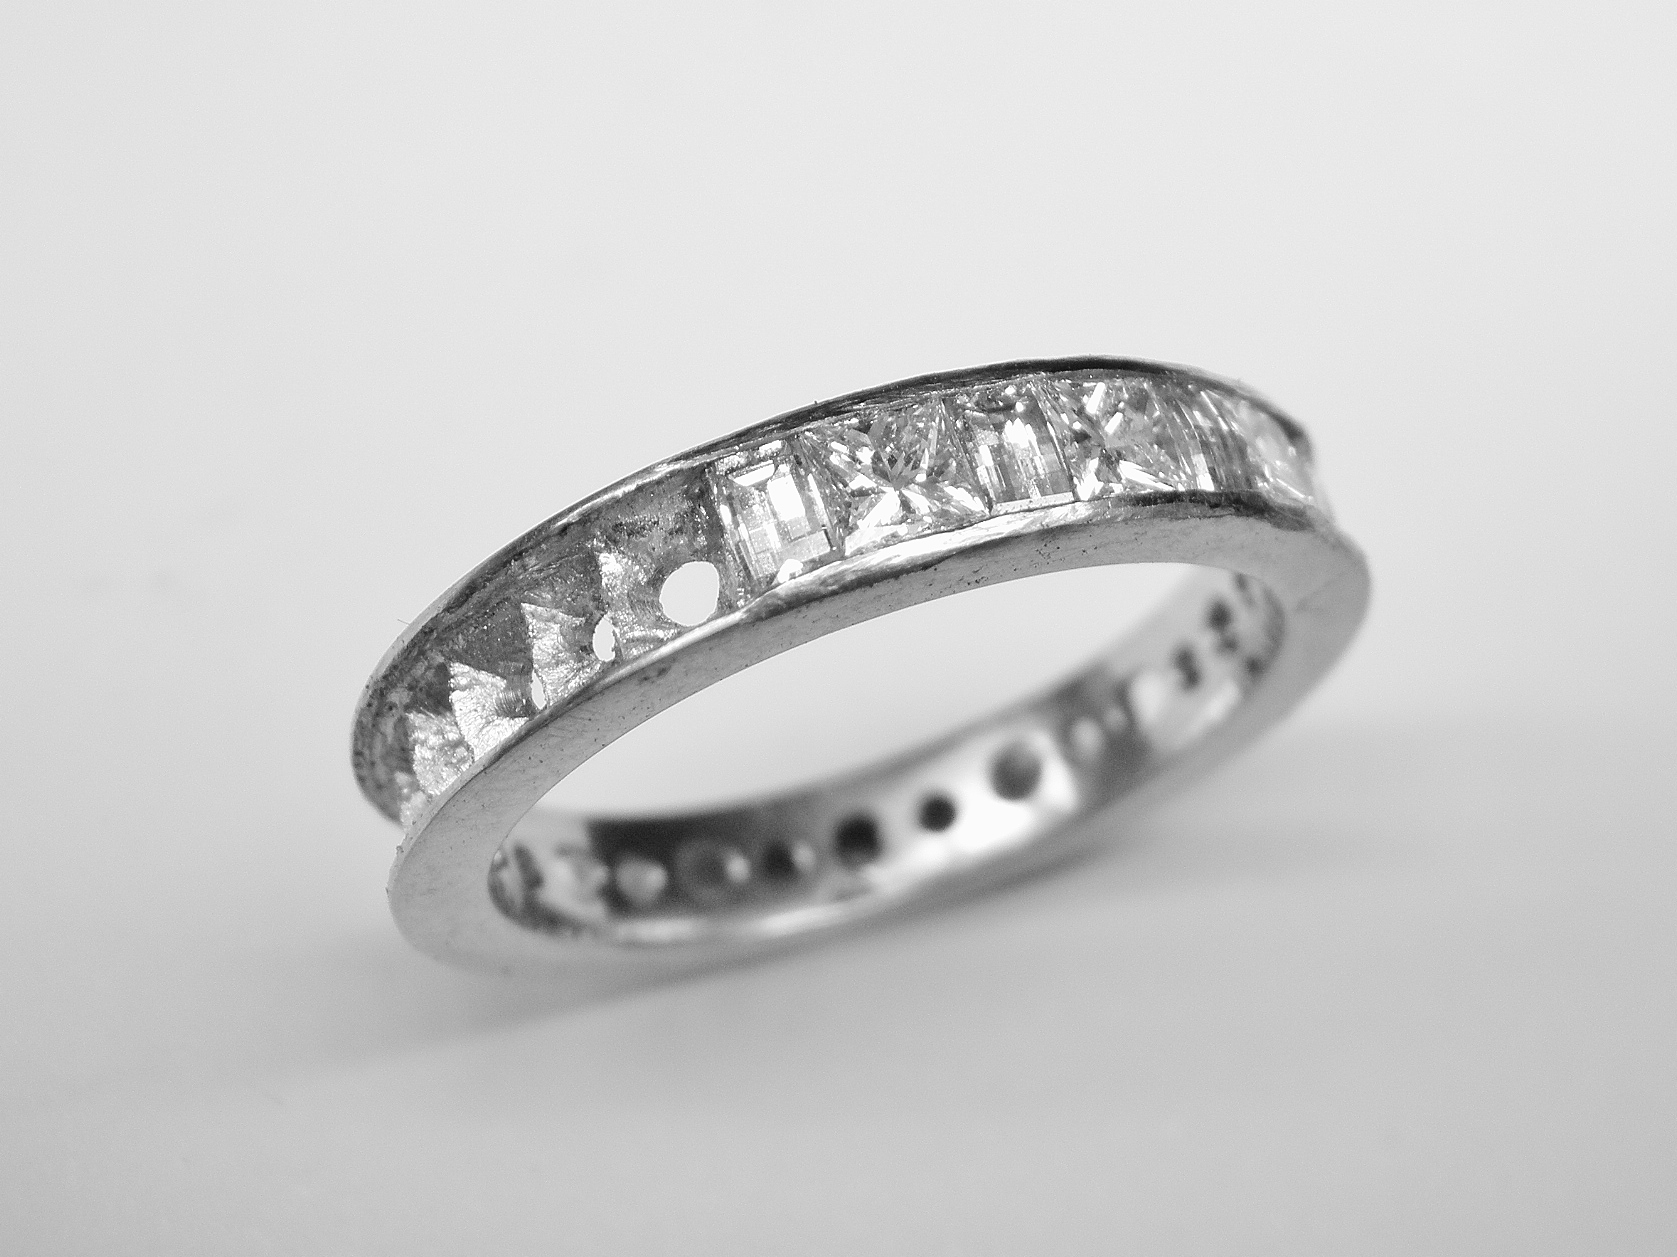
The basic ring I started with
The above photograph is the basic ring I started with showing:-
The inside diameter of 17.55mm which is Lynn’s finger size.
The 2.2mm thickness of the ring required for the depth of the diamonds.
The outside diameter of the ring being 21.95mm giving a circumference of 68.92
Allowing for setting the diamonds at a depth of 0.5mm this would mean a circumference of 65.90mm. I worked out that using fourteen 2.8mm princess cuts along with Lynn’s fourteen millennium cuts it might be possible but to make sure I ordered thirty 2.8mm square princess cut diamonds on approval. This was more than twice what I would require allowing for matching and sizing as some may be 0.05mm longer or shorter across one side.

The diamonds laid out in jewellers paste alternating princess cut – millennium cut
I laid out the 28 diamonds, as seen in the photograph above, and measuring found them to be 64.4mm long. This meant I was 0.5mm short of what I required. I was confident with a bit of skillful setting I was confident I could make up the 0.5mm, bearing in mind that, with straight edged stones butting up against each other, the smallest of gaps would be very noticeable. It was agreed that I should use the princess cut diamonds rather than rounds.
The first stage was to mark out around the outside of the ring the position of the centre of the 28 holes that need to be drilled that allow the diamonds to sit in the ring. Having marked the ring out, pilot holes are then drilled using a 0.6mm diameter drill as can be seen in the photograph below.
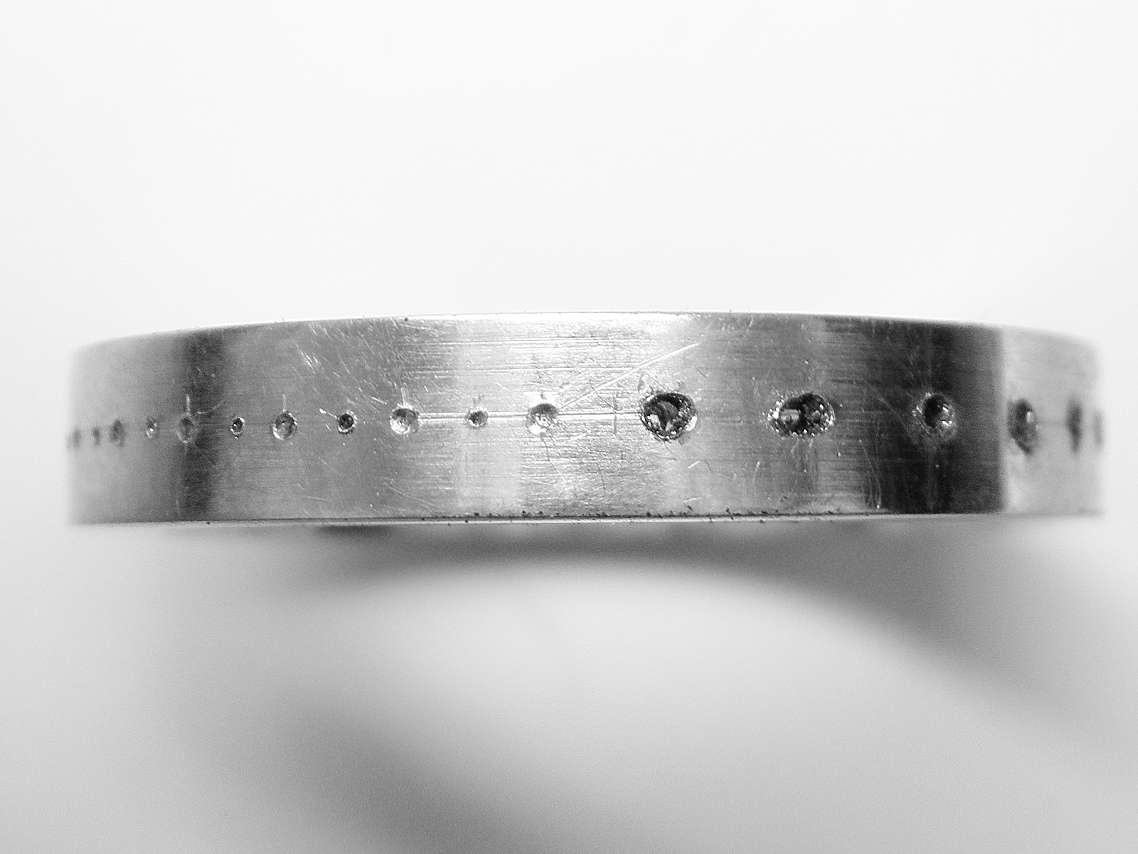
The centre punch marks on the left – the 0.6mm pilot holes on the right
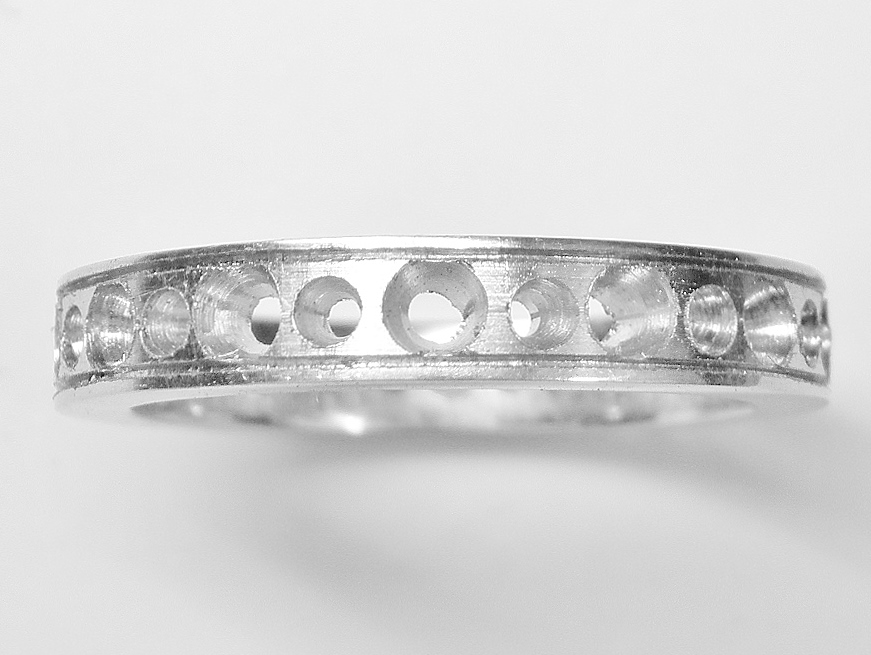
The pilot holes are worked into, firstly with a 1.2mm diameter drill and then with conical burrs to expand the hole at the surface to approximately 0.2mm narrower than the width of the diamond. As the diamonds were going to be set alternating princess cut – millennium cut the photograph below shows the ring at this stage.

The conical holes cut to 0.2mm narrower than the diamonds
The tram lines cut with fine fret saw
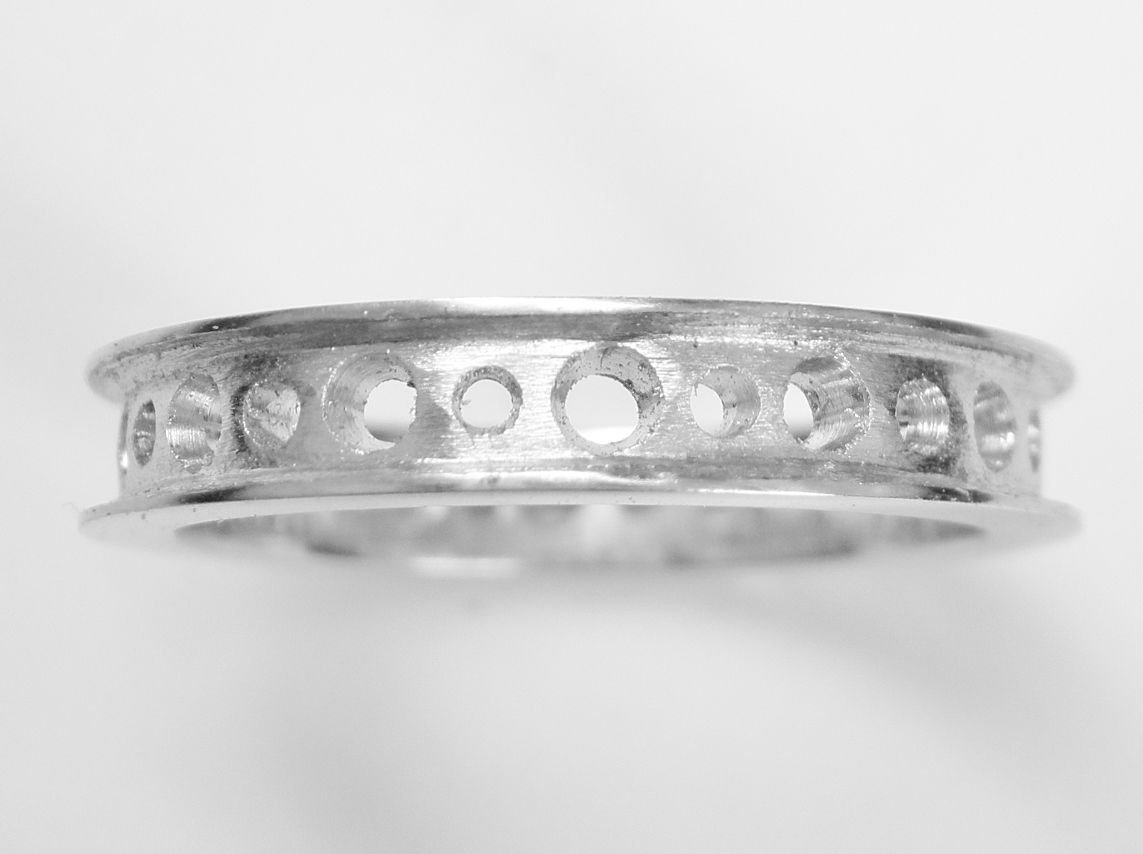
The centre carved out
The holes now had to be carved out to accommodate the underside of the diamonds with the princess cut being square and the millennium rectangular. Initially this is done in a general fashion.
The holes carved generally to size and shape
When comparing the width and depth of the different cuts you can see from the photograph below there is quite a difference.
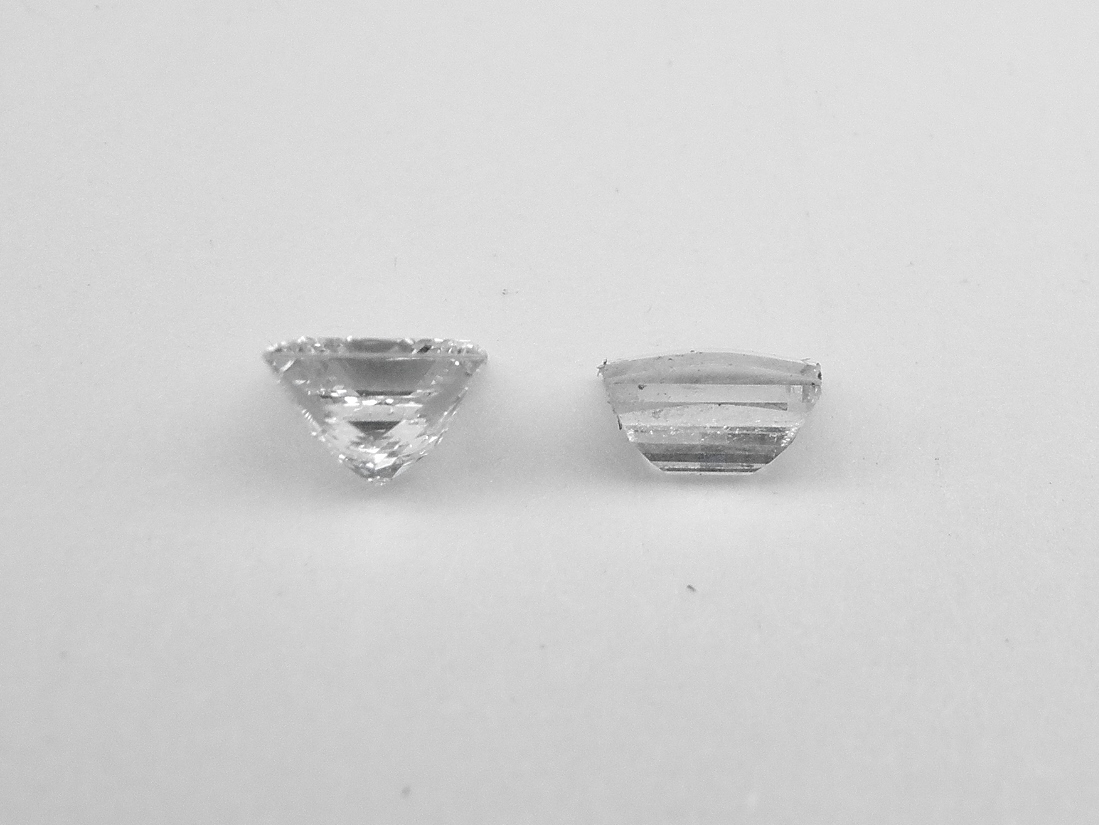
Princess cut (left) Millennium cut (right)
When setting the diamonds each hole had to be carved out further and more accurately to accommodate each stone. Carefully one by one the stones are set butting neatly up against each other.
Setting stones carefully one by one
Gradually working my way around the ring, I was conscious I might be 0.5mm short. Fortunately, a few of the princess cuts measured up to 0.05mm longer than 2.8mm so I was able to use these along their longer length. I hadn’t enough to make up the full 0.5mm but enough that with some clever setting I was able to make up the 0.5mm without having gaps between the diamonds.
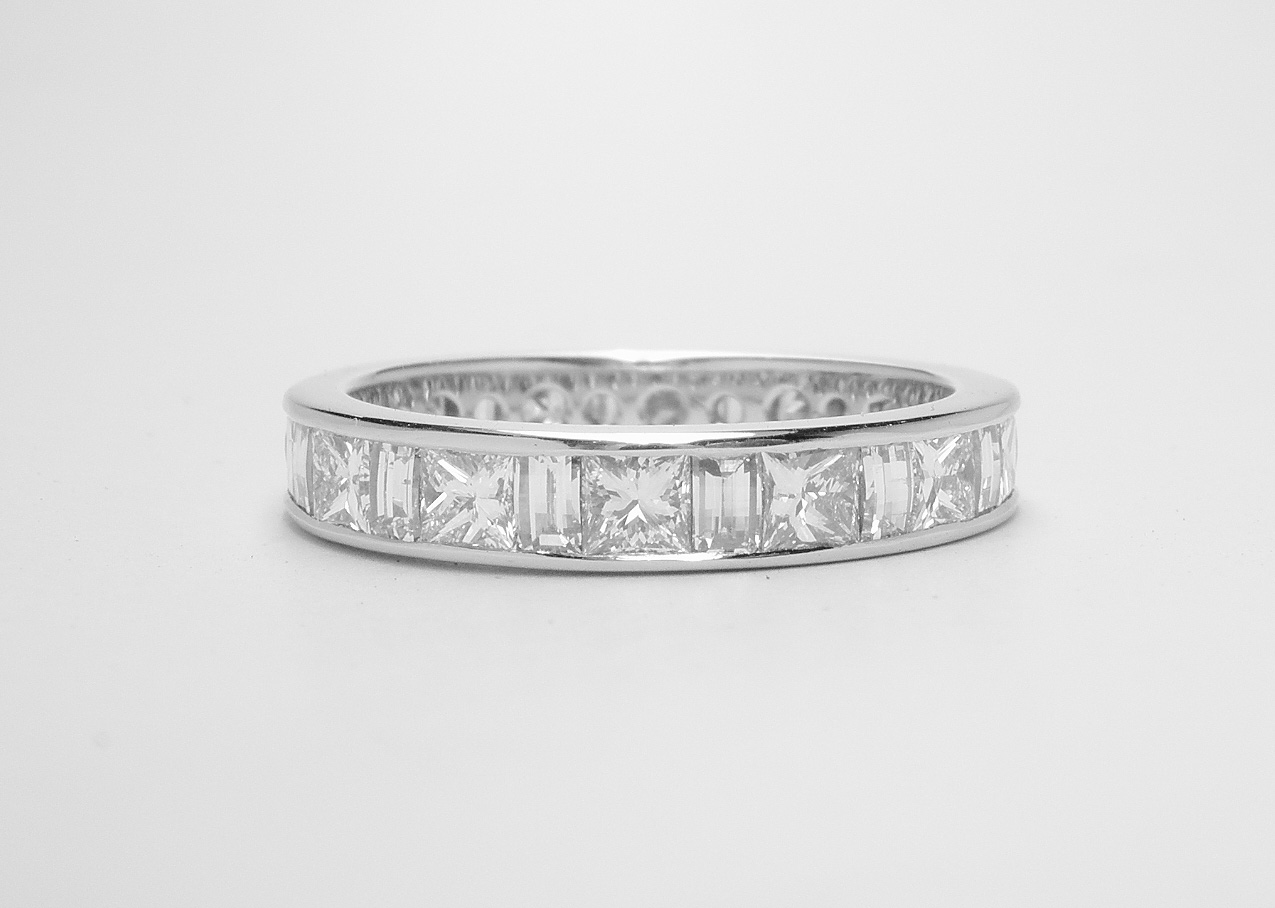
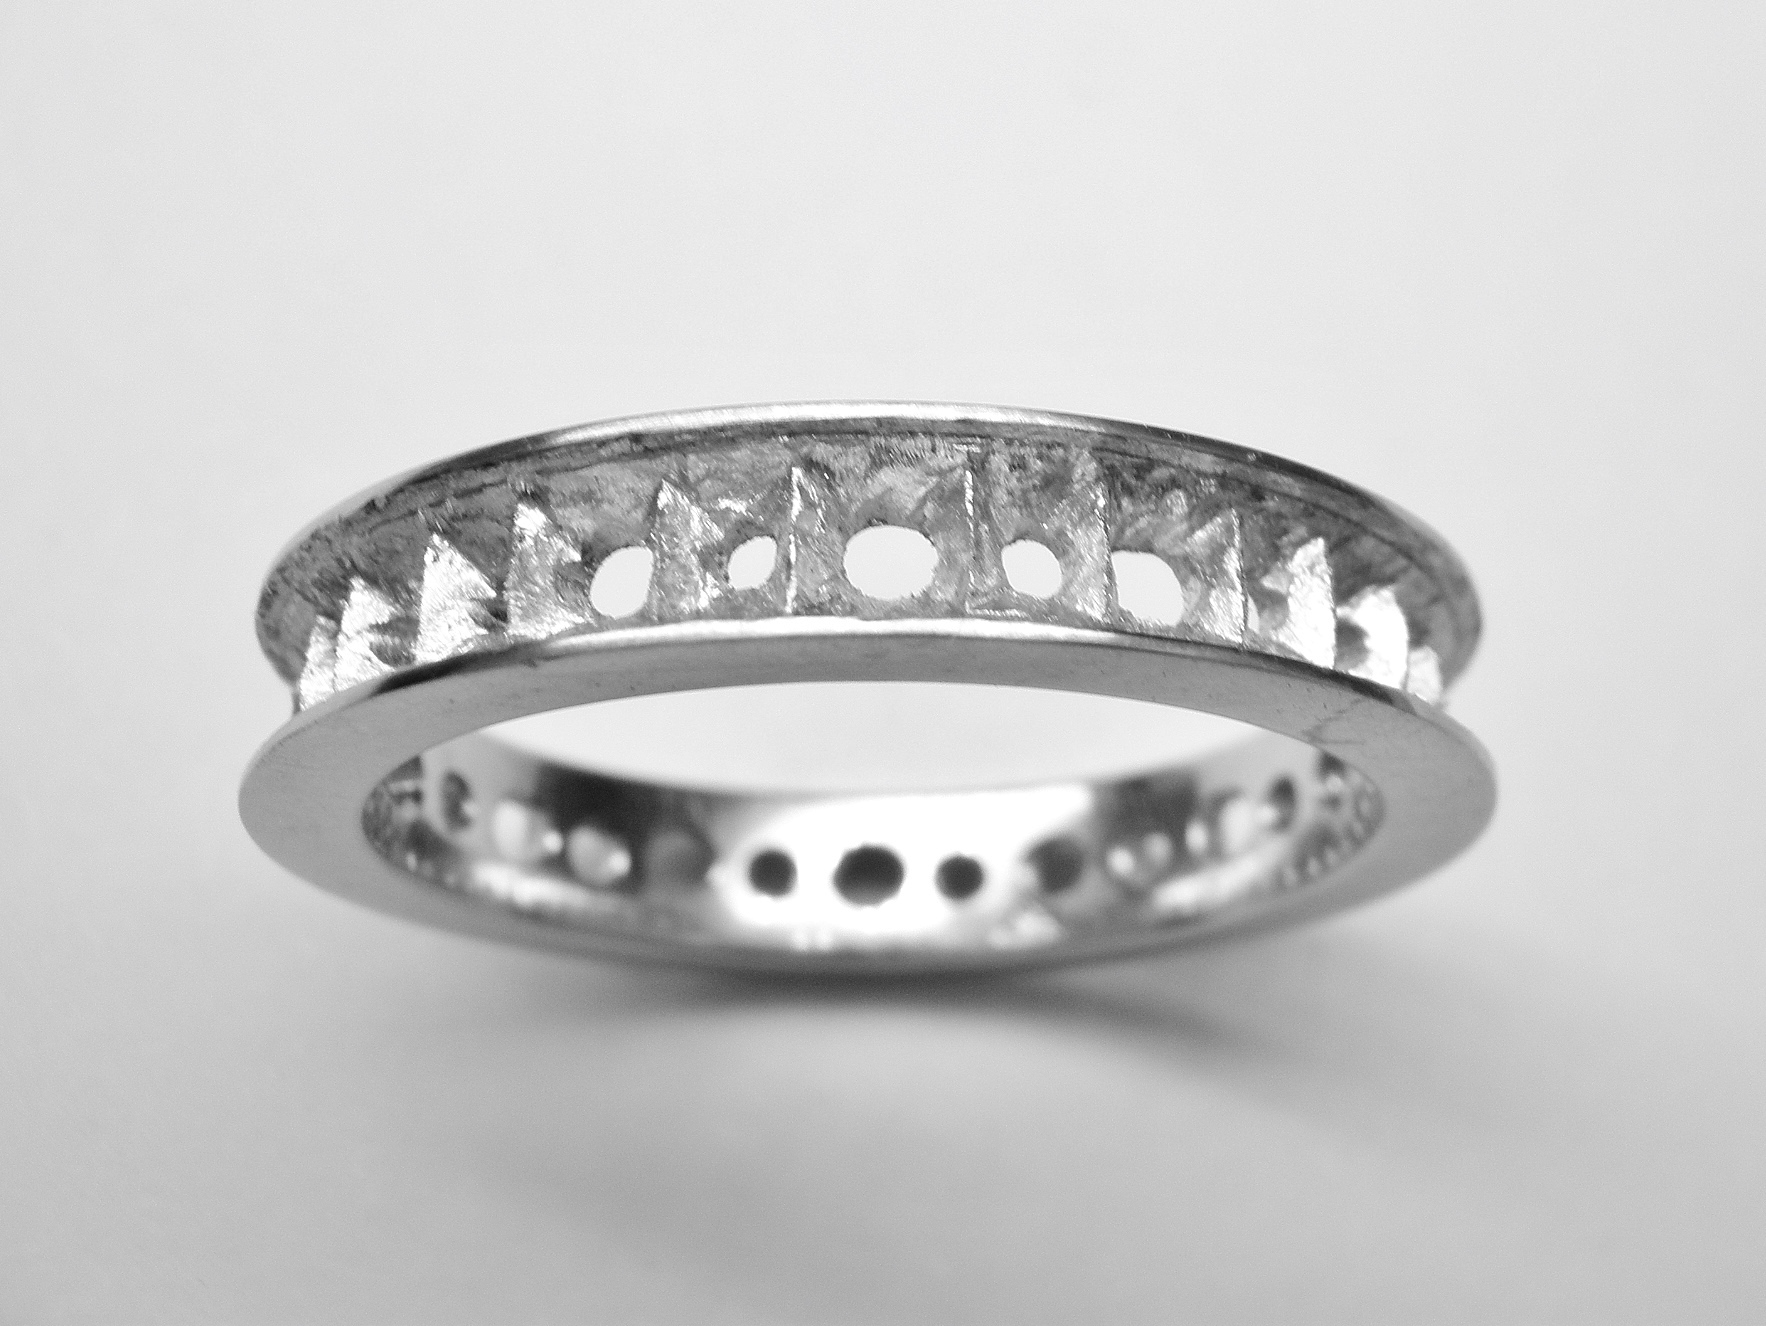
The finished ring
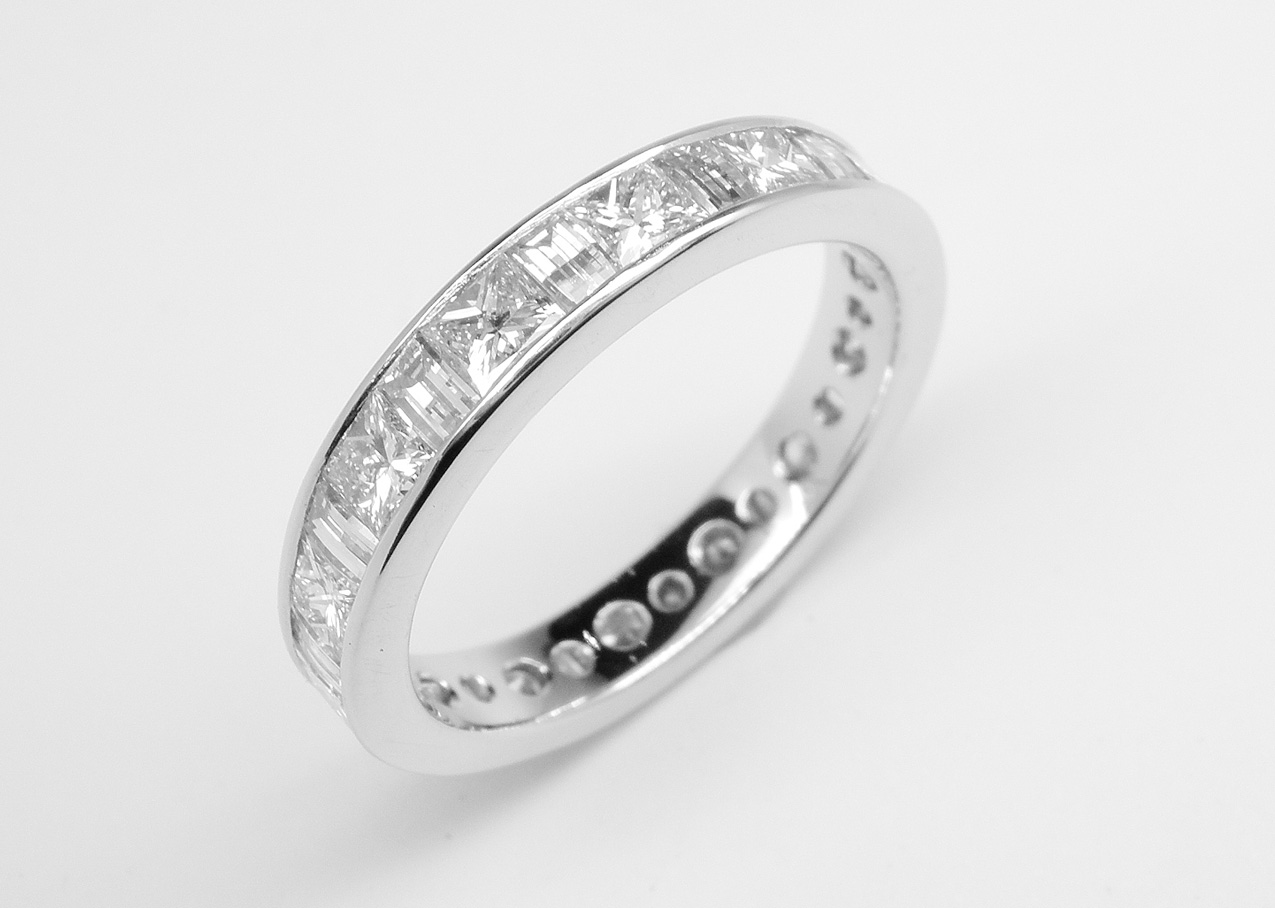
The finished ring
Robert came on his own to pick up the ring. In his own work he works in a small very detailed way so appreciated the very fine detail and tolerances required to achieve the final result.
Having presented Lynn with her new ring he emailed:
“Lynn is delighted with her new wedding ring, thank you Alan”